- 25 Nov 2024
- 4 Minutes to read
- Print
- DarkLight
- PDF
Desktop Software Installation
- Updated on 25 Nov 2024
- 4 Minutes to read
- Print
- DarkLight
- PDF
Microsoft .NET Framework 4.8
Microsoft .NET Framework 4.8 is required on all machines. If the machine is up to date on Microsoft patches, or it has internet access and the Setup.exe is used, the system will be able to obtain this file. To install this machines without internet access, please click the below link:
Outlook Installation
To process Outlook PST files, Microsoft Outlook needs to be installed on the machine, as well as a default email profile. Outlook 64-bit must be installed for Discovery Manager. After installing Outlook you will be prompted to create a default Outlook email profile, or you may do so under the Control Panel Mail (Microsoft Outlook) applet:
In the Windows Search box type Control Panel, and click to open.
Change the View by selector at the right of the screen from Category to Large icons or Small icons.
Open the Mail (Microsoft Outlook) applet.
Select Add... to create a new profile.
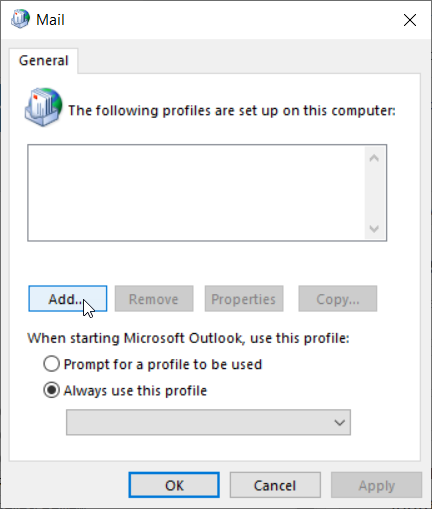
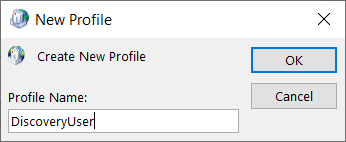
Enter a name for the new profile; it is strongly recommended to use a consistent role name throughout the platform; click OK.
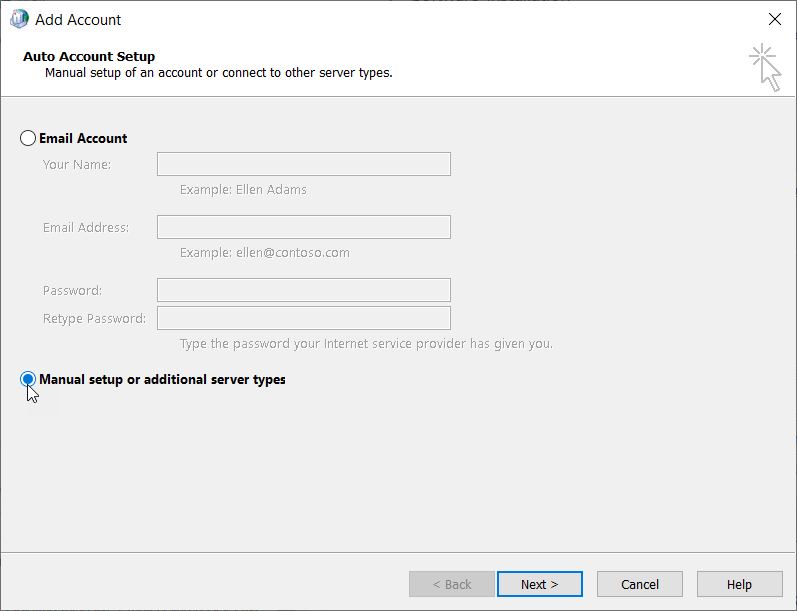
In the Add Account screen, select Manual setup or additional server types. Click Next.
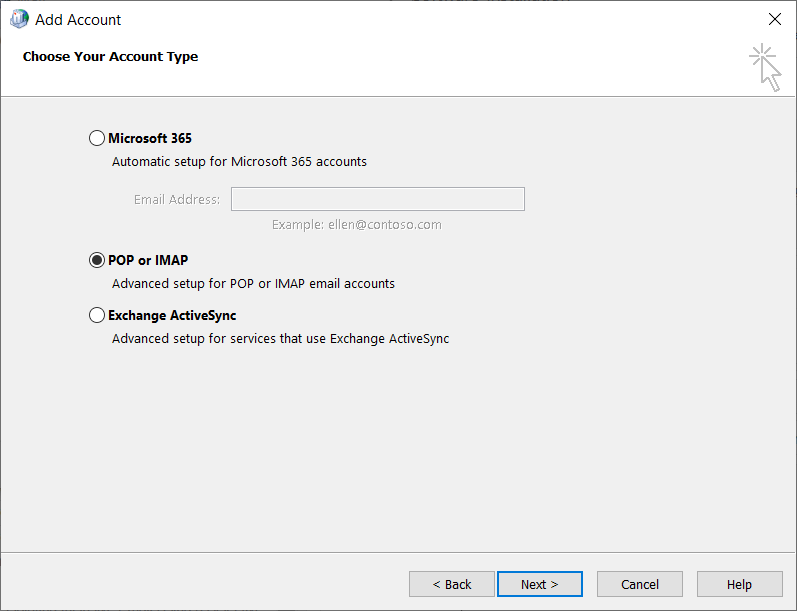
Choose POP or IMAP as account type. Click Next.
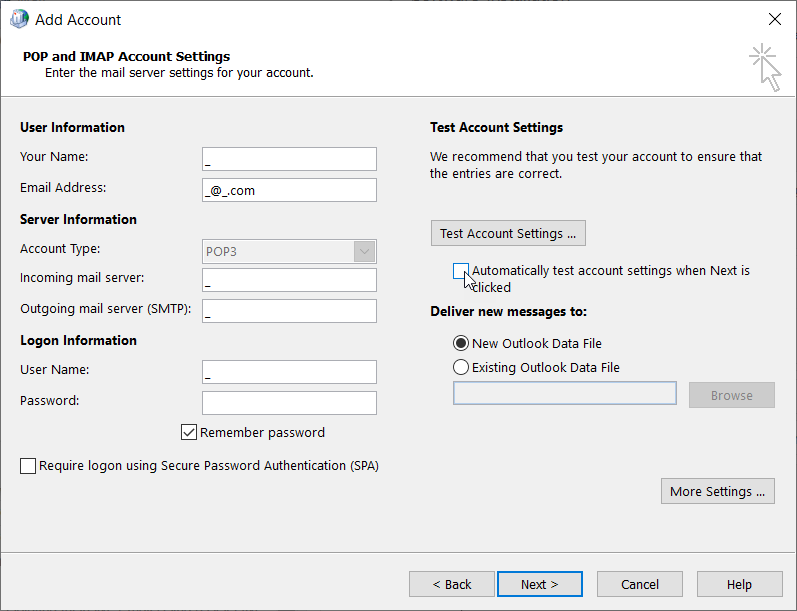
In the POP and IMAP Account Settings screen, enter the following to complete the service profile:
_ (underscore character) for Your Name.
_@_.com ([email protected]) for Email Address.
_ (underscore character) for Incoming mail server.
_ (underscore character) for Outgoing mail server (SMTP).
_ (underscore character) for User Name.
Leave Password blank.
Check Remember Password.
Uncheck Automatically test account settings when Next is clicked.
Click Next.
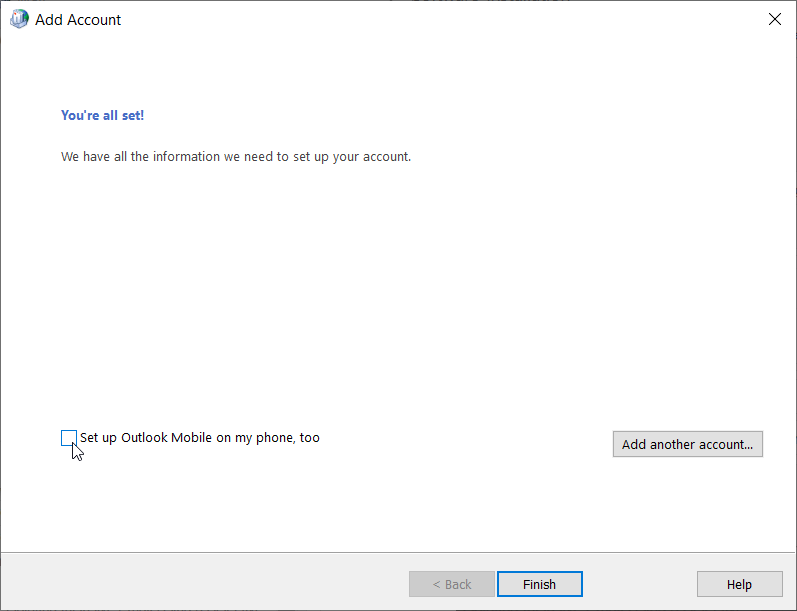
Uncheck Set up Outlook Mobile on my phone, too and click Finish.
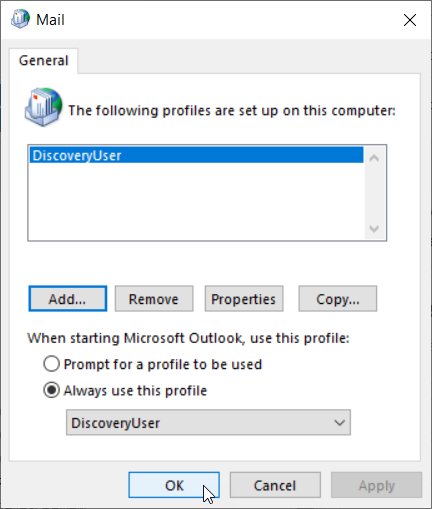
The finish profile will appear in the Mail window. Make sure that Always use this profile is selected for the new profile and click OK.
Lotus Notes Installation
To process Lotus Notes NSF files Lotus Notes 10.0.1 or later needs to be installed on the machine, as well as a default mail profile on the machine. After installing Lotus Notes, please perform the following steps to create a default Lotus Notes email profile:
Click Next.
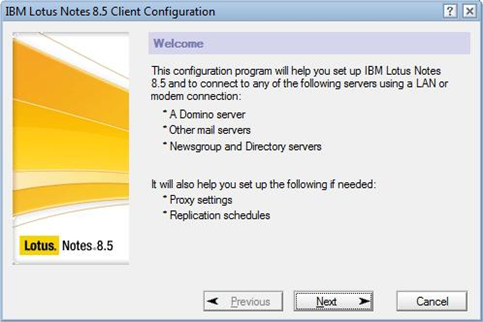
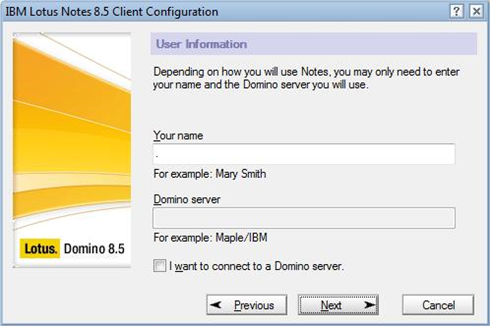
Uncheck ‘I want to connect to a Domino server’; Enter a ‘.’ for ‘Your name’ and click Next.
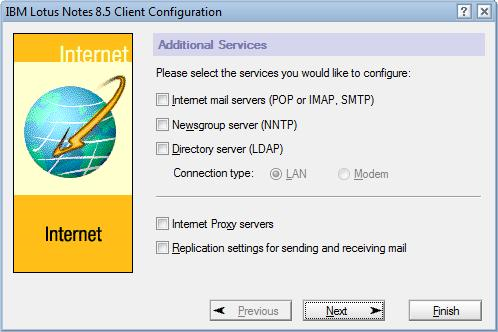
Choose nothing and click Next.
For the question about setting Lotus Notes as your default email program check ‘In the future, do not perform this check’ and click No.

SQL Server Management Studio (SSMS)
SQL Server Management Studio is used by the Reveal Support Staff to connect to the SQL Server database(s) to optimize the environment as well as troubleshoot issues. This application is not required to be on each RP Desktop system but is a useful utility and window into database operations for sophisticated users. Even if SQL Server is not installed on a machine the SSMS may be installed separately by itself.
====================
When installation and configuration of the above items is complete you will be ready for Installing RP Desktop.
Installing Processing Desktop
Once the underlying software requirements have been installed and configured you may install RP Desktop.
Downloading RP Installer
To obtain the latest RP installer package and/or license keys, please email Reveal Support at the following address:
Running RP Desktop Installer
When installing any application within the RP, it is important to uninstall and reinstall the latest version. When installing, please be sure to double click on the setup.exe. Alternatively, there is an Automatic Update option, which is explained later in the Discovery Manager and Discovery Agent Automatic Updates section.
The setup.exe within the Desktop Installer will check that all dependent components needed to run Discovery Manager and Discovery Agent are installed on the machine. If there are applications missing, the Desktop Installer will download them via the Internet. If the machine does not have Internet Access make sure that you have downloaded and run the disconnected installer for Microsoft .NET Framework 4.8 before proceeding.
To install Discovery Manager for the first time please follow the steps below:
Unzip the zip file.
Double click on the setup.exe in the folder \Installers\Desktop and click Run.
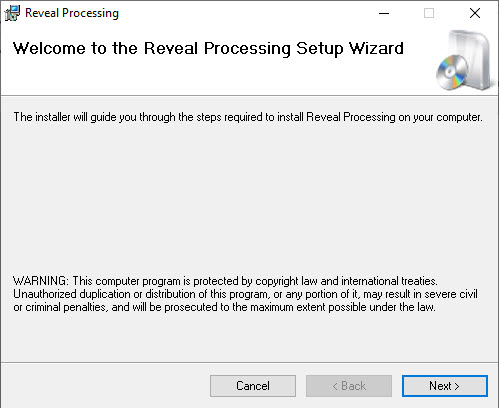
Click Next.
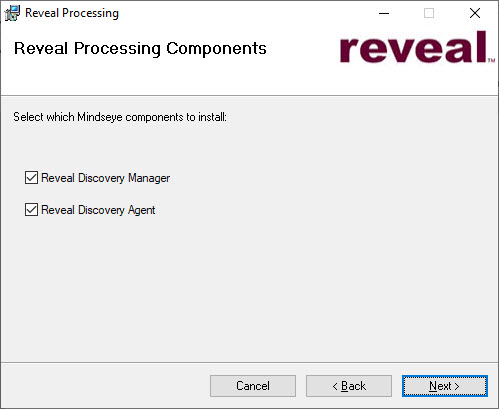
Each checkbox will install a different desktop application. If it is not clear as to what application the machine will be running exclusively leave all items checked. However, if it is known that the machine will only do one of these roles, deselect the non-applicable application. Click Next.
Confirm the folder to which Reveal Processing will be installed (default is shown below); click Next.
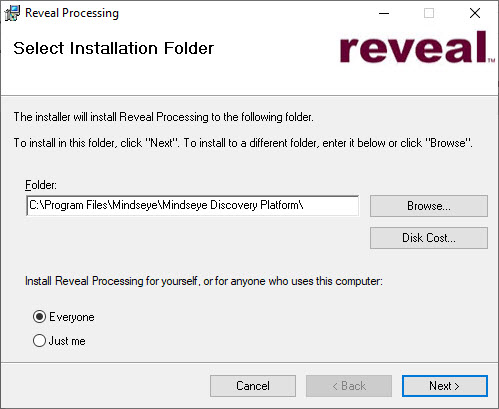
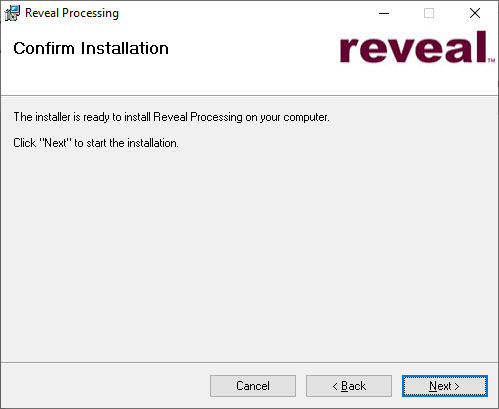
Click Next to confirm and proceed. An Installing Reveal Processing status screen will display during the installation process.
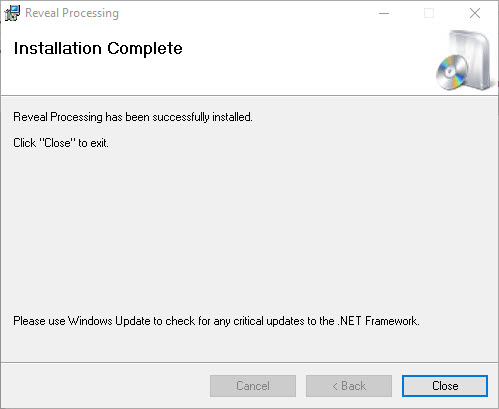
Click Close when installation is complete.
Activating RP Desktop Applications
After installing the necessary applications, launch the application for the first time by double clicking on the icon and follow the below steps for each application. If it is the first time opening the RP, start with the Reveal Discovery Manager, and then open/license the other applicable applications:
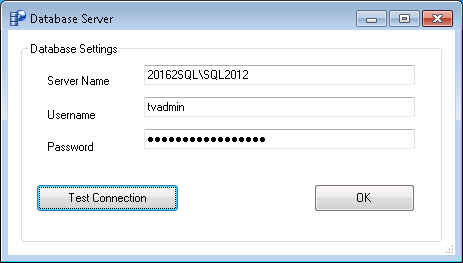
Discovery Manager will check the database connection and the following form will launch. After testing the connection, click the OK button and the <InstanceName>_Manager, <InstanceName>_NIST and <InstanceName>_AuditLog databases will be created automatically within the SQL Server based on its designated instance name.
When Discovery Manager cannot connect to the SQL Database you will either receive a Not Responding window or the following error message is displayed:
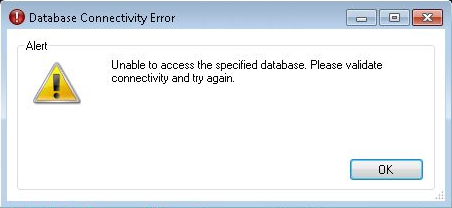
If there is a Database Connectivity Error, please try connecting to the SQL Server from the machine running Discovery Manager via SQL Server Management Studio. If this does not work, please access your SQL Server via SQL Server Management Studio on the SQL machine itself and try the following:
Turn off Windows Firewall on the SQL Server. If the database connects properly after turning off Windows Firewall this can remain disabled or create a rule within Windows Firewall for the SQL Server and/or Discovery Manager.
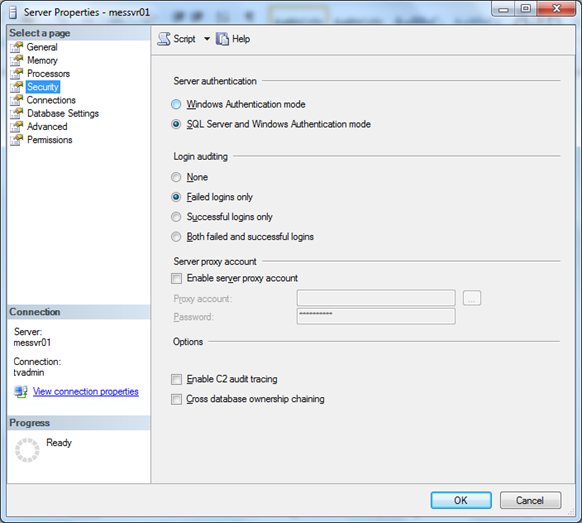
Mixed Mode (SQL Server and Windows) Authentication may be used based upon convenience or preference. A SQL account may be configured to manage SQL Server, or a Windows service account may be maintained for the operating system and database application. To check if SQL is set to this mode right click on the top node of the tree view in the Object Explorer and choose Properties -> Security. If any change is made to this setting, please restart SQL Server in order for the change to take place:
Enter the license key and click Activate.
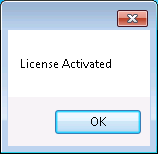
If the license is activated properly the License Activated message will pop up. Click OK and Discovery Manager and Discovery Agent should load. Repeat these steps for other applicable applications.
After the above steps have completed, Discovery Manager will open up:

.png)


