Reveal’s Processing function is ideal for larger data sets. Creating a processing job works in three steps, beginning with creating and populating an S3 staging folder outside the Reveal environment.
Create S3 Data Staging Folder.
Upload Data to S3 Data Staging Folder.
Process Data from S3 Data Staging Folder.
Follow the instructions below to process large data sets within the web interface.
Important
Using the Processing function in Reveal’s web interface requires the purchase of S3 Browser Pro. For detailed instructions on how to set up and configure S3 Browser Pro, please see the Administer and Use S3 Browser Pro - Processing article.
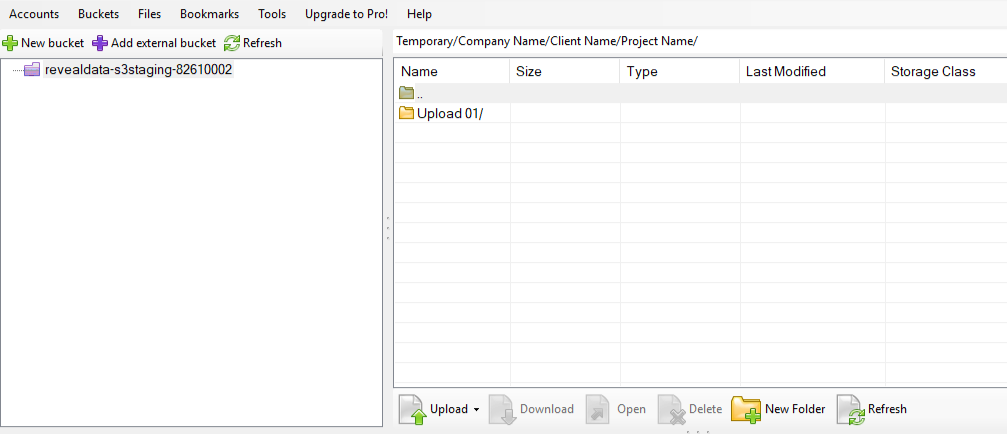
I. Create S3 Data Staging Folder
In the S3 staging bucket, navigate to the Temporary folder.
Create a new Company folder and a Client folder to match the company and client associated with the project.
Create a New folder with the exact same name as your project (e.g. Zinc).
Inside the above project folder, create a new subfolder for your upload (e.g. Enron-PSTs).
For each new upload, use an incrementing number (e.g. 1-Upload, 2-Upload, 3-Upload...).
You will reference this folder structure when following the Rapidly Uploading Unstructured Data instructions.
![]() - Reveal S3 Staging Bucket
- Reveal S3 Staging Bucket
![]() - Project Folder for Upload
- Project Folder for Upload
![]() - New Folder for the Upload
- New Folder for the Upload
II. Upload Data to S3 Data Staging Folder
Drag and drop your data from the source into the new upload folder you created above.
This will copy the data into the Reveal Cloud quickly leveraging the S3 Browser Pro configurations.
Open Reveal Web.
III. Process Data from S3 Data Staging Folder
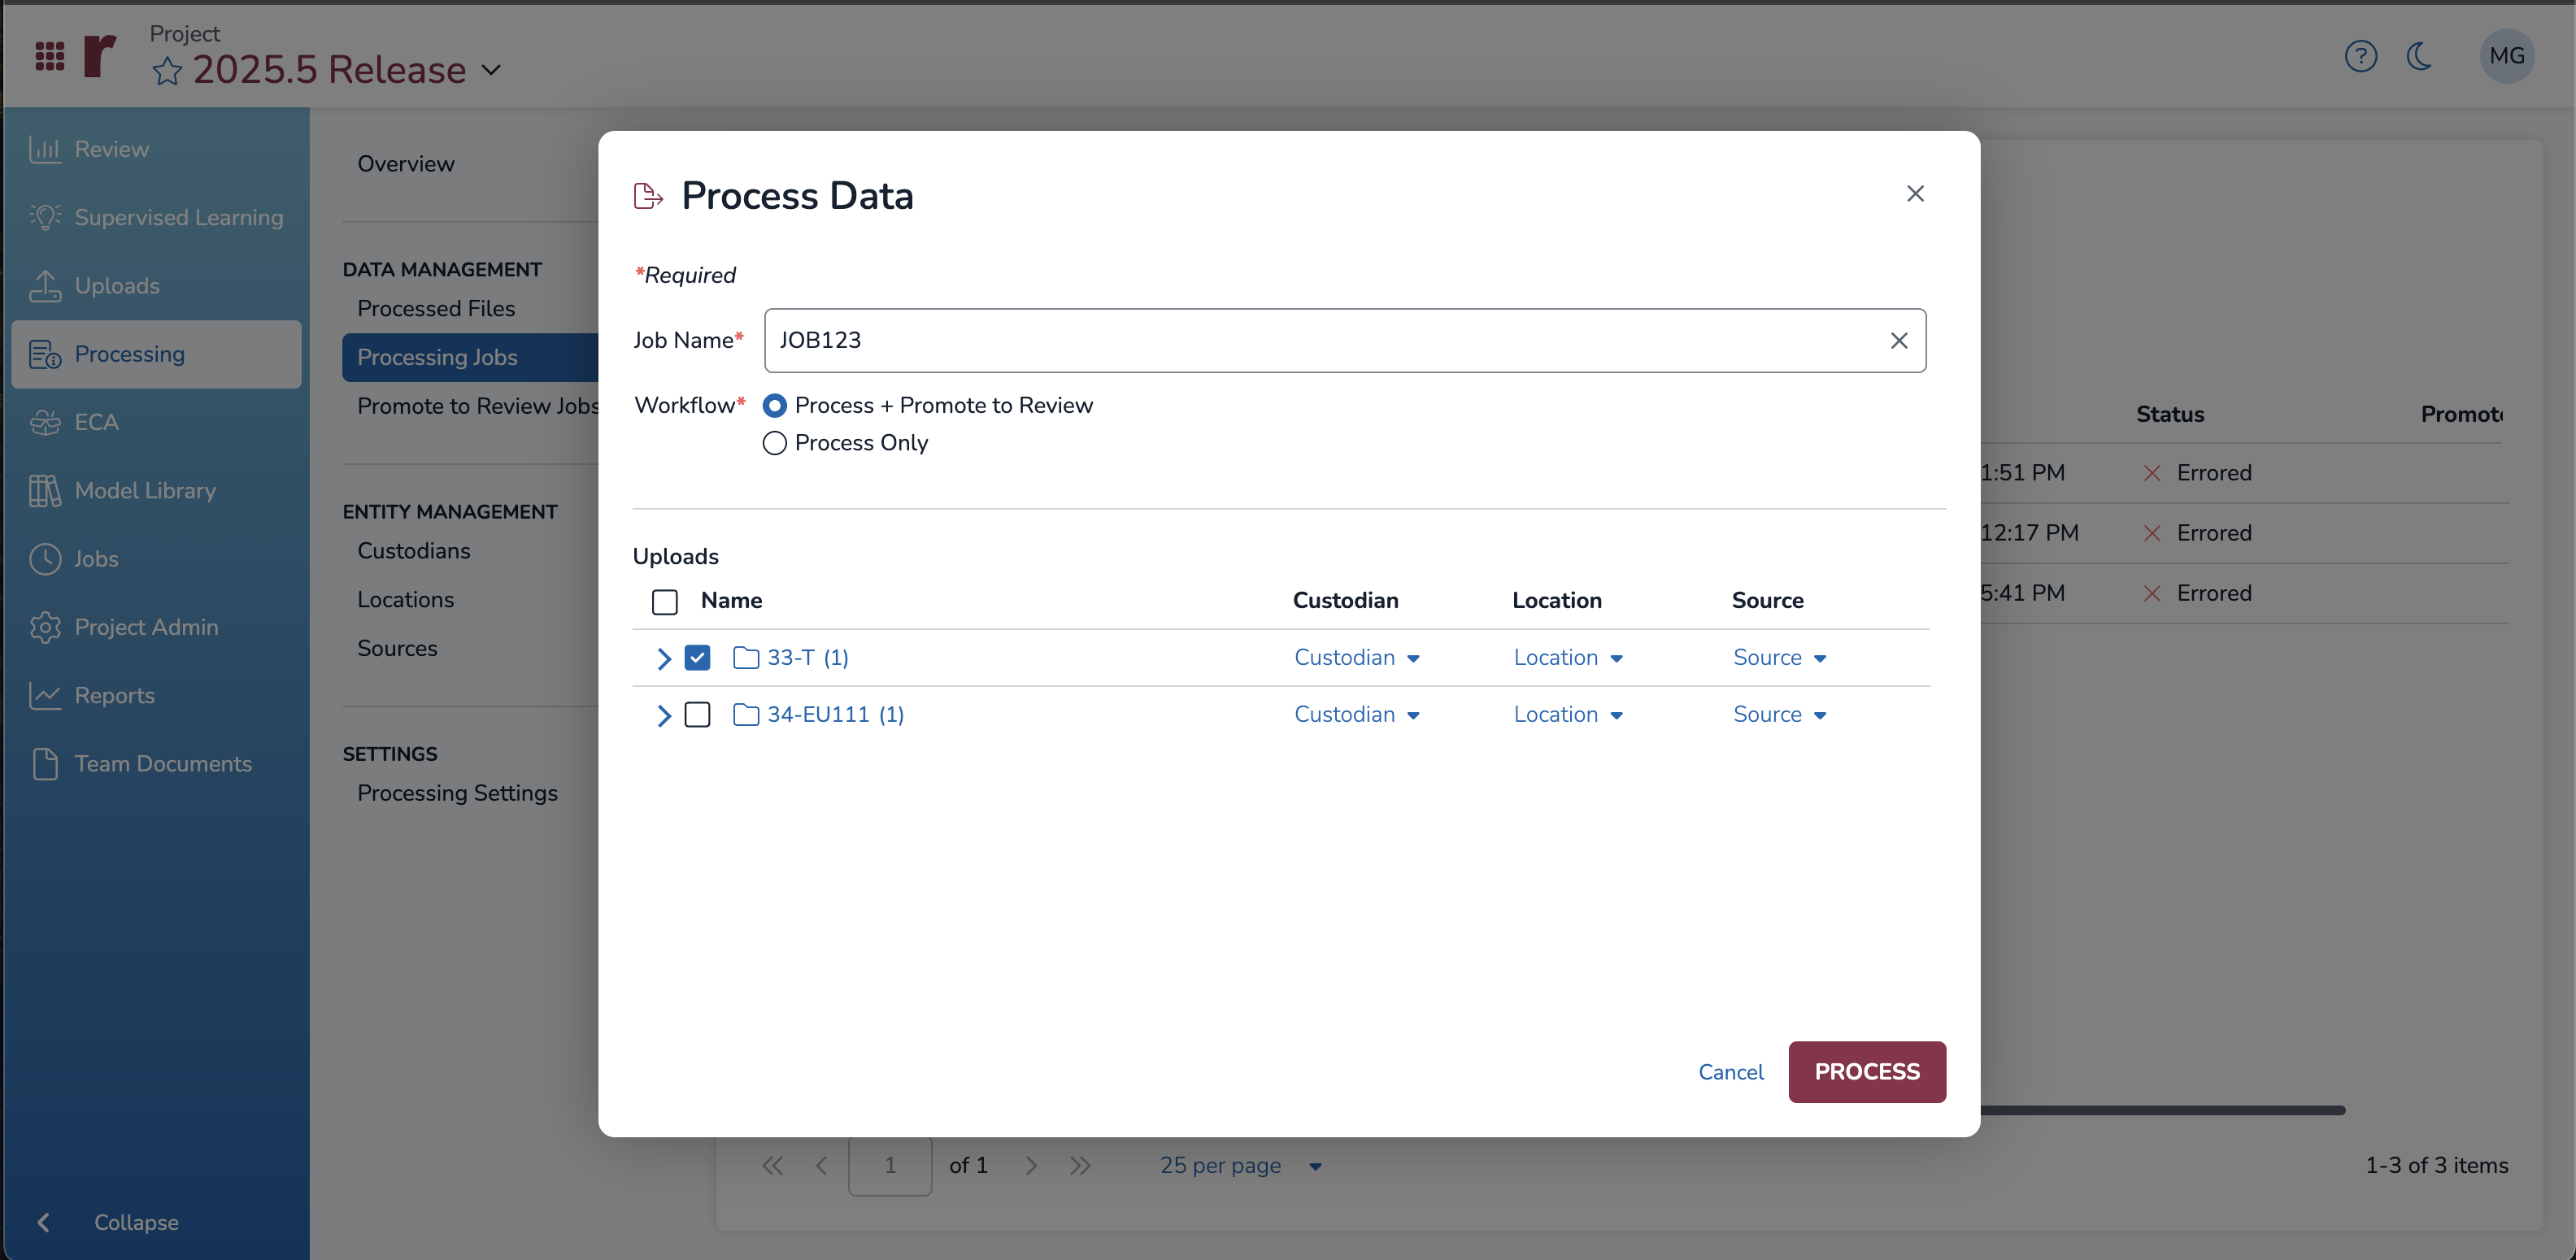
From the main menu, navigate to Processing > Processing Jobs.
Click Process Data.
Name your processing job.
Select the appropriate Workflow.
Process + Promote to Review: Process documents, then promote them to the Review Grid.
Process Only: Only process documents.
Select the data to process.
Click PROCESS.
You can monitor Processing Jobs through the Project Processing Overview screen.