Getting Started with Integrated Legal Holds
- 25 Jun 2024
- 1 Minute to read
- Print
- DarkLight
- PDF
Getting Started with Integrated Legal Holds
- Updated on 25 Jun 2024
- 1 Minute to read
- Print
- DarkLight
- PDF
Article summary
Did you find this summary helpful?
Thank you for your feedback

In this article:
Integrated Legal Holds Overview
Requirements
Integrated Legal Holds Overview
When matters arise, it is imperative that data related to that matter be secured until the matter has been resolved. For this purpose, Onna offers the Integrated Legal Holds feature for customers as a way to place data on hold in source systems and manage custodian notifications. Below is a description of our Integrated Legal Holds feature.
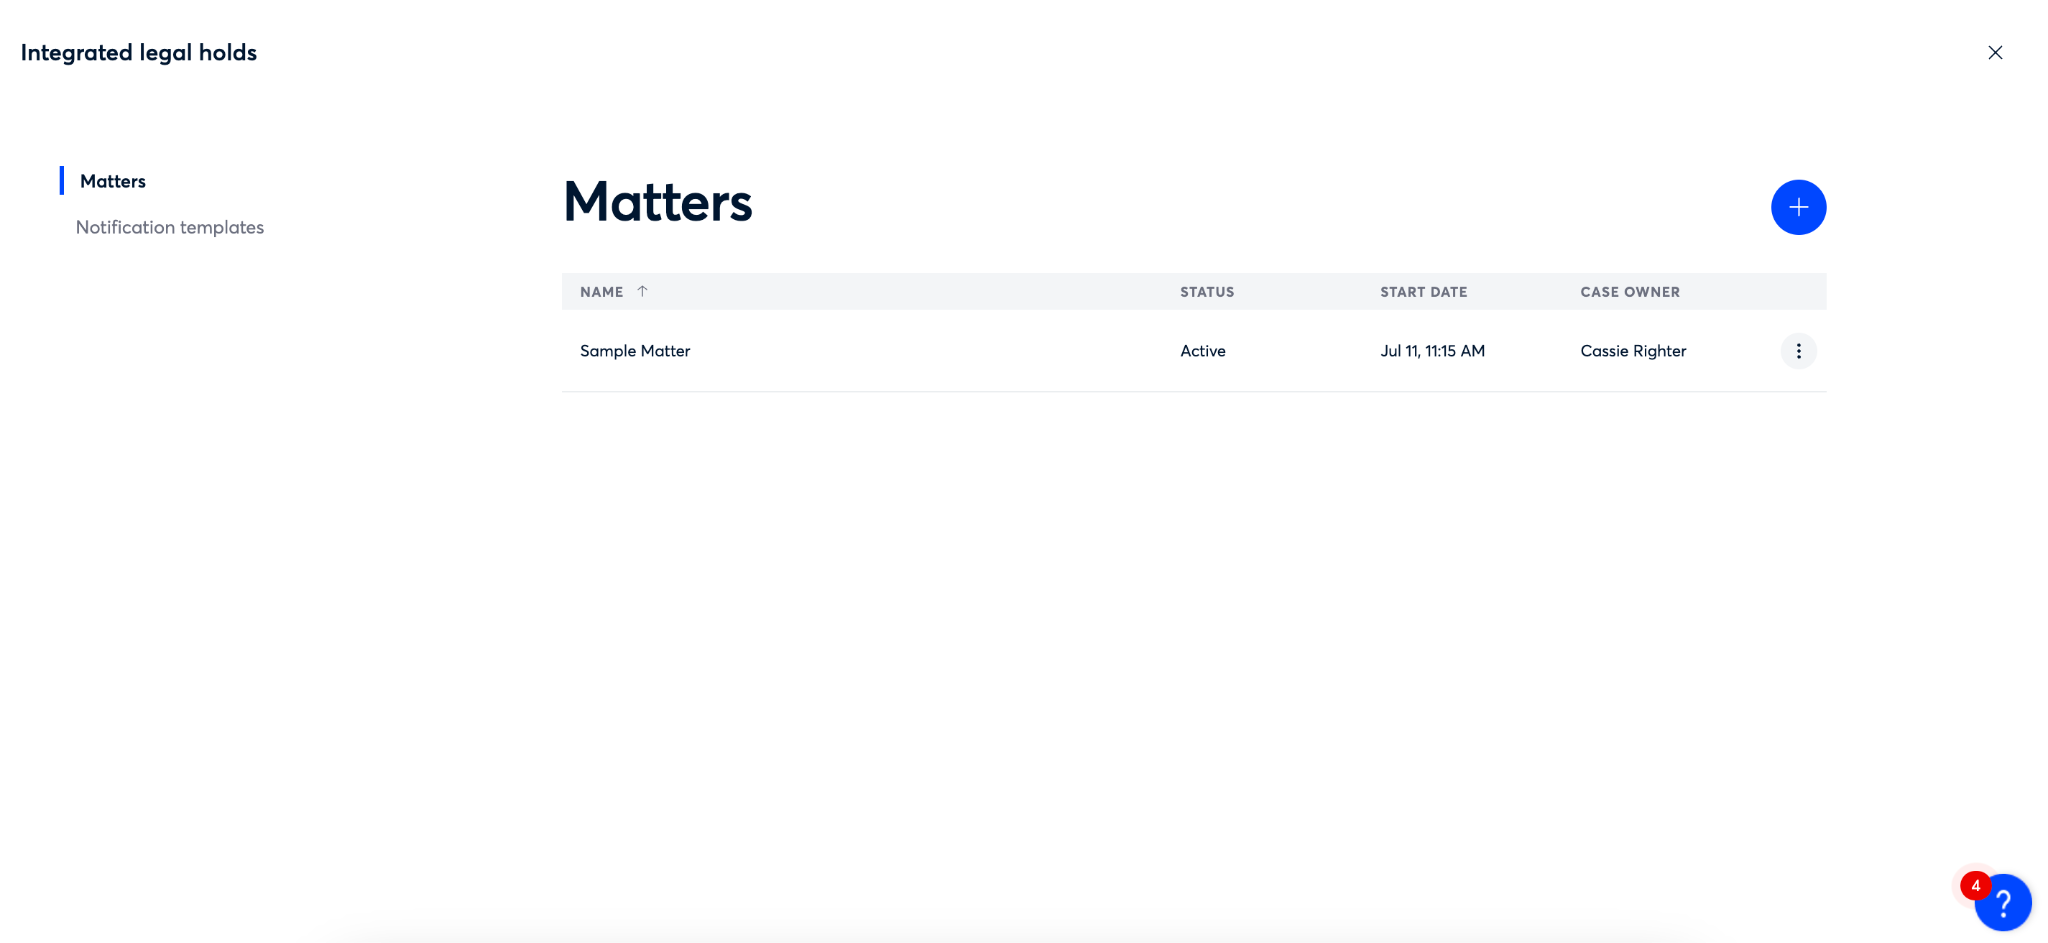
Matters
The ‘Matters’ section of our ‘Integrated Legal Holds’ feature is where you are able to organize your legal actions by adding custodians, holds, and notifications to each.
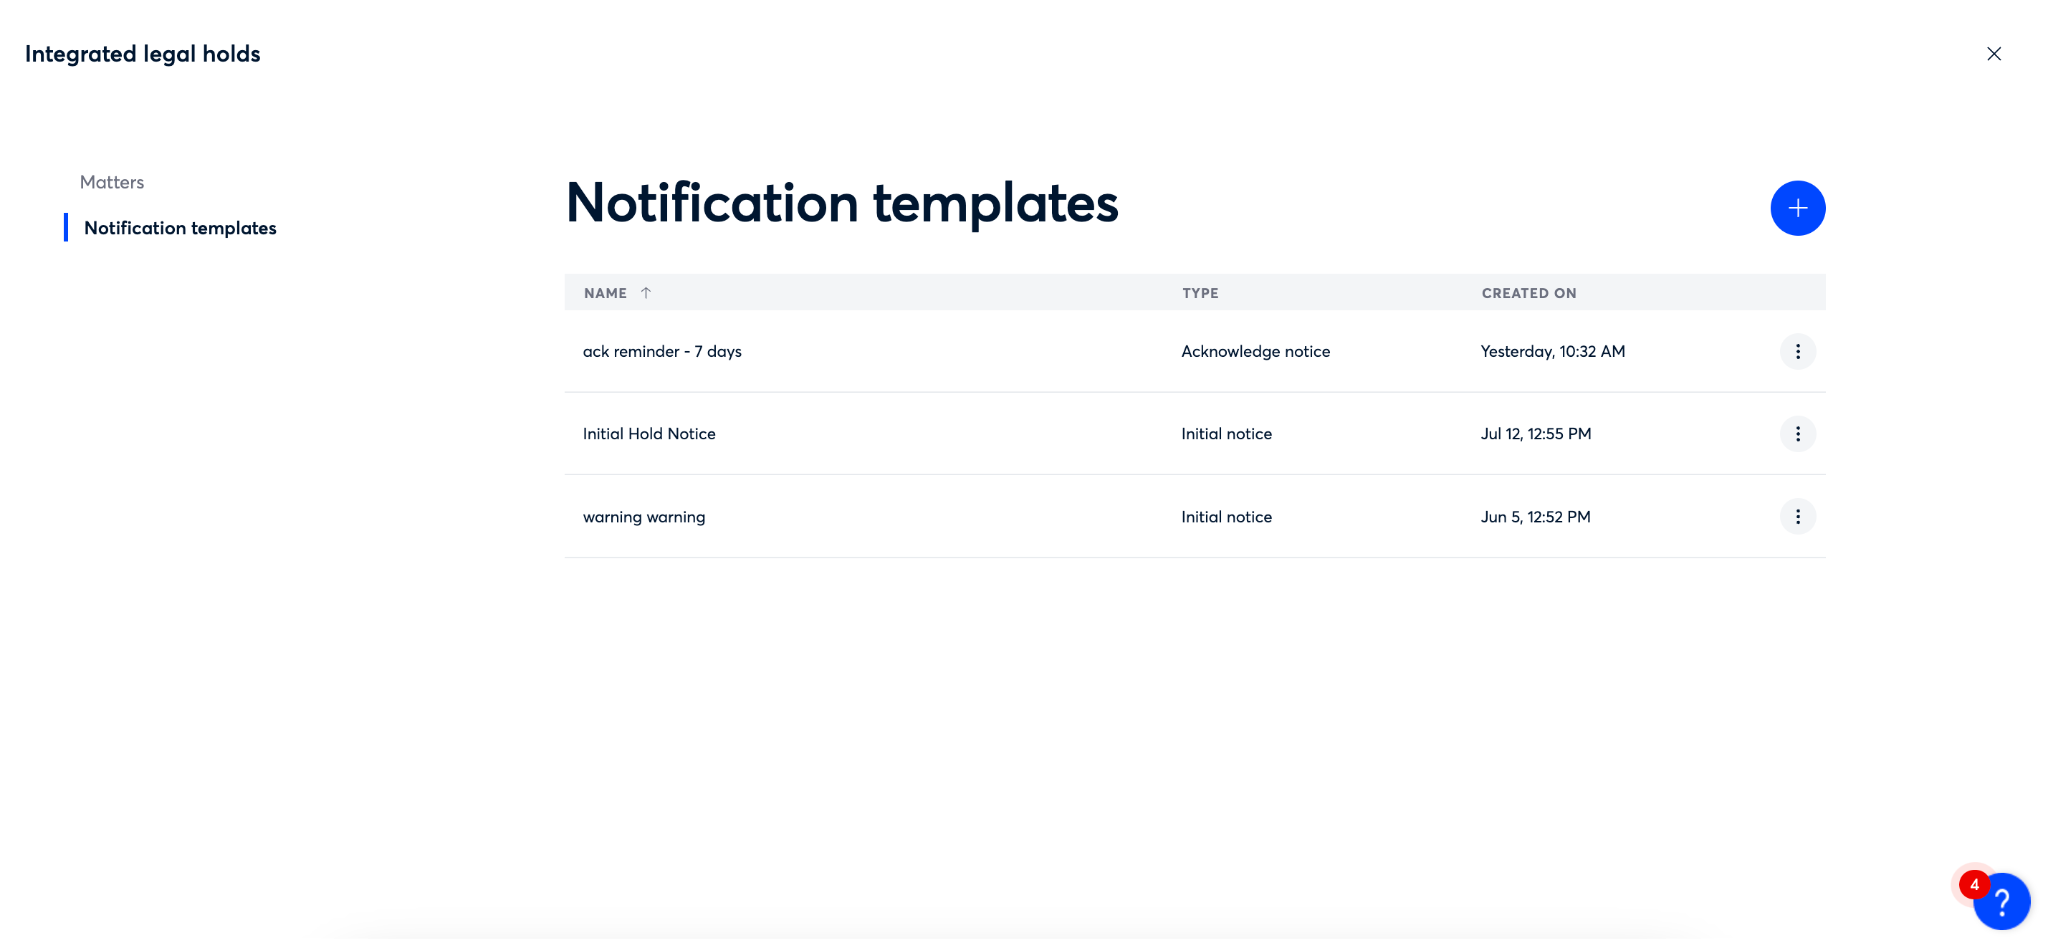
Notification Templates
For active matters, there are common types of emails that may need to be sent to custodians. One way to streamline the notification process across your matters is to create reusable templates of each type of email. This gives you consistency when sending notifications across matters and saves the time of creating new notifications for each matter.
Requirements
The Integrated Legal Holds feature of Onna is only available to customers who have purchased this feature as an addition to our eDiscovery application. If you do not currently have access to this feature please contact your designated Customer Success representative or email [email protected] for more information.
In addition, the following are requirements to use the Integrated Legal Holds feature:
You must have an Admin role in Onna.
You must have access to an Authorized Connection that allows In-Place Preservation (IPP).
Currently, we support IPP authorized connections for Google Workspace and Slack Enterprise connectors.
Please note this is only required if you want to take advantage of placing data on hold in-place. It is also possible to use the Integrated Legal Holds feature to manage custodian notifications only.
Requirements for Adding an Identity Source
In order to add an Azure AD Identity Source to Onna, the support team must enable that feature. To add Azure AD follow the steps below:
Step 1. Contact your success representative or submit a support request to enable the feature.
Step 2. Turn on identity source within Admin Preferences
Step 3. Add a new identity source in Identity Mapping
Please note that the connection made in step three (above) is a ONE TIME connection and not an ongoing sync with Azure AD. If the you need to have the most up to date list of custodians in Azure AD, you will need to add a new identity source.