Salesforce_ How to Connect and Collect
- 26 Jun 2024
- 1 Minute to read
- Print
- DarkLight
- PDF
Salesforce_ How to Connect and Collect
- Updated on 26 Jun 2024
- 1 Minute to read
- Print
- DarkLight
- PDF
Article summary
Did you find this summary helpful?
Thank you for your feedback
con
In this article:
Salesforce Overview
Salesforce Requirements
How to Connect and Collect Using Salesforce
Salesforce Overview
Salesforce is mainly known for its CRM solution although it sells other commercial applications. Onna connects directly with the Lightning API to collect the files hosted in an account.
Connector Features | |
Authorized Connection Required? No | Is identity mapping supported? No |
Audit logs available? Yes | Admin Access? No |
Supports a full archive? No | Custodian based collections? No |
Preserve in place with ILH? No | Resumable sync supported? No |
Supports Onna preservation? No | Syncs future users automatically? No |
Sync modes supported:
| Is file versioning supported? No |
Types of Data Collected | Metadata Collected |
|
|
Salesforce Considerations
At this time we do not support collections from Salesforce sandbox environments
Currently, Onna's integration can only be used to collect files within a Salesforce Lightning Enterprise account.
We are not able to collect Salesforce Chatter data.
Salesforce Requirements
You need an admin account for Lightning Enterprise to collect from Salesforce. Non-enterprise versions of Salesforce, such as Salesforce Essentials and Lightning Professional, do not have API access included so Onna's integration cannot access the files.
How to Connect and Collect Using Salesforce
To create a new Salesforce collection follow the steps below:
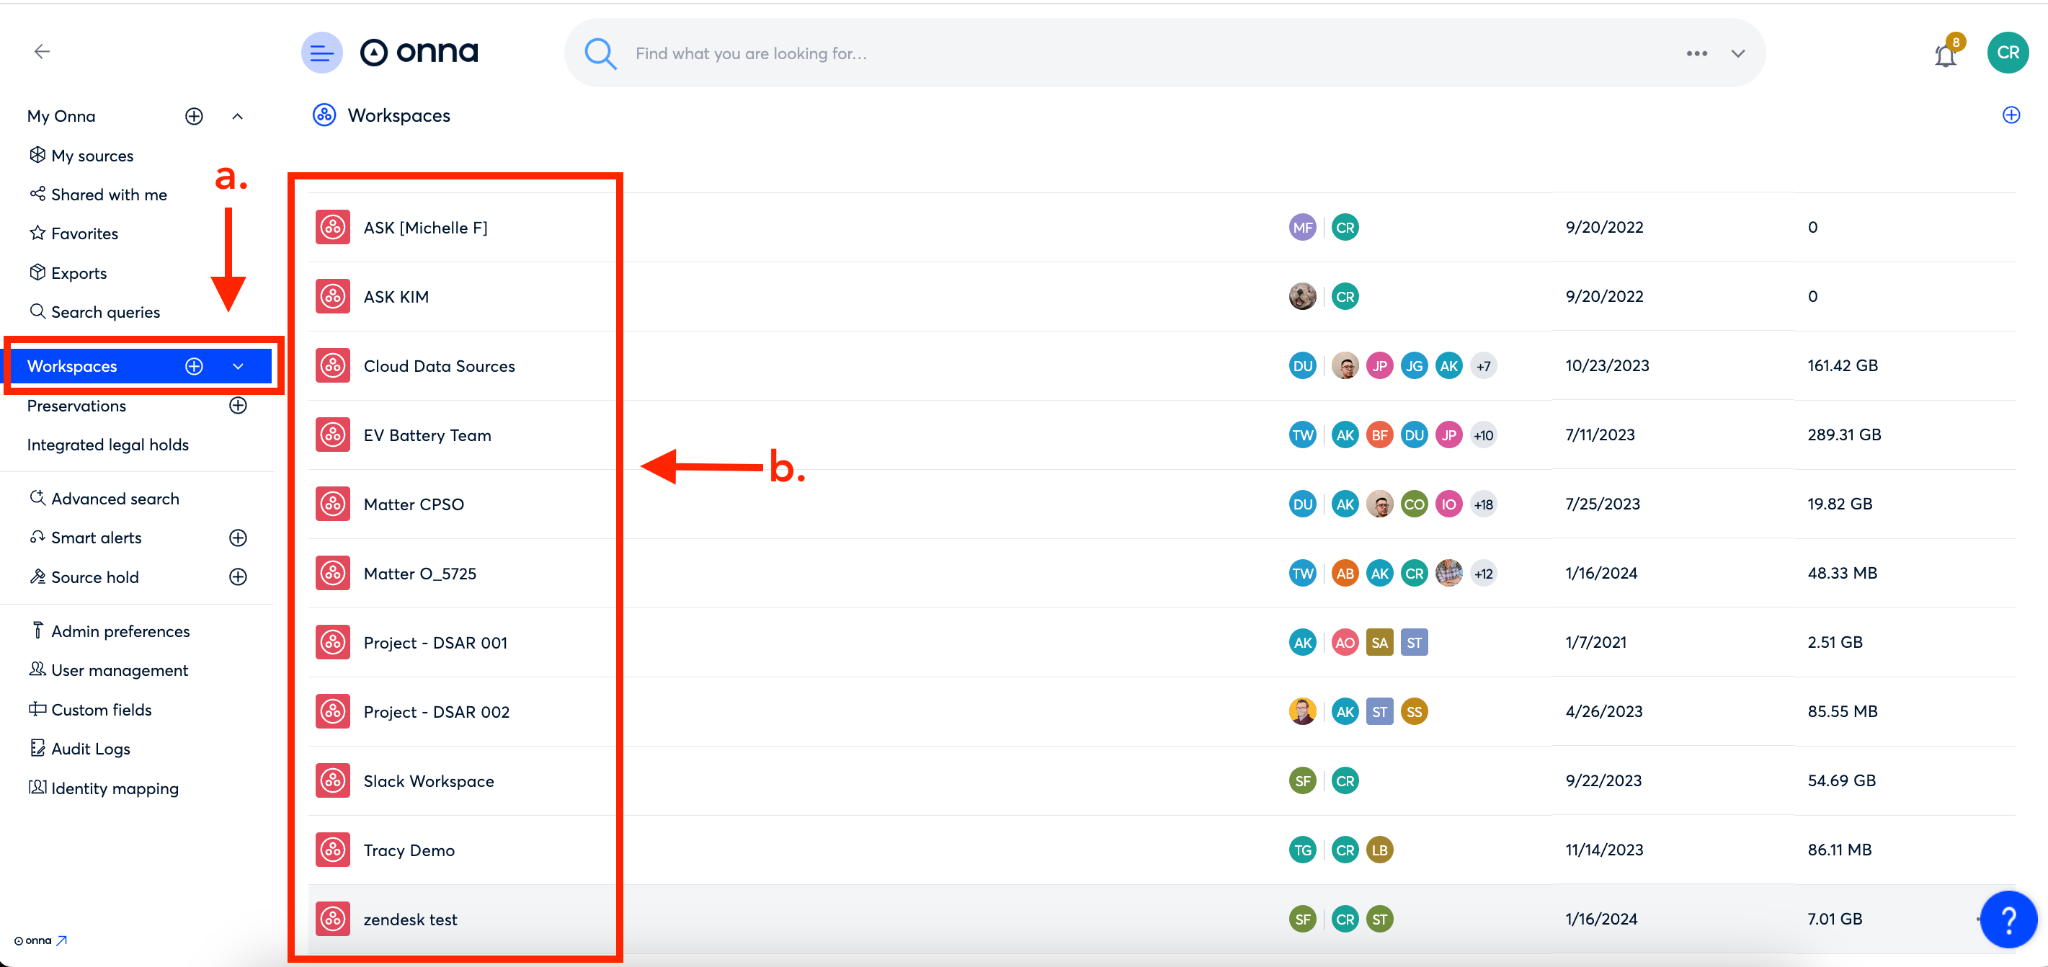
Step 1
Click on ‘Workspaces’ in the main menu (a), then click on the workspace where you’d like to add a new sync (b).
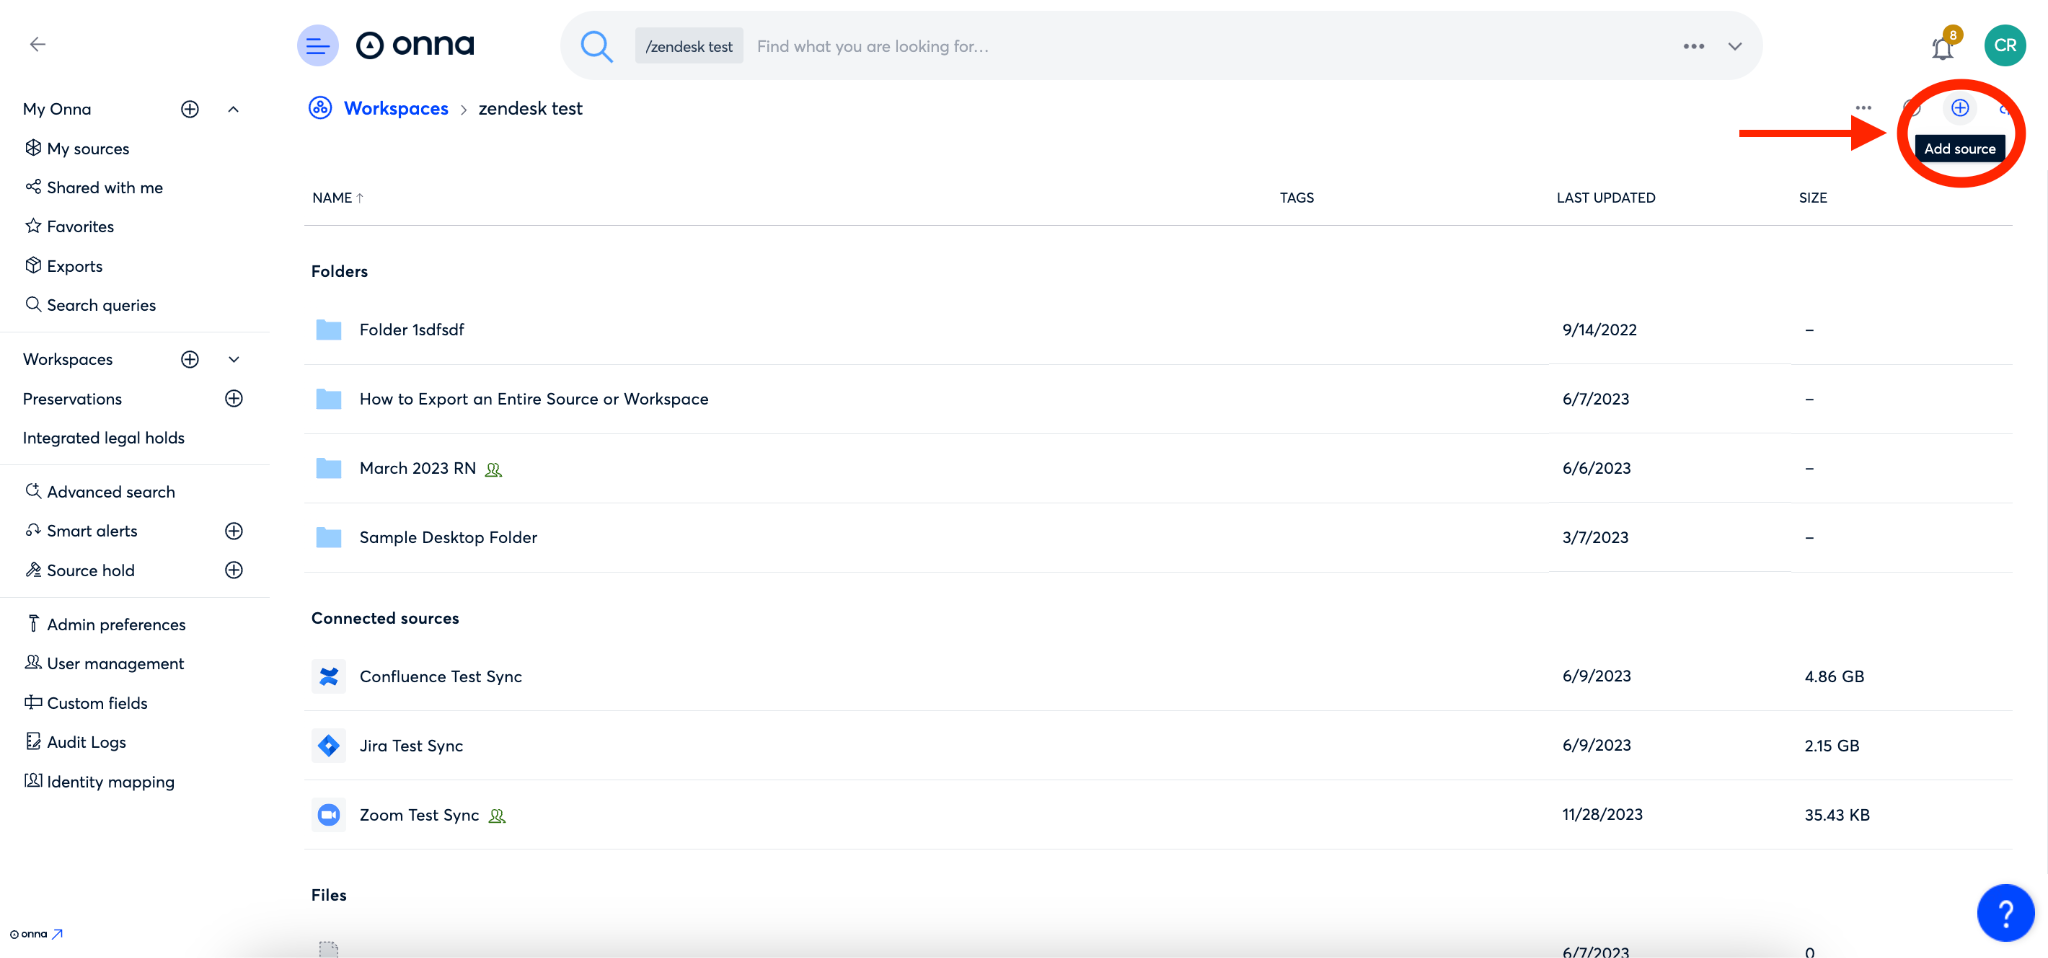
Step 2
Click on the ‘+’ icon in the upper right corner to add a new source.
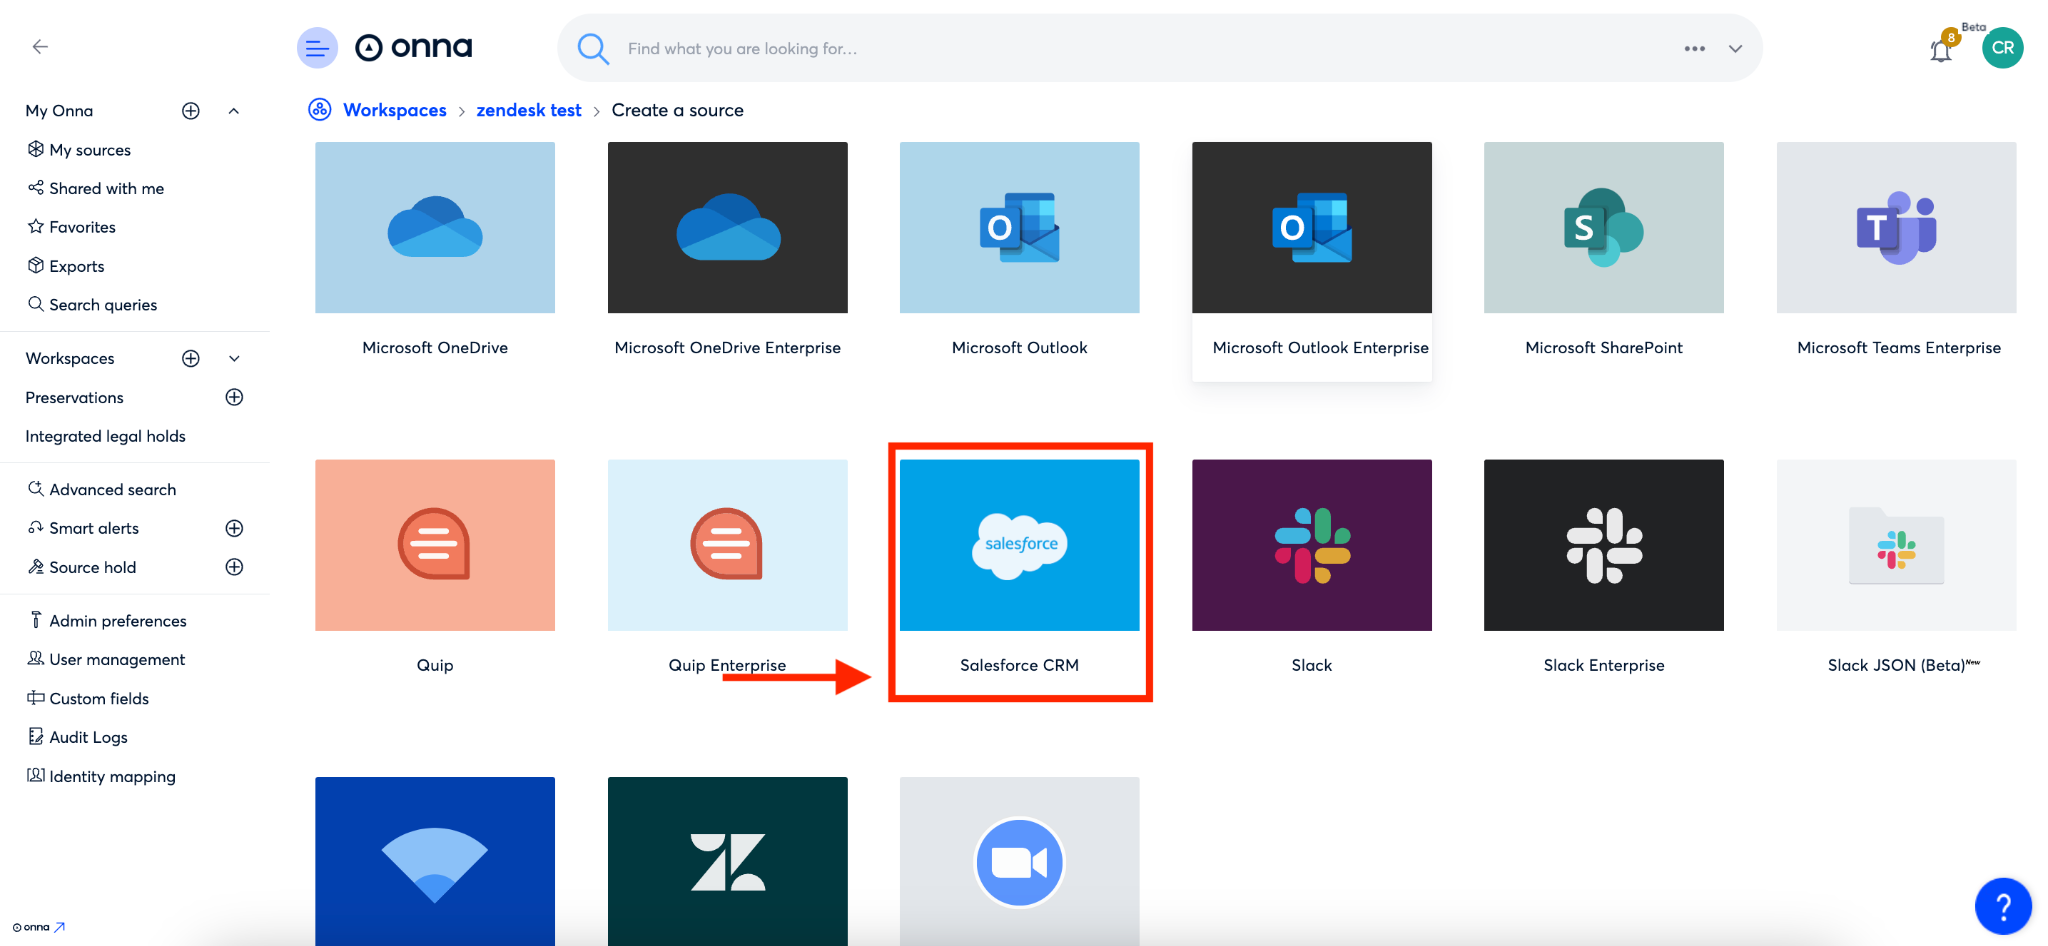
Step 3
Select the Salesforce connector from your list of available connectors.
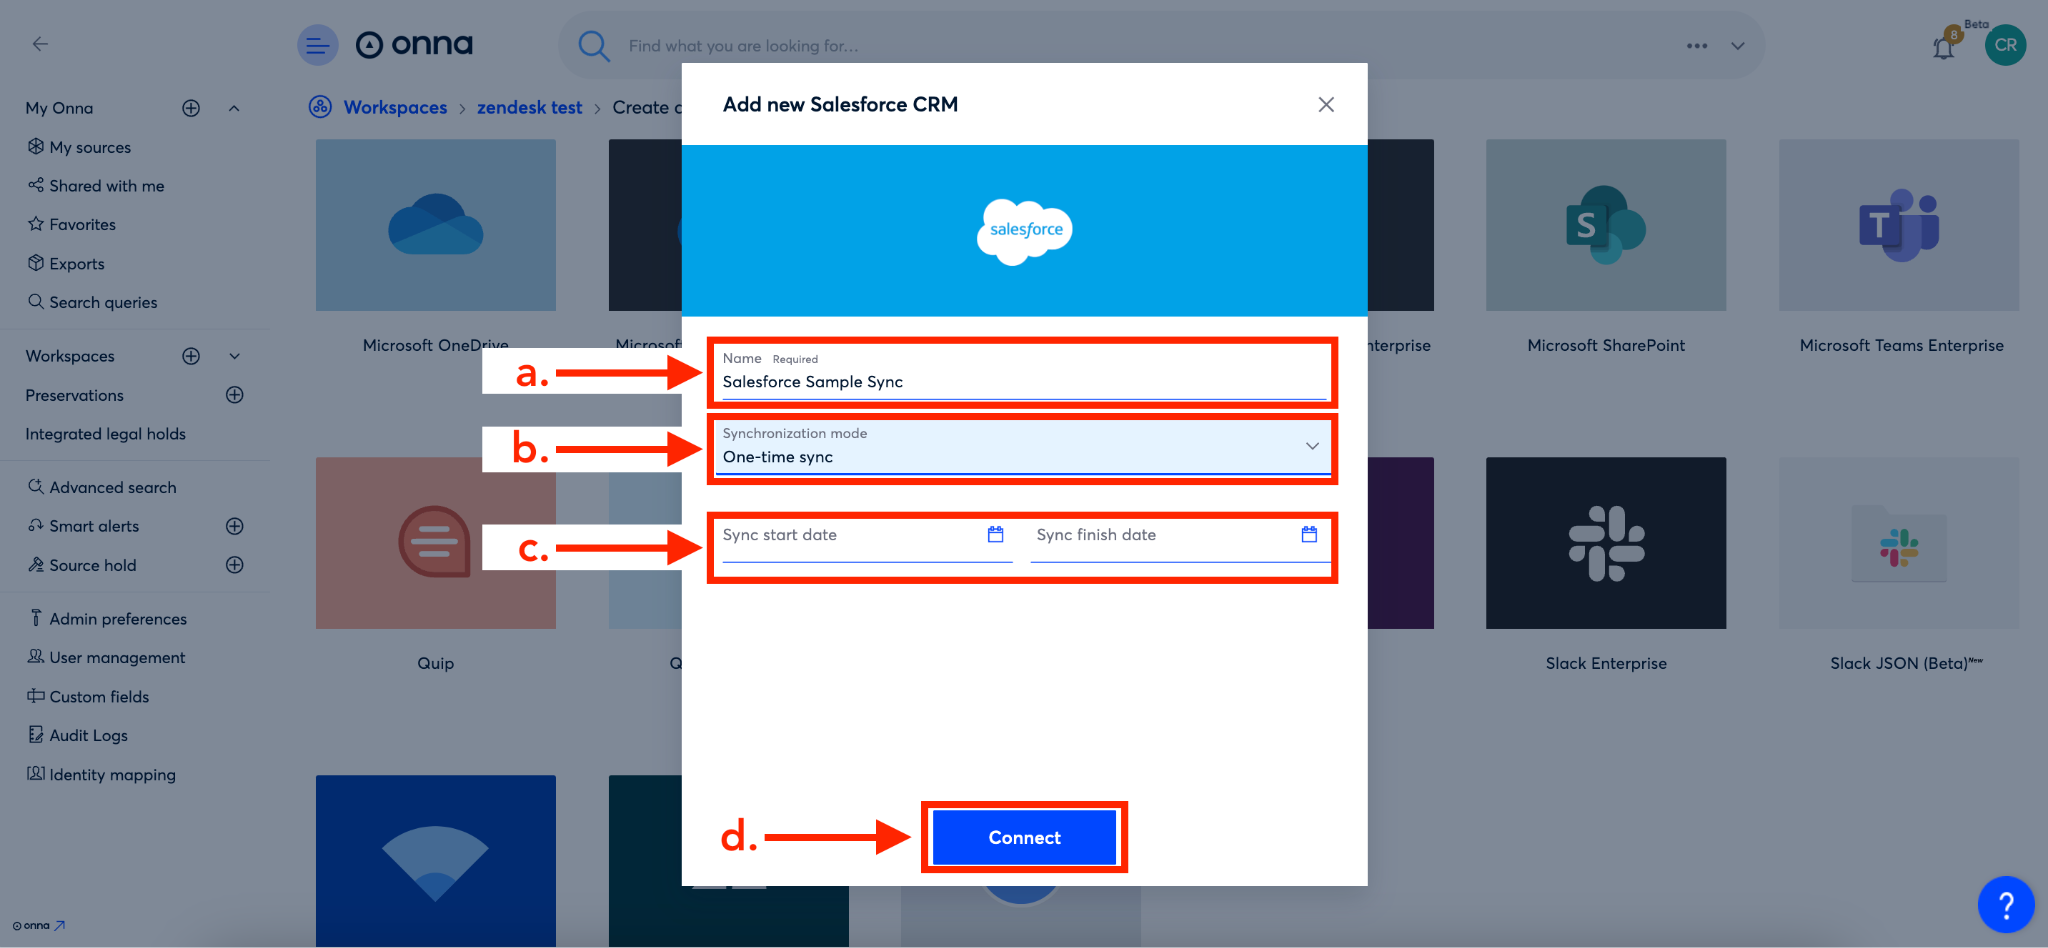
Step 4
You’ll now start to configure your sync by entering a source name in the ‘Name’ field (a). Then, select the synchronization mode (b) and set your sync start and/or end date (c). Finally, click the blue ‘Connect’ button (d).
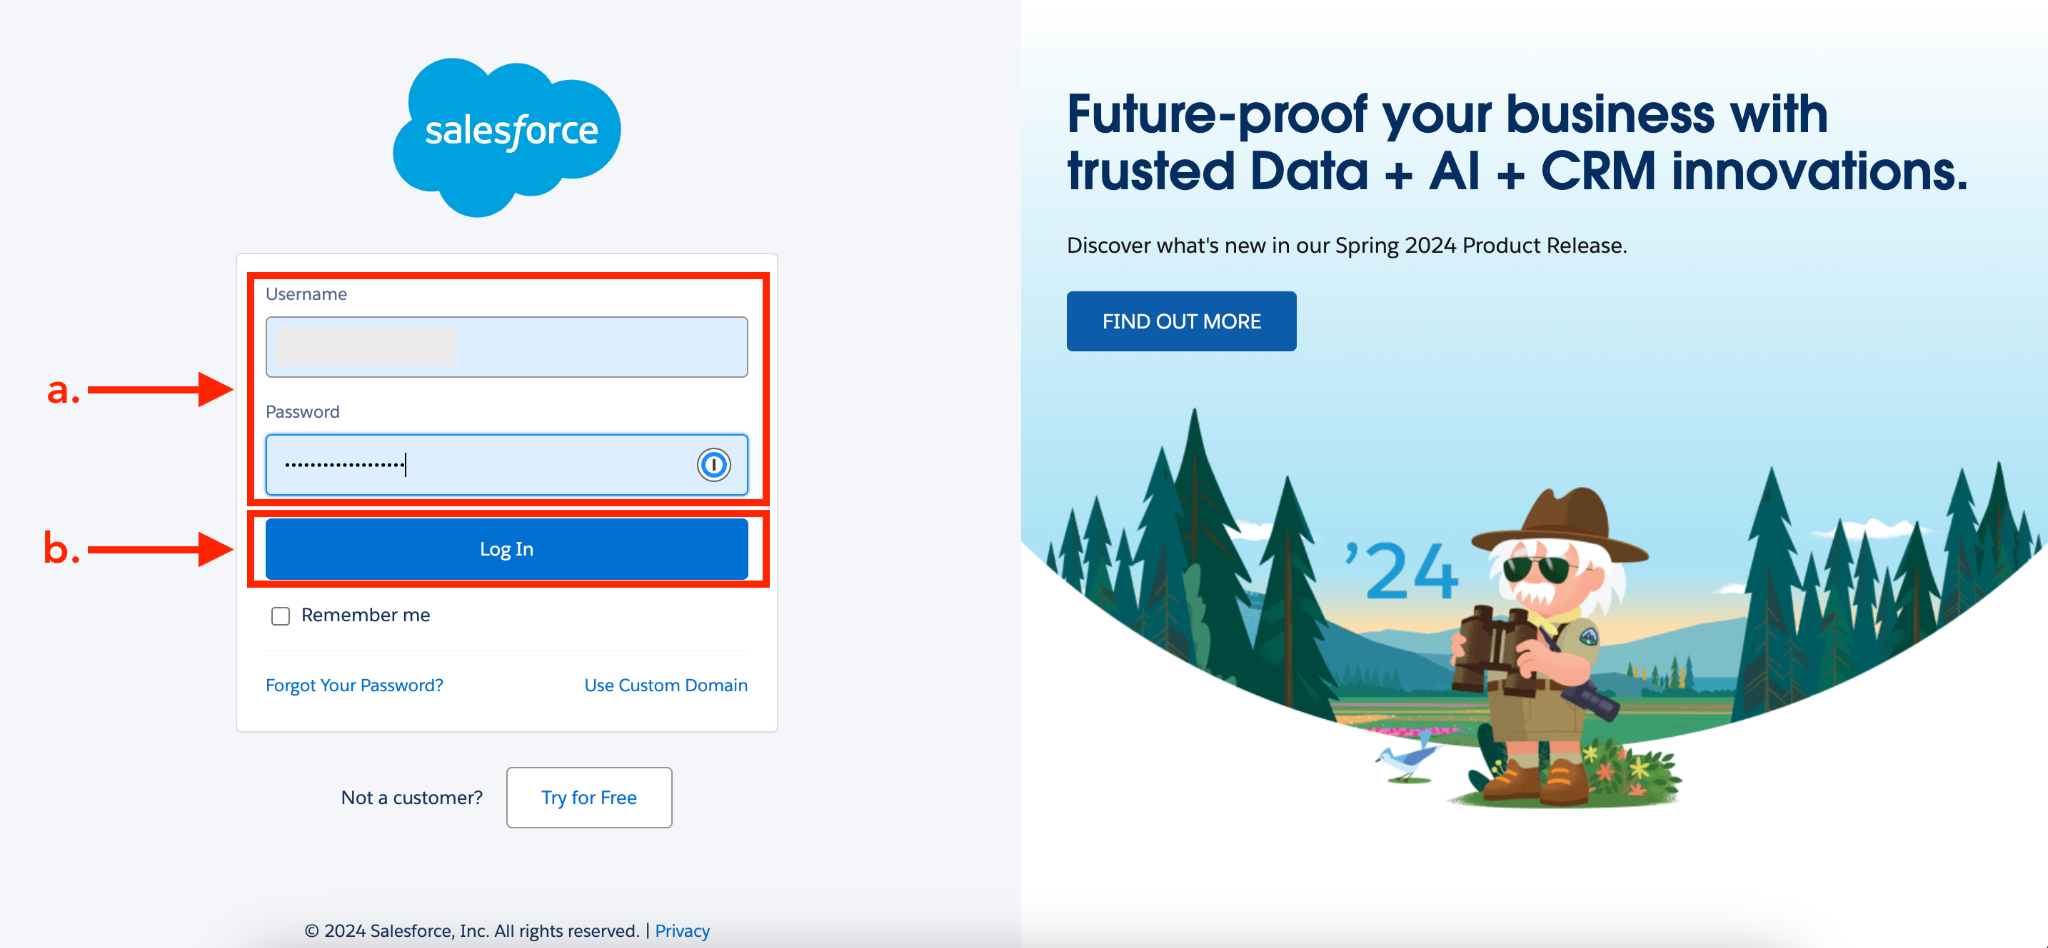
Step 5
Enter your Salesforce Username and Password (a). Then, click the blue ‘Log-in’ button (b).
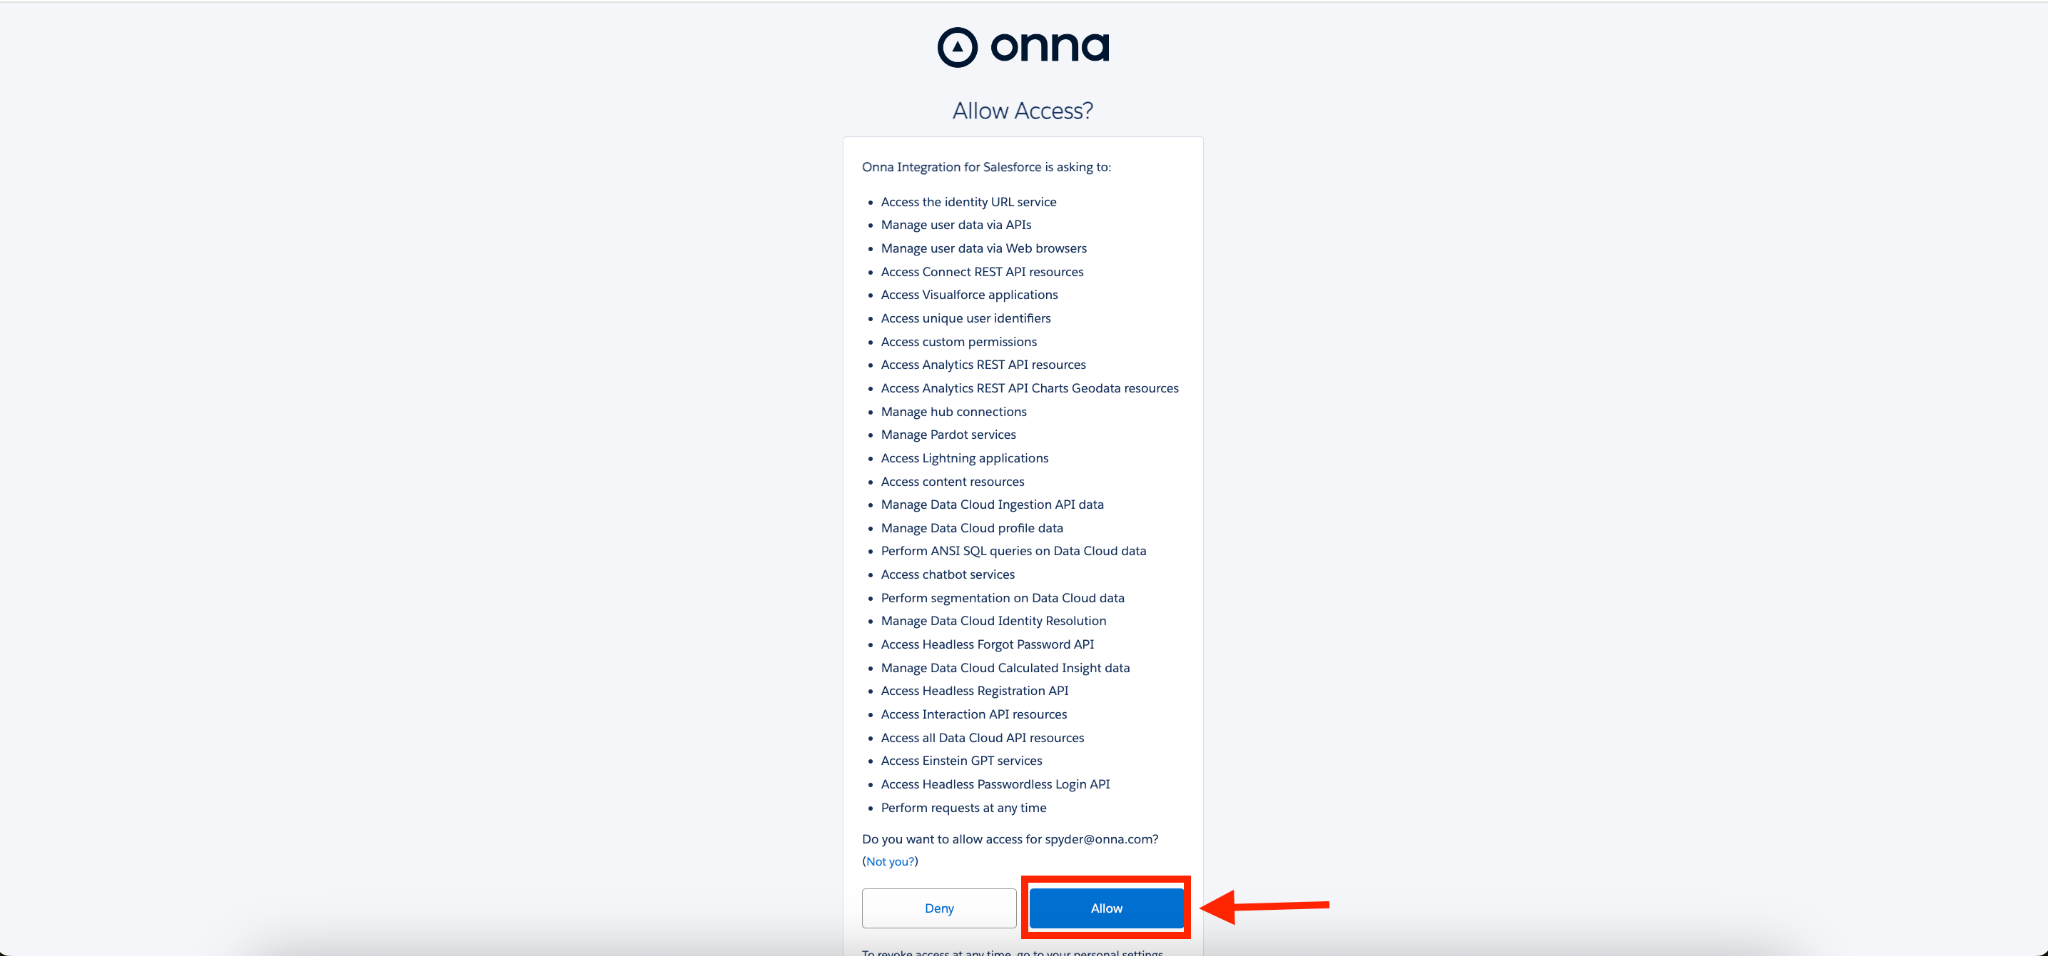
Step 6
Allow Onna access to your Salesforce account by clicking the blue ‘Allow’ button.
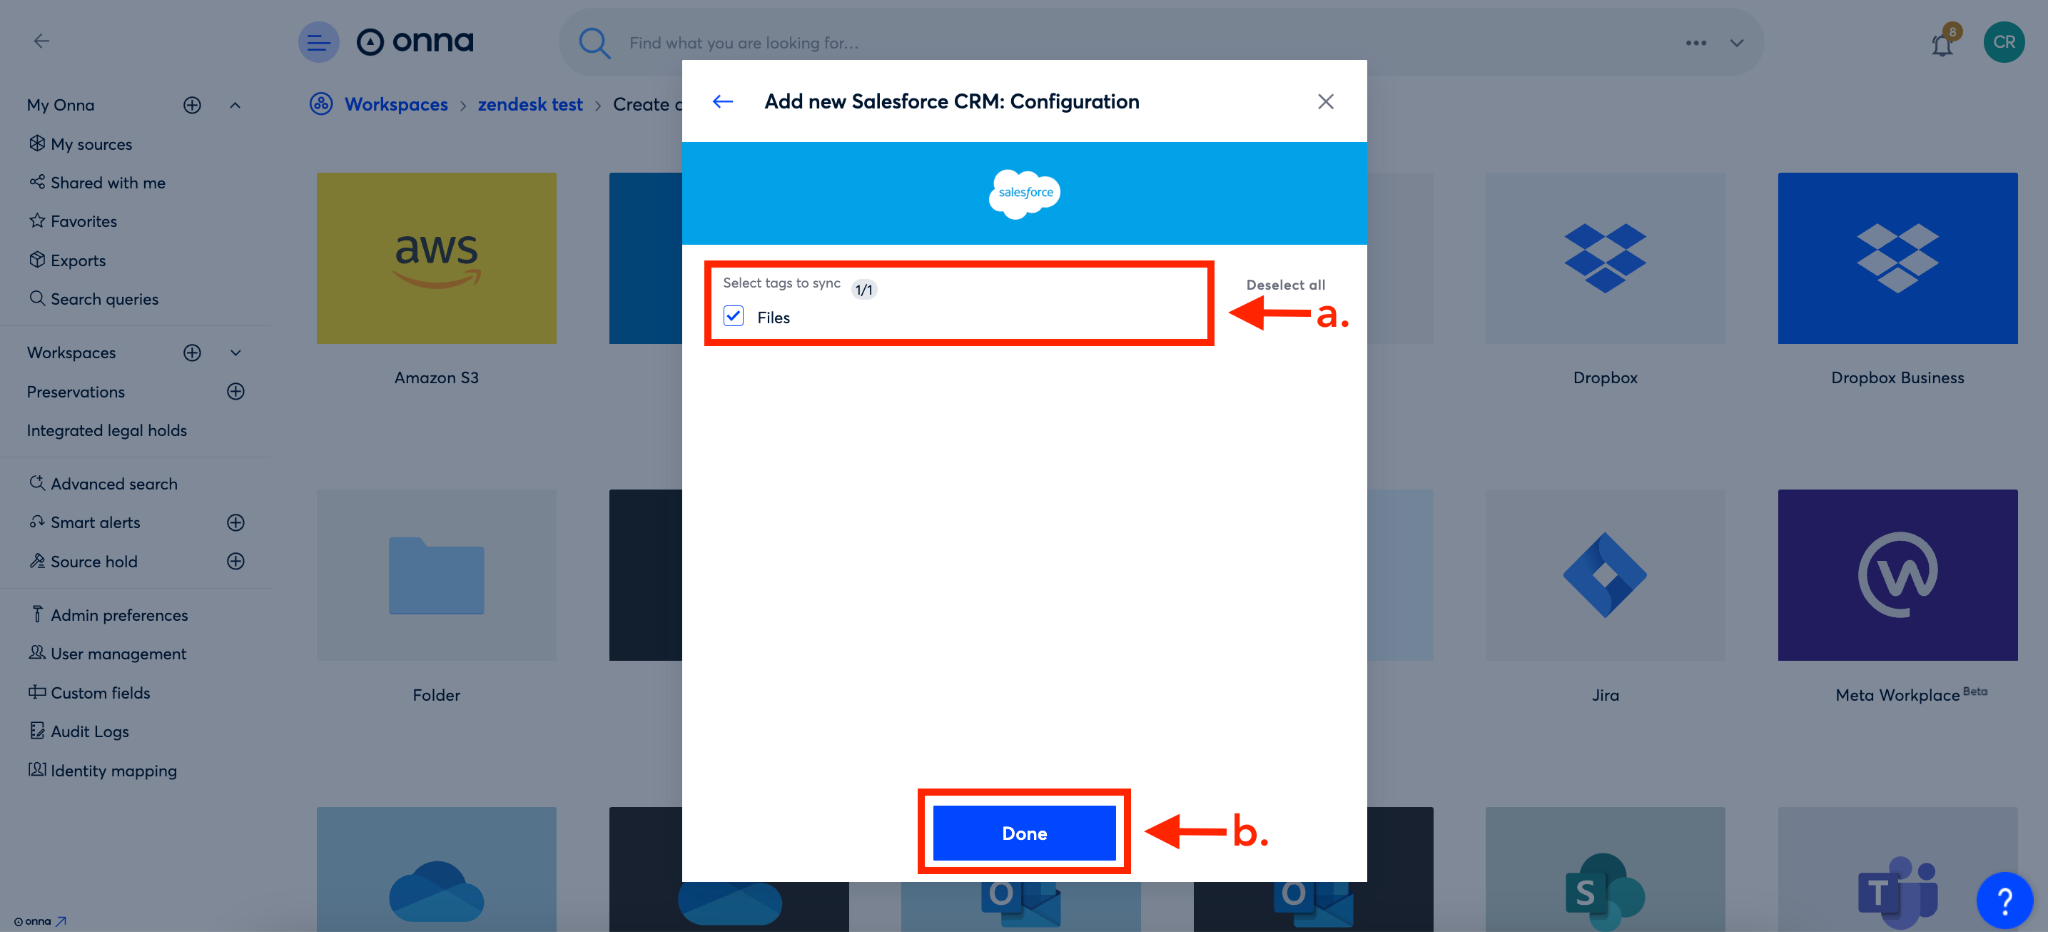
Step 7
Then, select the tags you want to include in your sync (a) and click the blue ‘Done’ button (b).
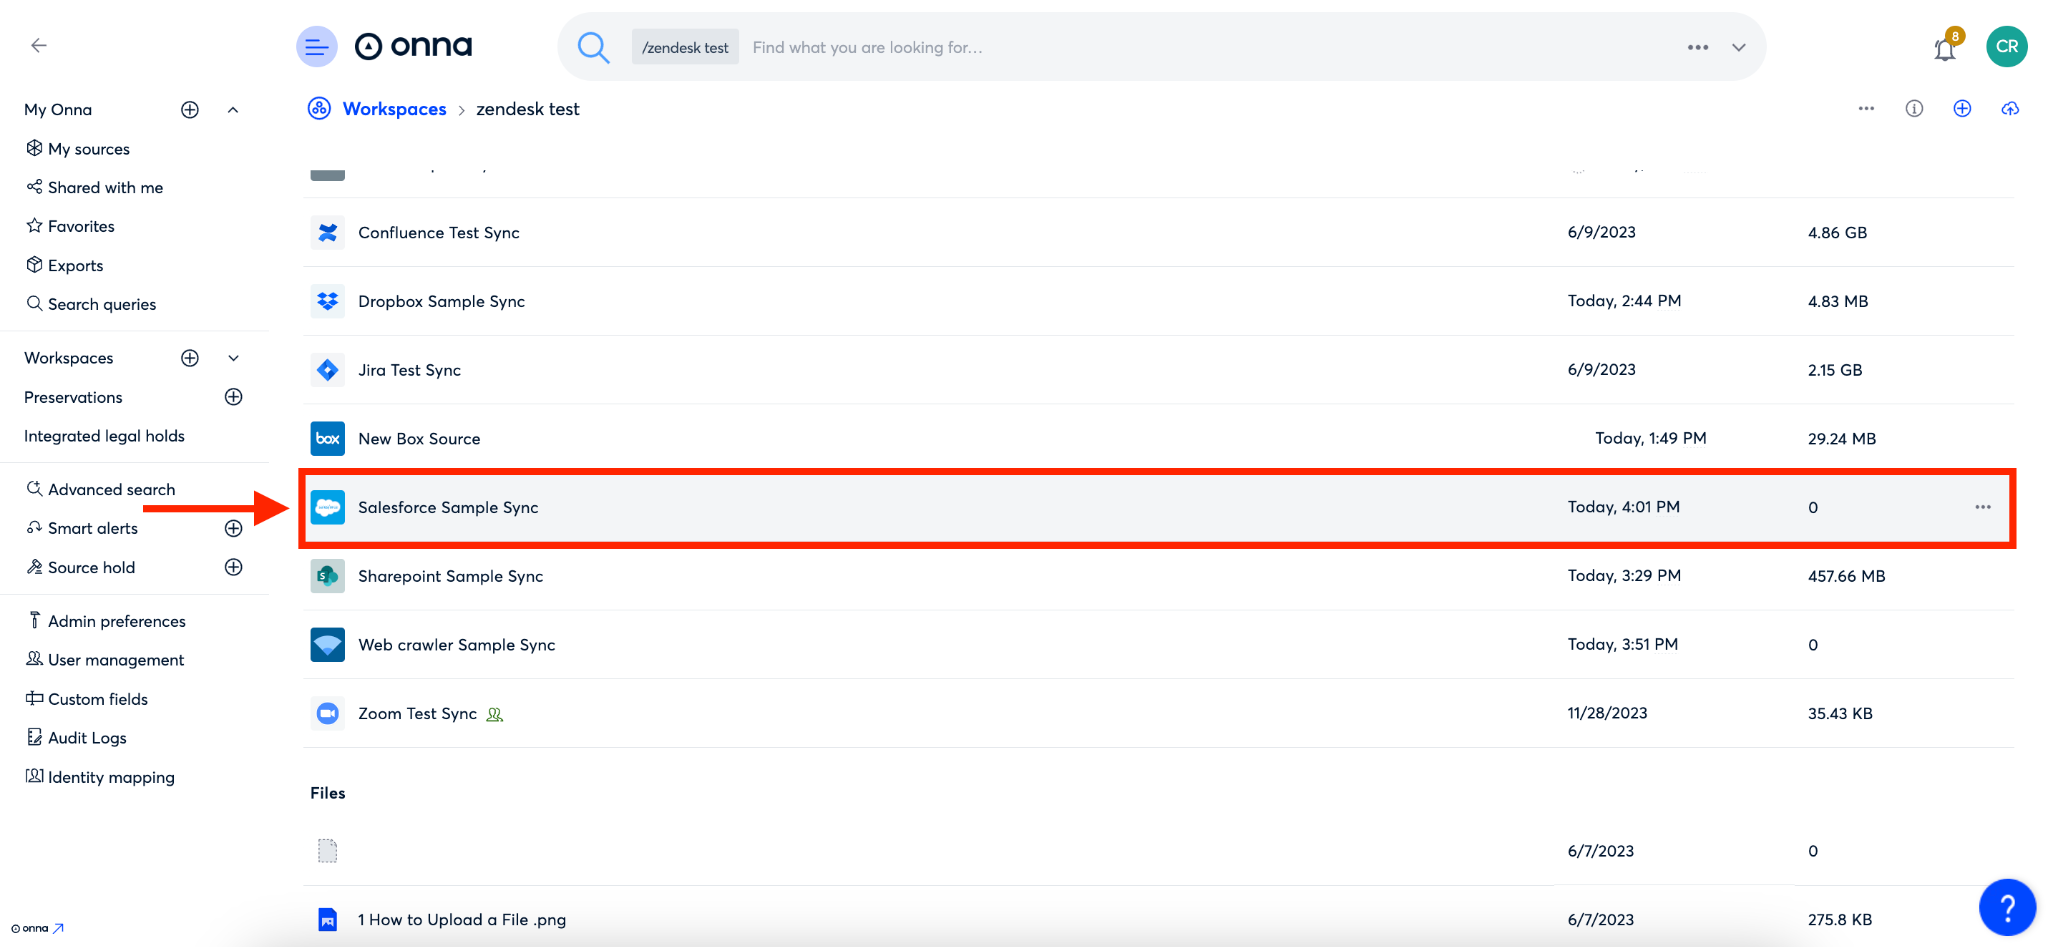
Step 8
You’ll now see your new source appear alphabetically in the list of ‘Connected sources’ in your workspace.