Overview
At the most basic level, indexing scans through your project’s data to locate and map words, which in turn makes it possible to search your data using keywords or phrases. Reveal also runs additional processes during this time (e.g. conversion into PDF, text extraction, and color detection).
After you import documents in Review Manager (see our Third-Party Data Loads – Review Manager article), your data will need to be indexed. As soon as a text set completes indexing, the project will become searchable.
Note
Bulk updates and analytics indexing run in parallel, without queuing or interrupting other running processes so that workflow isn’t impacted.
Text sets may be indexed separately and have defined parameters, including maximum document size or editing common words lists.
Index data in Review Manager
In general, Review Manager data indexing is performed by an admin in the Create > Indexes page and requires you to complete the following steps:
Select project and import file.
Edit index settings.
Select document text sets.
I. Select project and import file
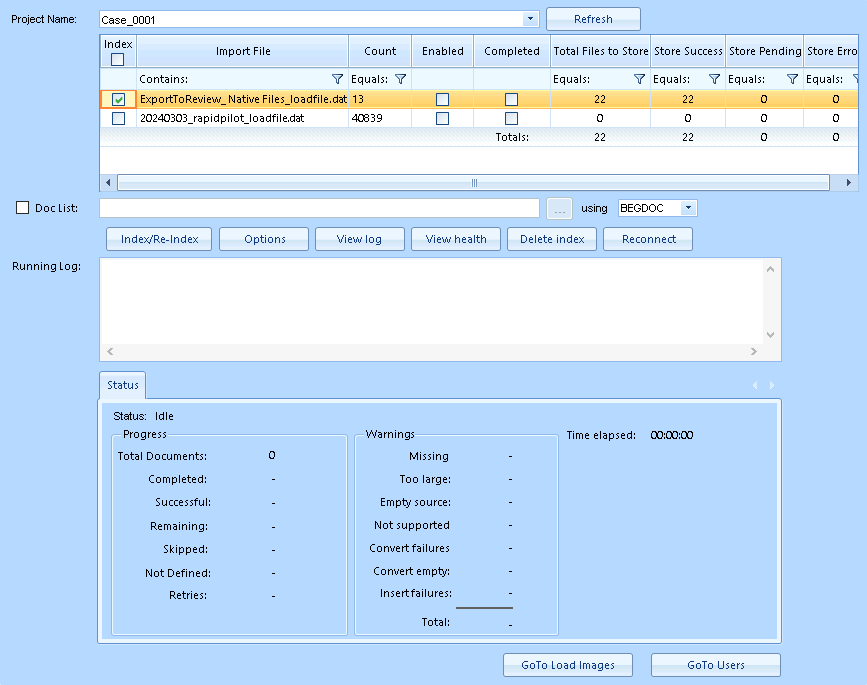
Project Name: Select your project.
In the Index table, select one or more set(s) of loaded data to index.
You can filter any column by clicking the
 filter icon to choose an operator, then type a search query.
Doc List: Specific documents can be targeted using the Doc List field to specify a list file containing the identified document numbering field (BEGDOC or ItemID).
II. Edit index settings
To edit your Index job’s settings, click Options.
In the Index Options modal, Select the General tab.
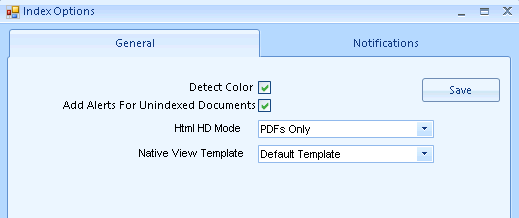
Detect Color: Check to perform color detection during indexing. Otherwise, this process must be done manually.
Add Alerts For Unindexed Documents: Populates the “alert” field that flags a document as unindexed.
Html HD Mode: Choose which documents to be used (None, All, or PDFs Only). HTML HD Mode allows for a higher definition rendering of the HTML view for documents that aren't indexed as text. This may result in better fidelity to the original native document, but also slows processing and increases index size.
Native View Template: Choose an imaging template from the dropdown.
Select the Notifications tab.
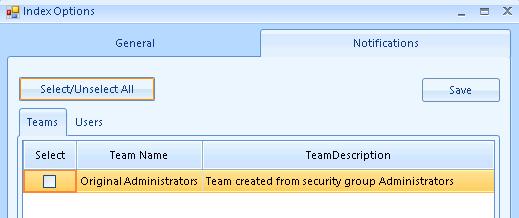
Use the checkbox to select or deselect users or teams to notify them once the Index job completes.
Click Save.
A popup will appear that says “Index options saved successfully”. Click OK.
III. Select document text sets
Click Index/Re-Index.
In the Select Document Text Sets modal:
Documents: Choose which documents to index from the dropdown.
Unindexed and Error – Index unindexed documents and documents with indexing errors.
Unindexed only – Only index documents that aren’t already indexed.
Non-Error – Index all documents that don’t have indexing errors.
All Documents – Index all documents, including unindexed documents and documents with errors.
Select the text sets you want to index from the table.
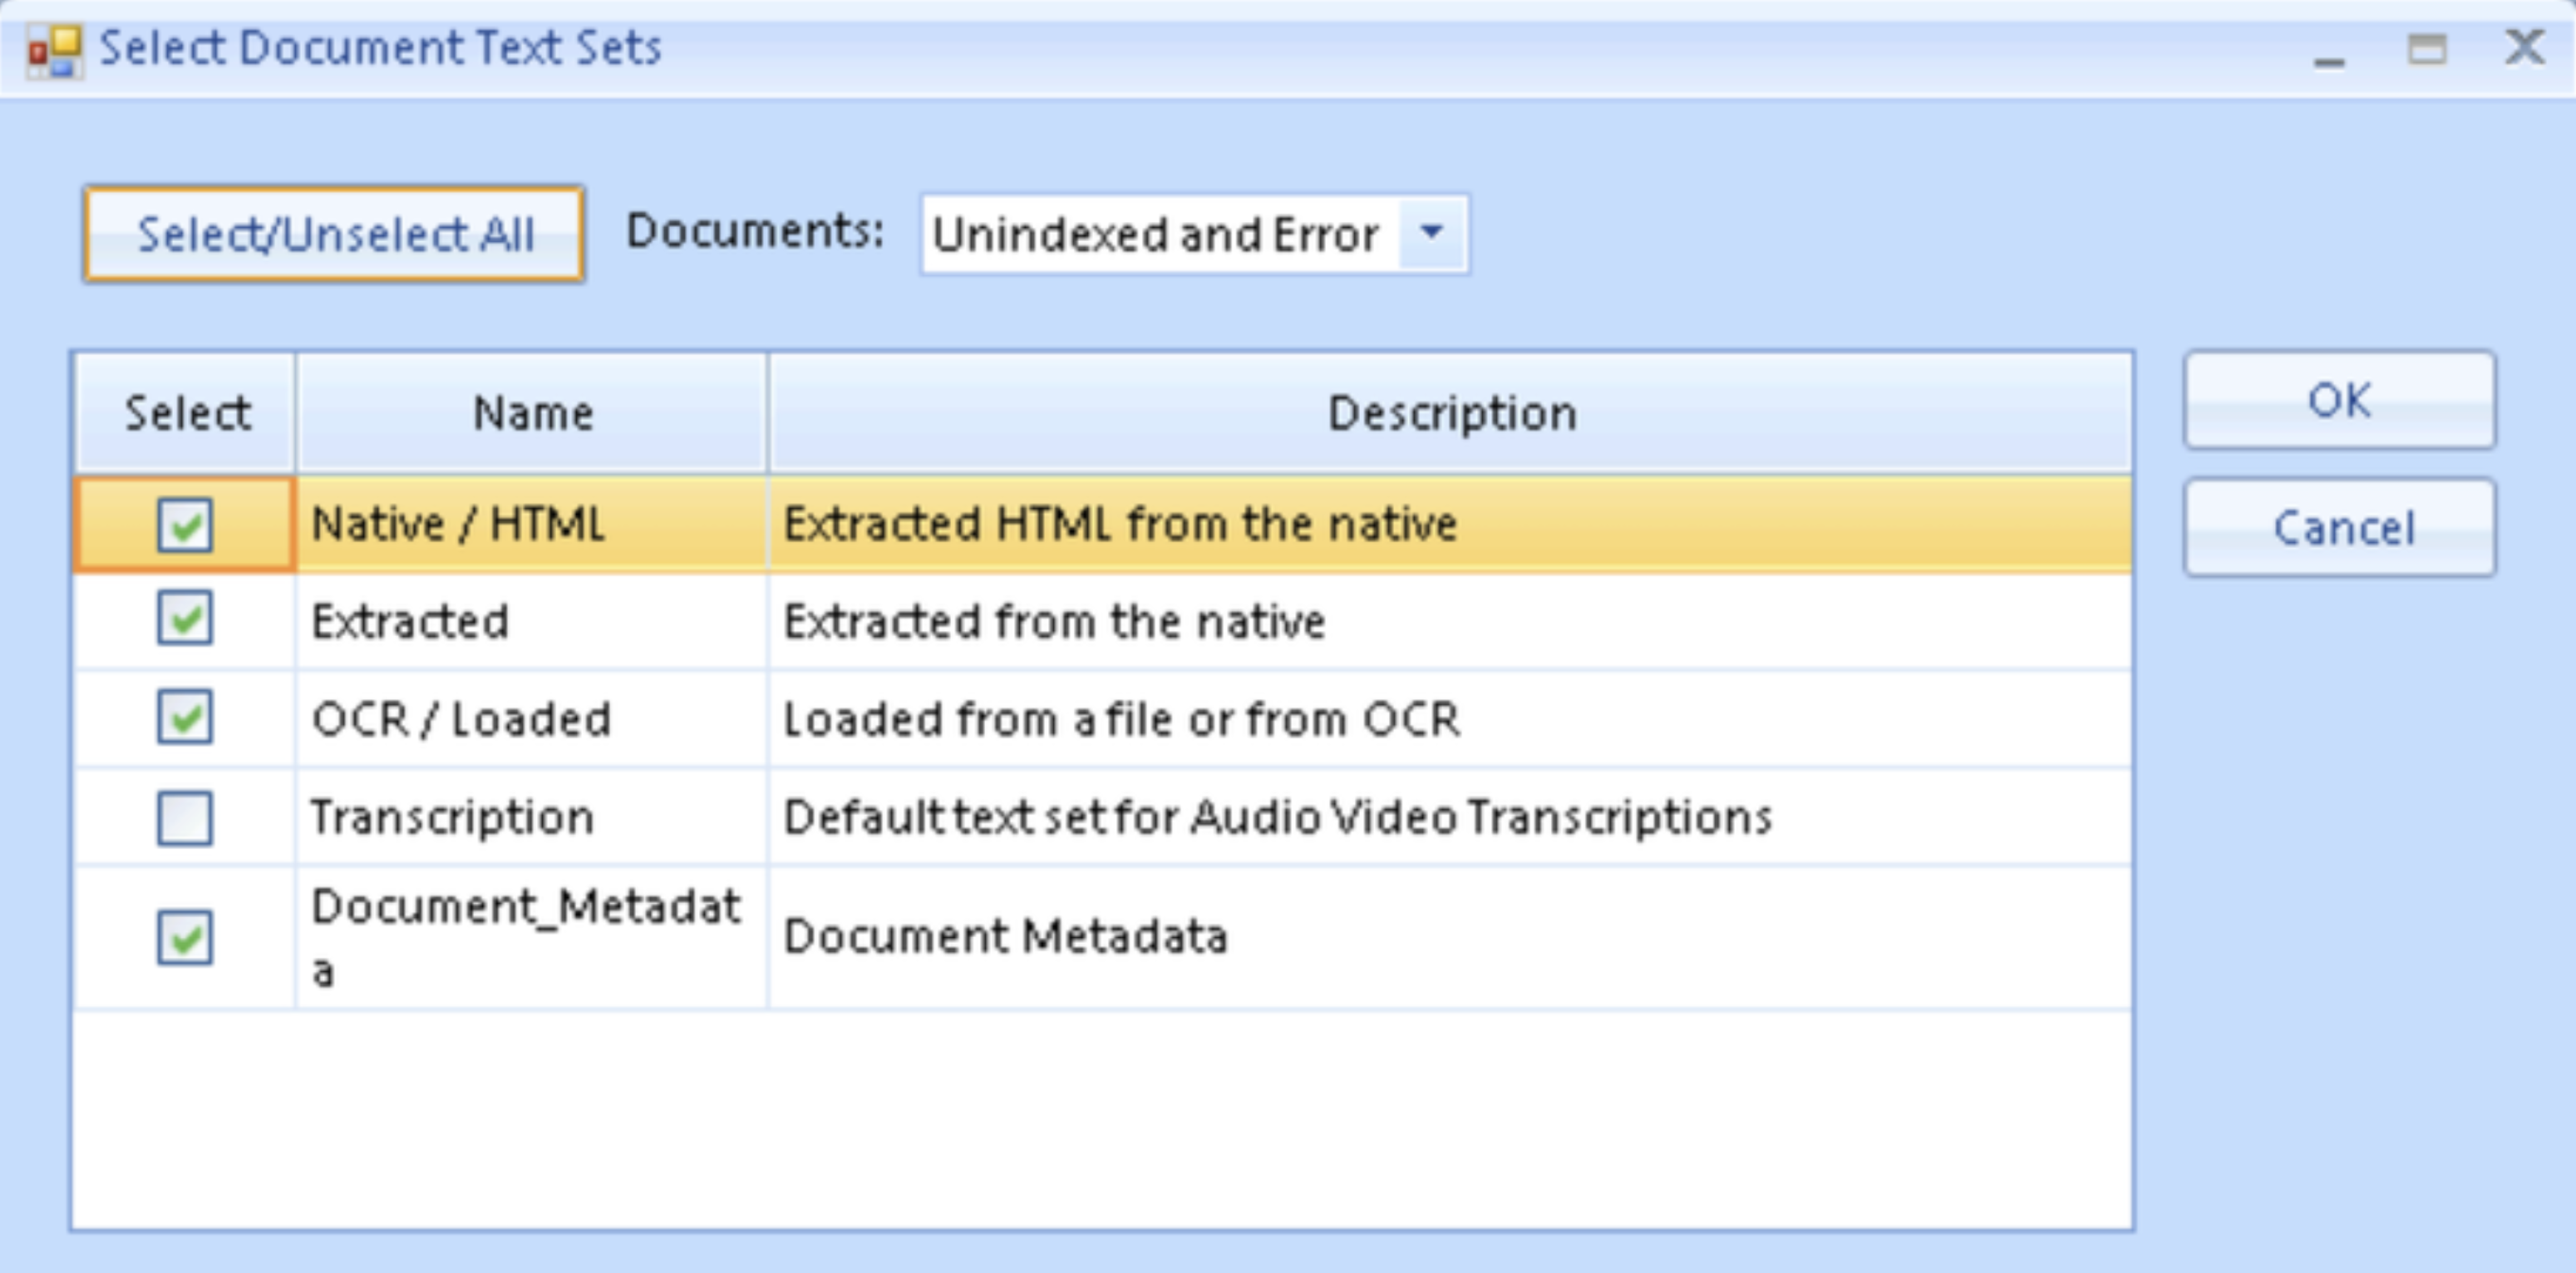
Click OK.
Note
The native and text file sizes differ from the expanded file sizes. The expanded file size is the size of the text set created.
Potential reindexing
When creating a new custom field and bulk updating data to that newly created field (“overlaying” in Review Manager), Document_Metadata must be reindexed to make the new content visible within the Review Grid.