Feature Flag
This feature is included in this release but currently turned off by default. It will not appear in your environment unless it is manually enabled by Reveal. Contact your Customer Success Manager if you’d like to learn more or request access.
Overview
As of 2025.5, users are no longer required to open the Exolution Web Portal and leave Reveal to redact spreadsheets. Spreadsheets can be redacted in Spreadsheet View via Document Viewer.
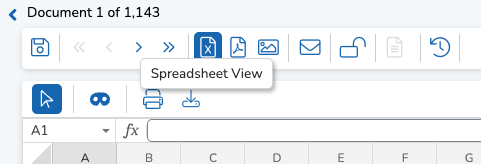
Whenever you open a spreadsheet document in Document Viewer — whether in the Grid or Results Pane — Spreadsheet View will be enabled, where redactions can be made. Click the below icons to switch between Spreadsheet View, Native View, and Image View.
Performing Redactions
While in spreadsheet view, to enter redaction mode, press the blue mask icon (see above). A new toolbar will appear with the following icons:

Toolbar Actions
Redaction Profile + Labels dropdown: Select which label to use when applying redactions. Redactions will have a different color depending on which profile they are a part of. A profile can be composed of individual labels. See Manage Redactions for instructions on how to create and edit redaction profiles and labels.
Draw Redaction toggle: Turn redaction mode on/off. When redaction mode is off, selected cells will have a blue outline. In redaction mode, cells will have a red outline.
Hide Images toggle: Show or hide images in the spreadsheet. This includes graphs.
Images that cover information can also be moved by holding and dragging to another location on the spreadsheet. This is a temporary action. When proceeding to the next document, or if the document is closed and re-entered, the images will return to their original place.
Delete redaction (trashcan): Delete redactions that are currently selected.
Toggle Preview (eye): Show what redactions look like when burnt in. Highlighted / colored redactions will turn black.
Erase Annotations (eraser): Delete annotations as you select them. When Erase Annotations is on, selected cells will have a blue outline.
When in redaction mode, redacting is as easy as dragging the curser across a range of cells. An individual cell can be redacted multiple times with multiple labels or across multiple redaction profiles.
Keep in mind
A cell will display only the redaction color of the most recently created redaction profile.
Viewing and Hiding Redaction Profiles
The document below has multiple redaction profiles, as shown by the unique colors of each profile.

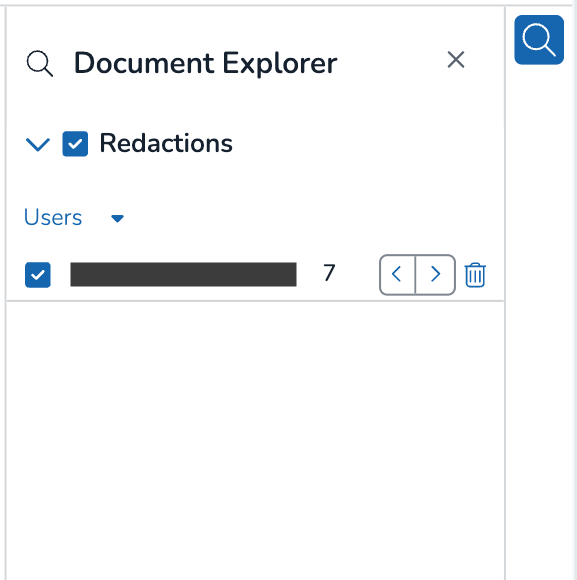
Press the magnifying glass icon to the right of Spreadsheet View to open Document Explorer, where you can toggle certain redactions on and off. The dropdown under Redactions allows you to choose between seeing redactions by Label, Profile, or User.
Label | Profile | User |
|---|---|---|
|
|
|
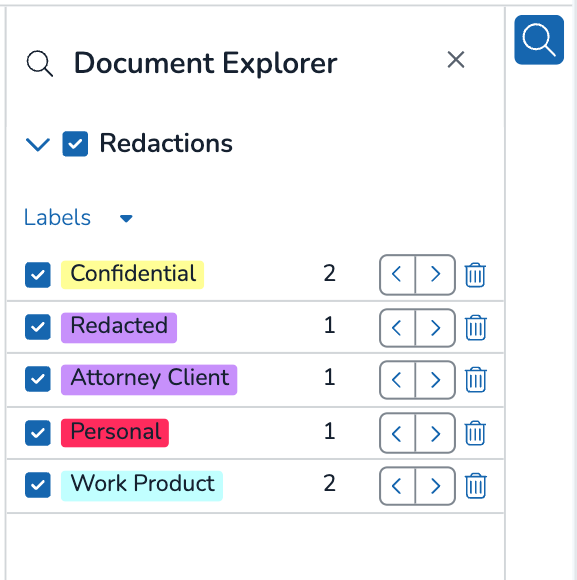

Each list item has a checkmark, where you can toggle on/off visibility of each specific redaction. The number to the right shows how many redactions exist for that category.
The trash icon lets you delete all redactions in a category. A Delete Reactions warning will pop up to verify you want to proceed with this action. Click DELETE to confirm. All “delete” actions are permanent; you cannot use your keyboard’s “undo” command to reverse this action.
Click in between a redaction name and number to open up a list of each redaction under that category. Each item details the cell range, date created, which user created the redaction, and which profile the redaction belongs to.
.png)
Selecting an item will highlight its redaction in your spreadsheet via a grey box and blue border. Selecting multiple redactions in this manner, then pressing the delete icon, is a quick way to edit redactions within a specific category. The Select All and Clear All buttons make it easy to choose or deselect all items.
The [ < ] and [ > ] arrow keys let you move down the Document Explorer list within a category, viewing each item one at a time in the spreadsheet view. If the redactions is on a different sheet than what’s currently on the screen, Spreadsheet View will automatically change to that sheet and highlight the redaction.
Redaction History
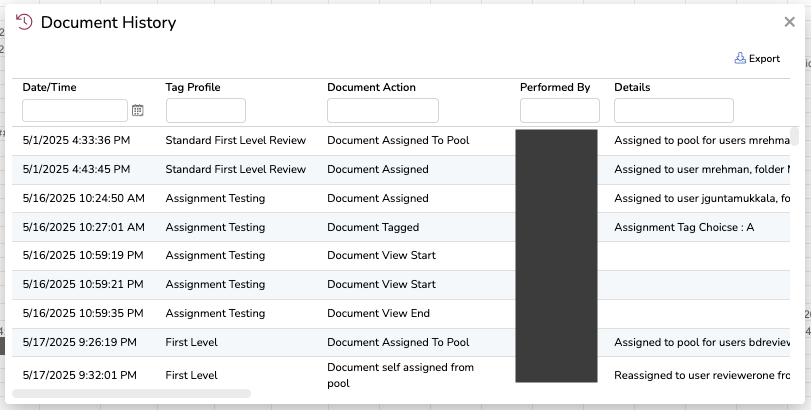
In the upper toolbar, pressing the clock icon opens up document history, where you can view all action history — including redactions — across documents in your project. Redaction entries will include who issued the action, whether a redaction was created or deleted, and the area of redaction.
Export Redacted Files
Exporting files with redactions is as easy as viewing / hiding redaction profiles and pressing the export button.
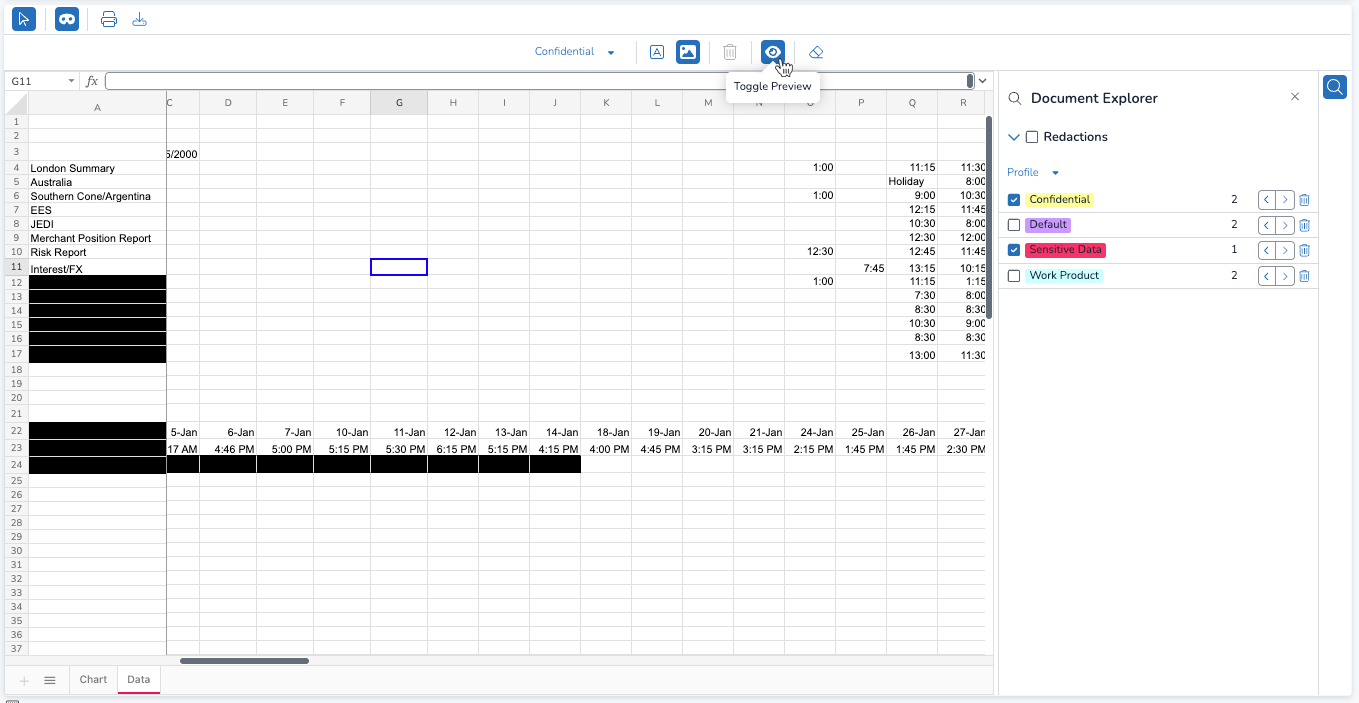
Under Document Explorer, choose which redactions you want visible at the label, profile, or user level. Notice how, in the picture below, only the red and yellow redactions are present in the Spreadsheet view.
Click Toggle Preview to view what your document looks like with burnt in redactions, shown below.
Once you’re satisfied with how the document looks, press the print icon.
Type your file name
Decide whether or not to include redactions. The redactions included in the document will be the same redactions currently visible to you.
Press PRINT.
Supported File Types – Spreadsheet View
The below table lists all supported files that can currently be opened up and redacted in Spreadsheet View.
.csv | .xlam | .xls |
.xlsb | .xlsm | .xlsx |
.xltm | .xltx | .xlw |
.xml |