Reveal clients are able to leverage Single Sign-On (SSO) to manage user access for their organization via SAML and OIDC protocols. With SSO, you can simplify the login process for your users, reduce the risk of password-related security breaches, and improve overall user experience.
Reveal supports multiple SSO identity providers (IdP's) via SAML and OpenID Connect (OIDC) protocols, so you can choose the protocol that best fits your needs.
Provider and Protocol Information
As a prerequisite, you will need to provide the following information to integrate your SSO with Reveal:
Your IdP Provider Name
Your SSO Metadata
If you choose SAML protocol (Reveal default),
Client SSO Service URL
Client SSO Service Logout URL
X509 Certificate
If you choose OIDC protocol,
Client Authorization URL
Client Token URL
Client ID
Client Secret
Client Issuer
Client JWKS URL
Use the detailed steps below to capture the information required for us to create the SSO connection.
Creating an SSO Connection
Log in to your Reveal web application. The login window will appear as shown below. Here is an example of a functional web URL:
https://pilots.ca-central-1.reveal11.cloud/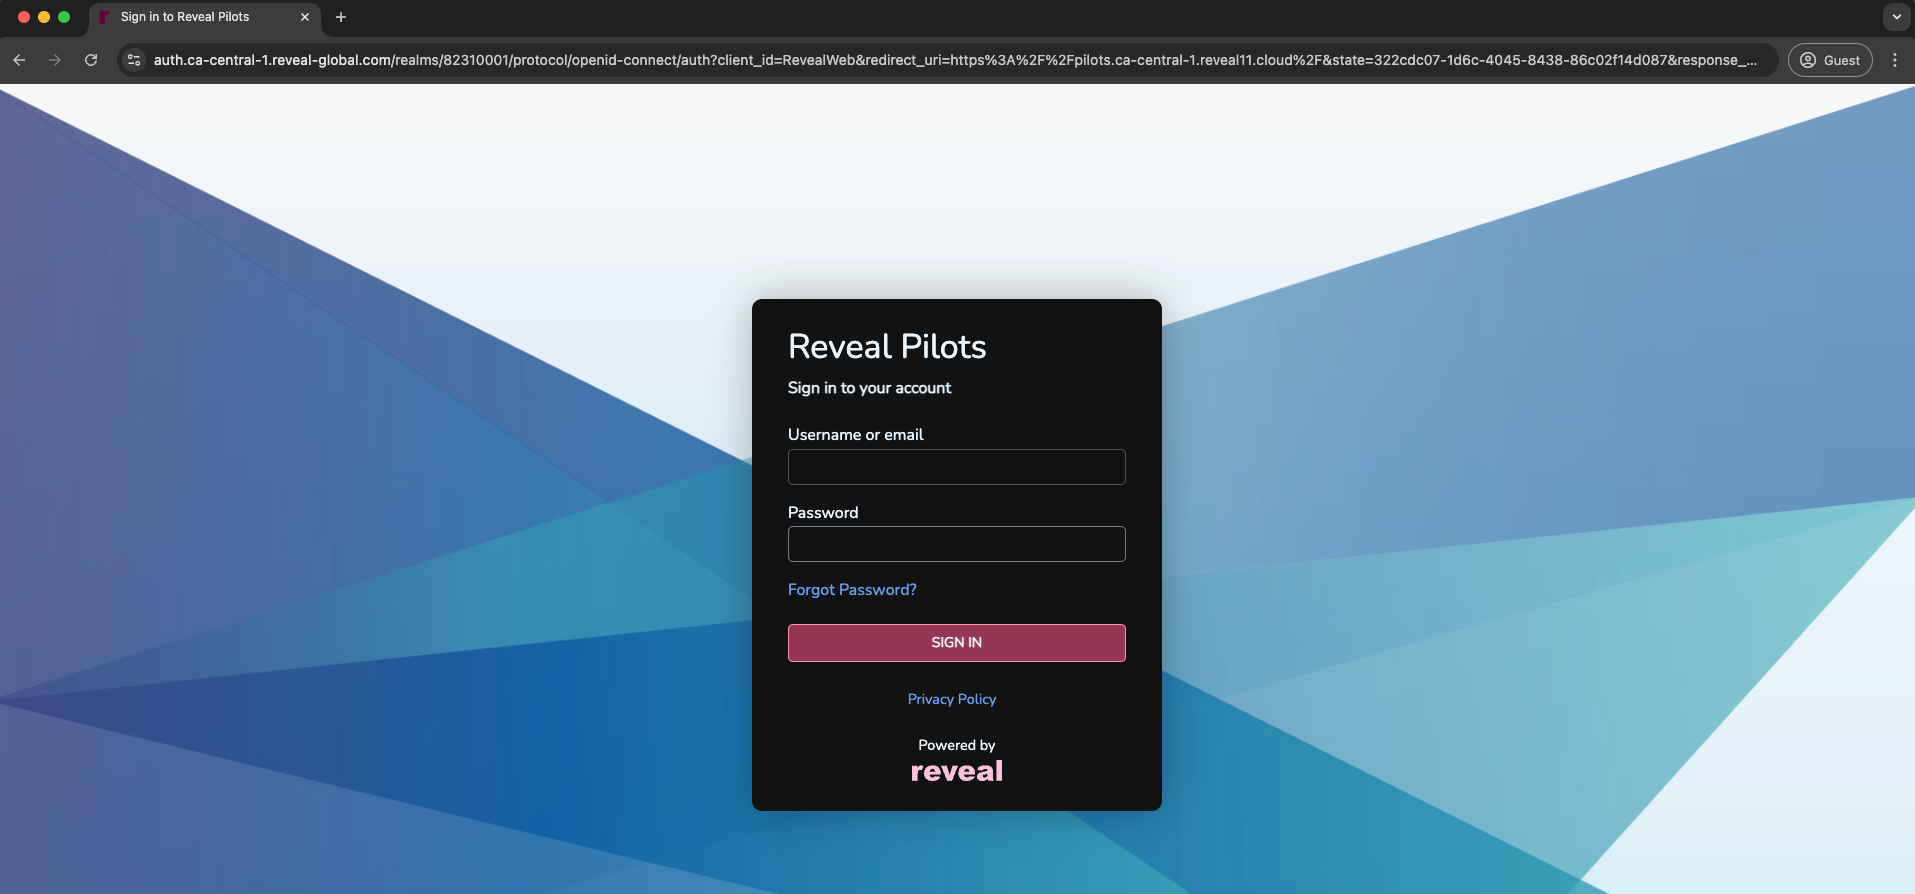
Copy the base URL - Copy the beginning of the URL up to the point where it ends with /realm/<8-digit-number>. In this case, the base URL is:
https://auth.ca-central-1.reveal-global.com/realms/82310001Get SSO Metadata URL
If using the SAML protocol for your organization's SSO integration, access your Reveal application's SAML metadata by adding /broker/<CLIENT-URL-SUBDOMAIN>-saml/endpoint/descriptor to the end of the base URL generated in Step 2.
For example:
https://auth.ca-central-1.reveal-global.com/realms/82310001/broker/pilots-saml/endpoint/descriptor
If using the OIDC protocol for your organization's SSO integration, access your Reveal application's OIDC metadata file by adding /.well-known/openid-configuration to the end of the base URL generated in Step 2.
For example:
https://auth.ca-central-1.reveal-global.com/realms/82310001/.well-known/openid-configuration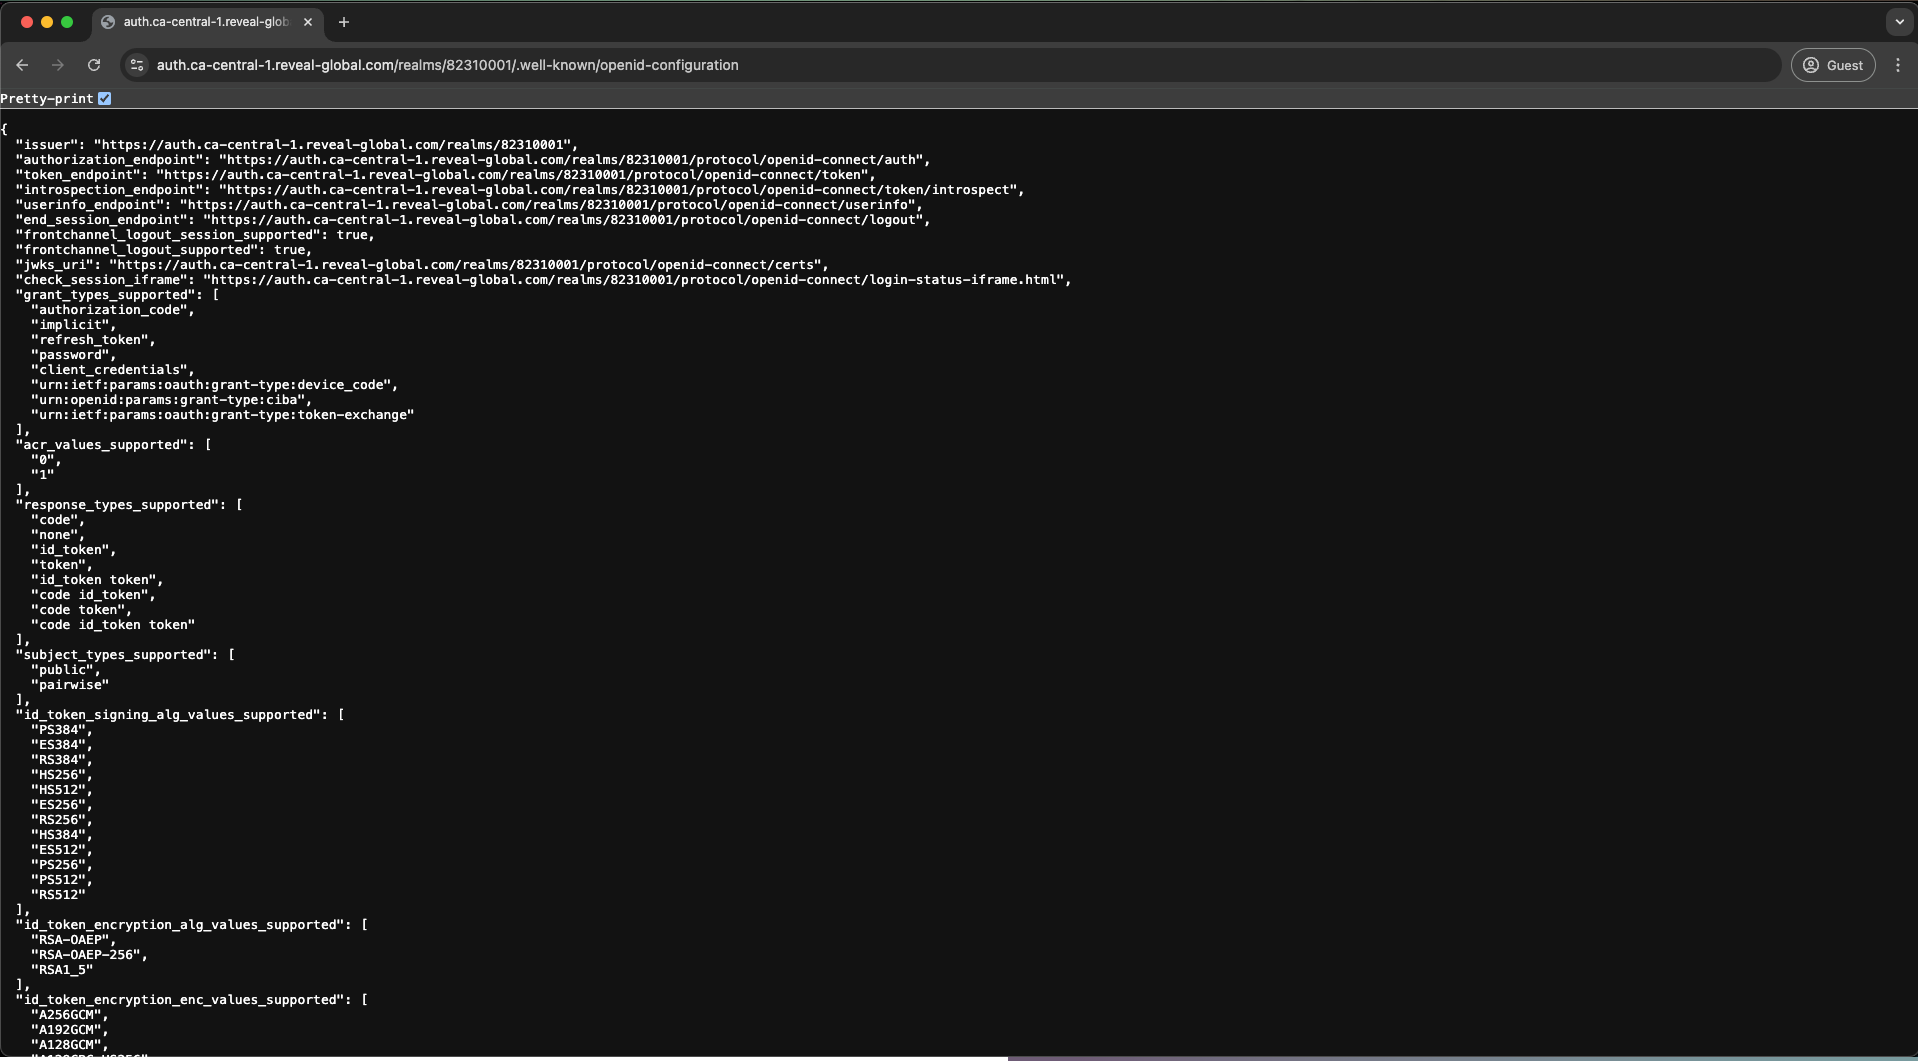
Follow your IdP instructions to configure SSO, using either the SAML or OIDC metadata URLs you chose in Step 3. You will need to work with your IT team to complete this setup, below lists some SSO integration guides for various IdPs:
Reach out to Reveal Support, To complete the SSO integration on our end, please provide the required SSO metadata to Reveal Support.
Your IdP Provider Name
Your SSO Metadata
If you chose SAML for your SSO integration, share your SAML metadata, including:
Client SSO Service URL
Client SSO Service Logout URL (if applicable)
X509 Certificate
If you chose OIDC for your SSO integration, securely*** share your OIDC metadata, including:
Client Authorization URL
Client Token URL
Client ID
Client Secret (***sensitive)
Client Issuer
Client JWKS URL
Test the SSO Connection, Once the SSO setup is complete, a new SSO button will appear in your Reveal application. Update your IdP SSO application settings with the necessary user and group assignments for access. If you encounter issues, our team is ready to assist.