In this article:
Jira Overview
How to Connect and Collect Using Jira
Jira Overview
Jira is a project management and issue tracking platform used mainly by software development teams. Onna directly connects with Jira's API to collect all information in native format.
Connector Features | |
Authorized Connection Required? No | Is identity mapping supported? No |
Audit logs available? Yes | Admin Access? Yes |
Supports a full archive? Yes | Custodian based collections? No |
In-place preservations supported? No | Resumable sync supported? Yes |
Preserve in place with ILH? No | Syncs future users automatically? No |
Sync modes supported:
| Is file versioning supported? No |
Note: Source Holds are supported by our Jira connector. | |
Types of Data Collected | Metadata Collected |
All files are synced, including, but not limited to:
|
|
Jira Considerations
Since Jira native files are in html format, we take what Jira's API returns and format it like a ticket.
How to Connect and Collect Using Jira
When you’re ready to set up a sync using Onna’s Jira connector, follow the steps below:
Step 1
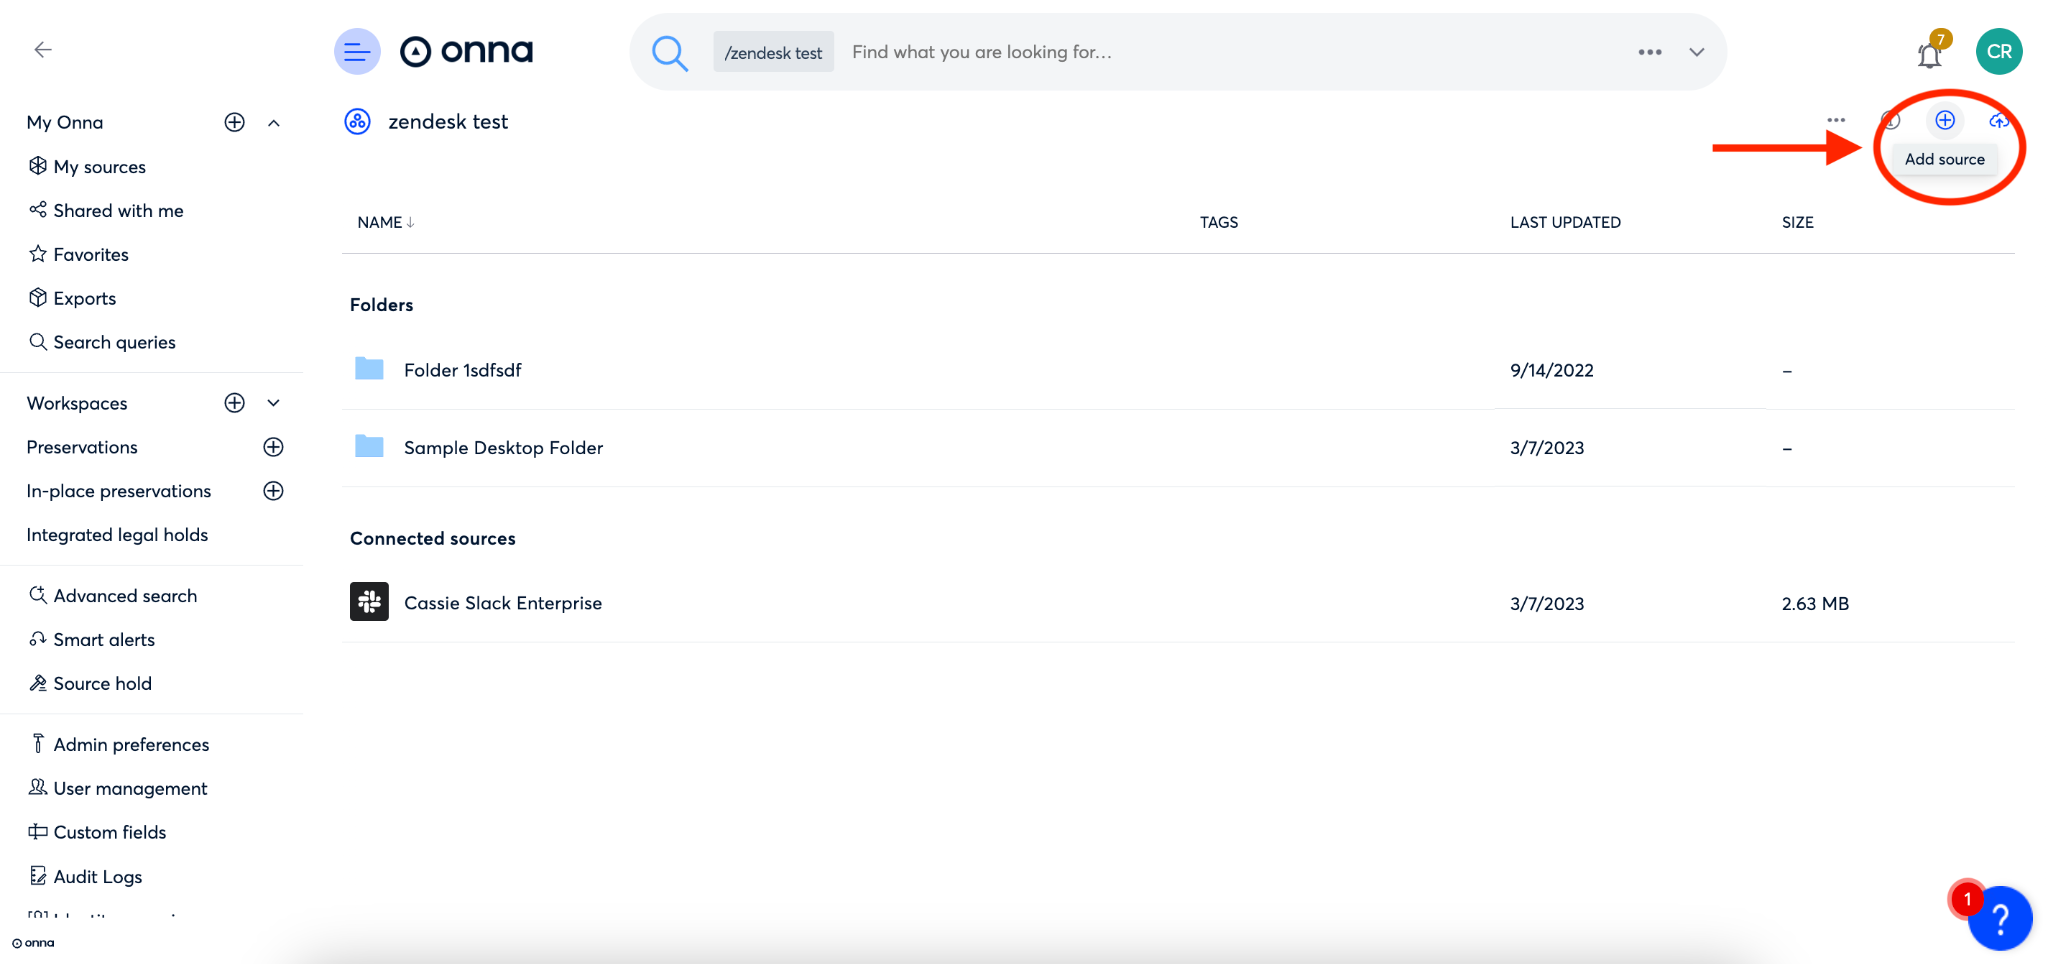
Navigate to the workspace where you want to set up your sync.
Inside that workspace click on the ‘+’ icon in the upper right corner of the screen to ‘Add source’.
Step 2
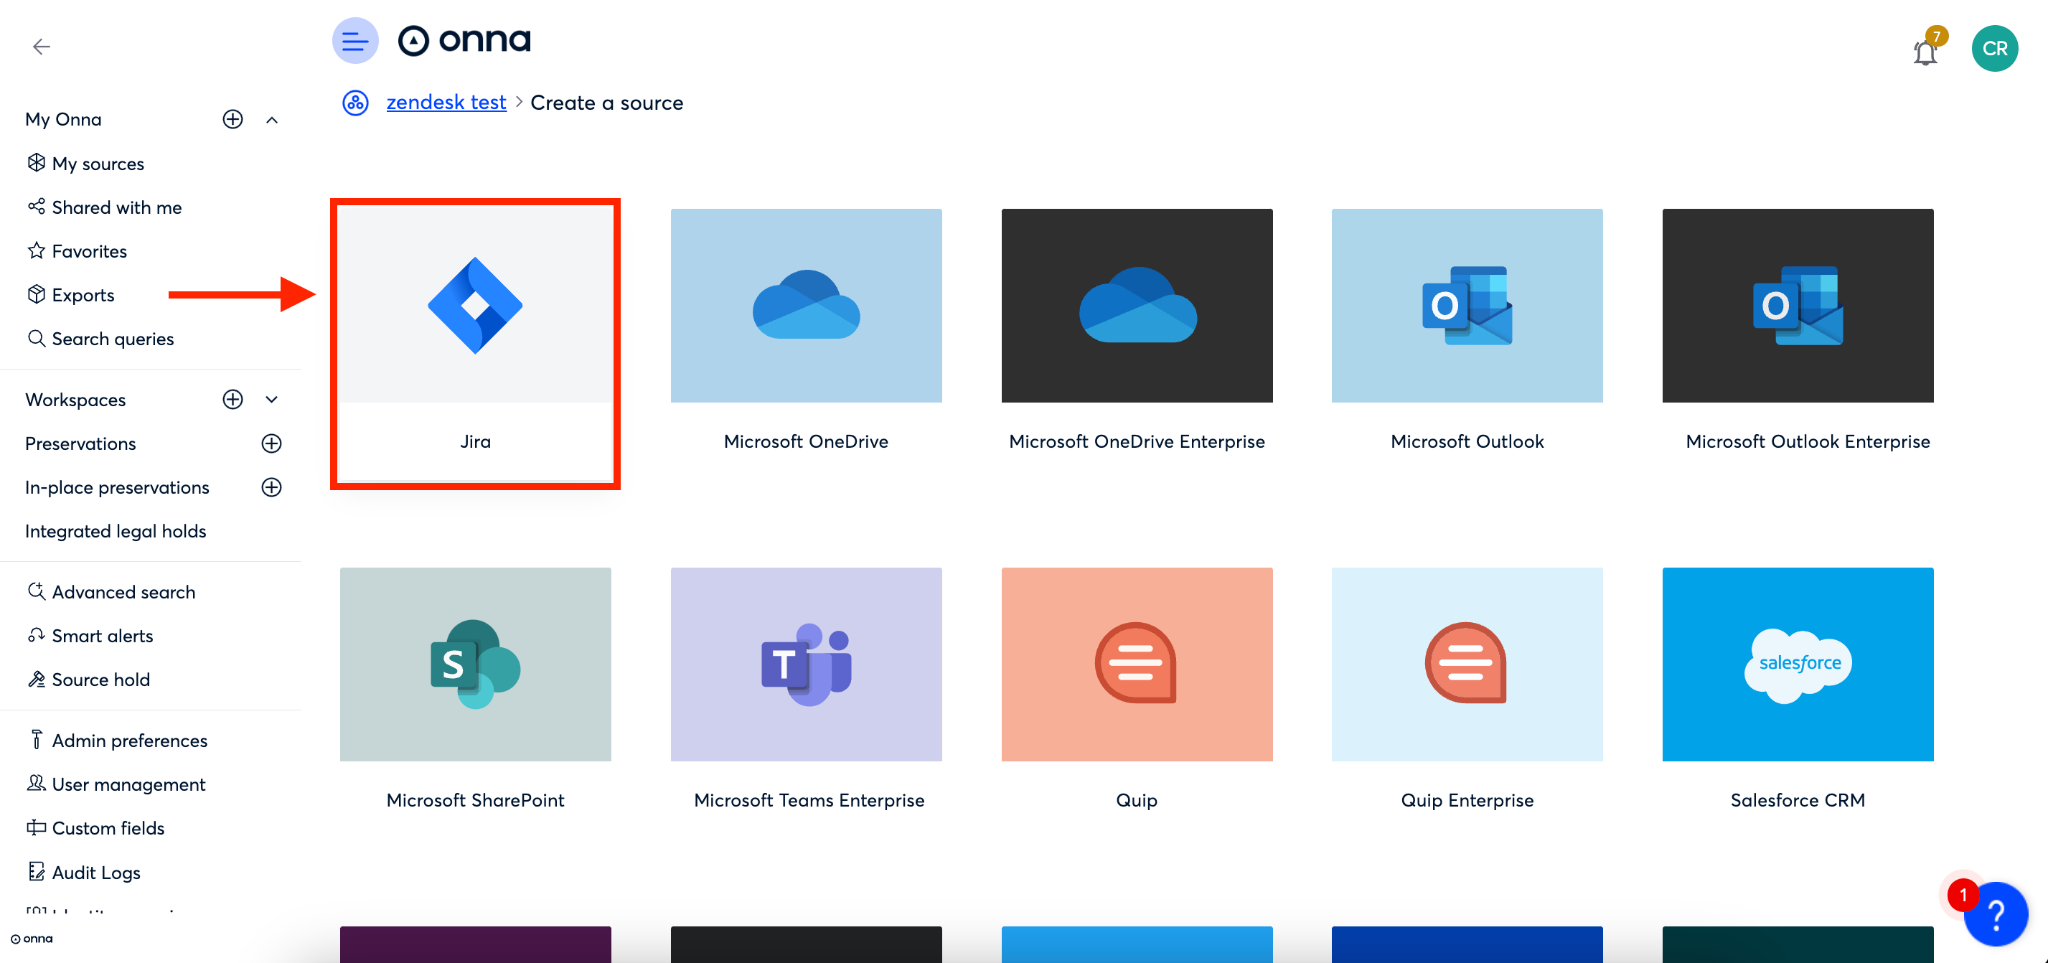
You will now see a list of all sources enabled for your organization. Find and select the ‘Jira’ source.
Step 3
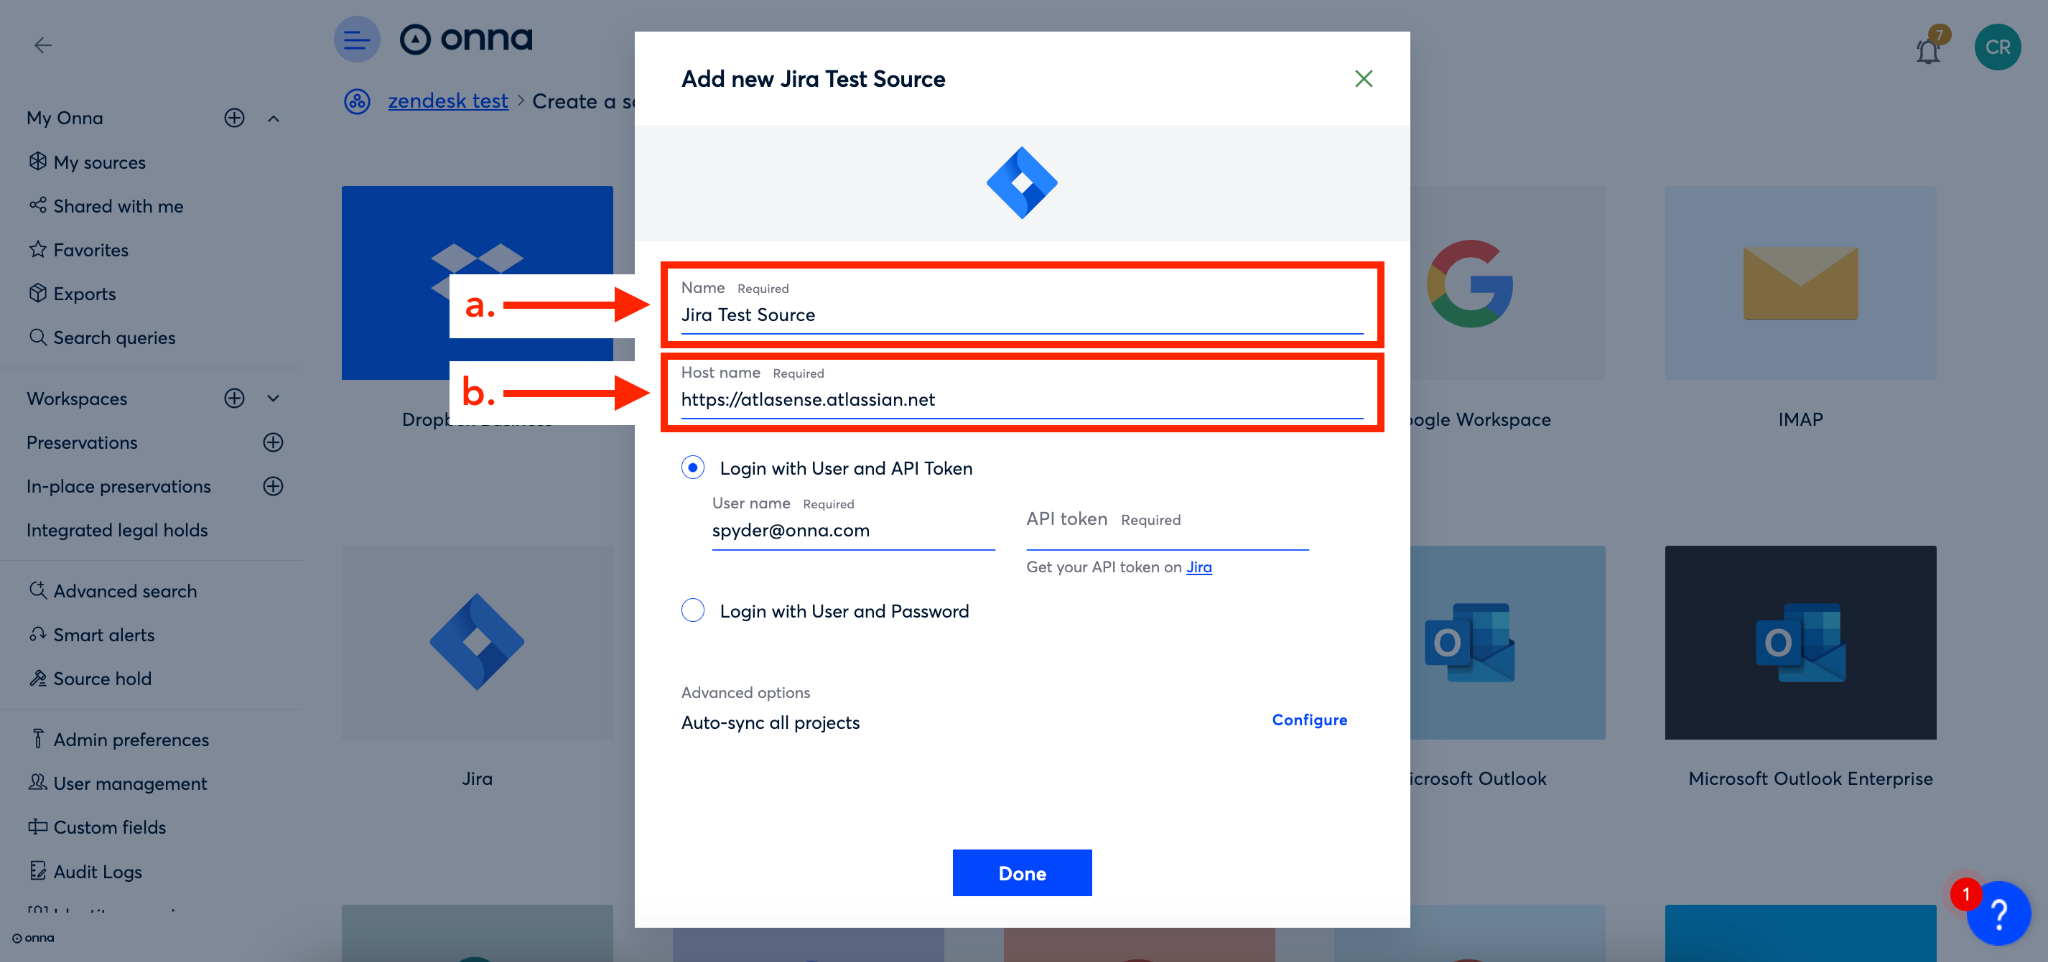
You’ll now name your source in the ‘Name’ field (a) and add your Jira site URL in the ‘Host name’ field (b).
Step 4
You now have the option of connecting to Jira in three ways:
Login with User and API Token - enter your user name and then get an API token from Jira (b). To generate an Atlassian API token, follow the instructions.
Login with User and Password - enter your Jira username and password.
Use an Atlassian service account - use your organization’s configured Atlassian service account rather than an individual user’s credentials, and the connection can be renewed without needing to be manually re-authenticated. Existing API token and username/password data sources continue to work unchanged.
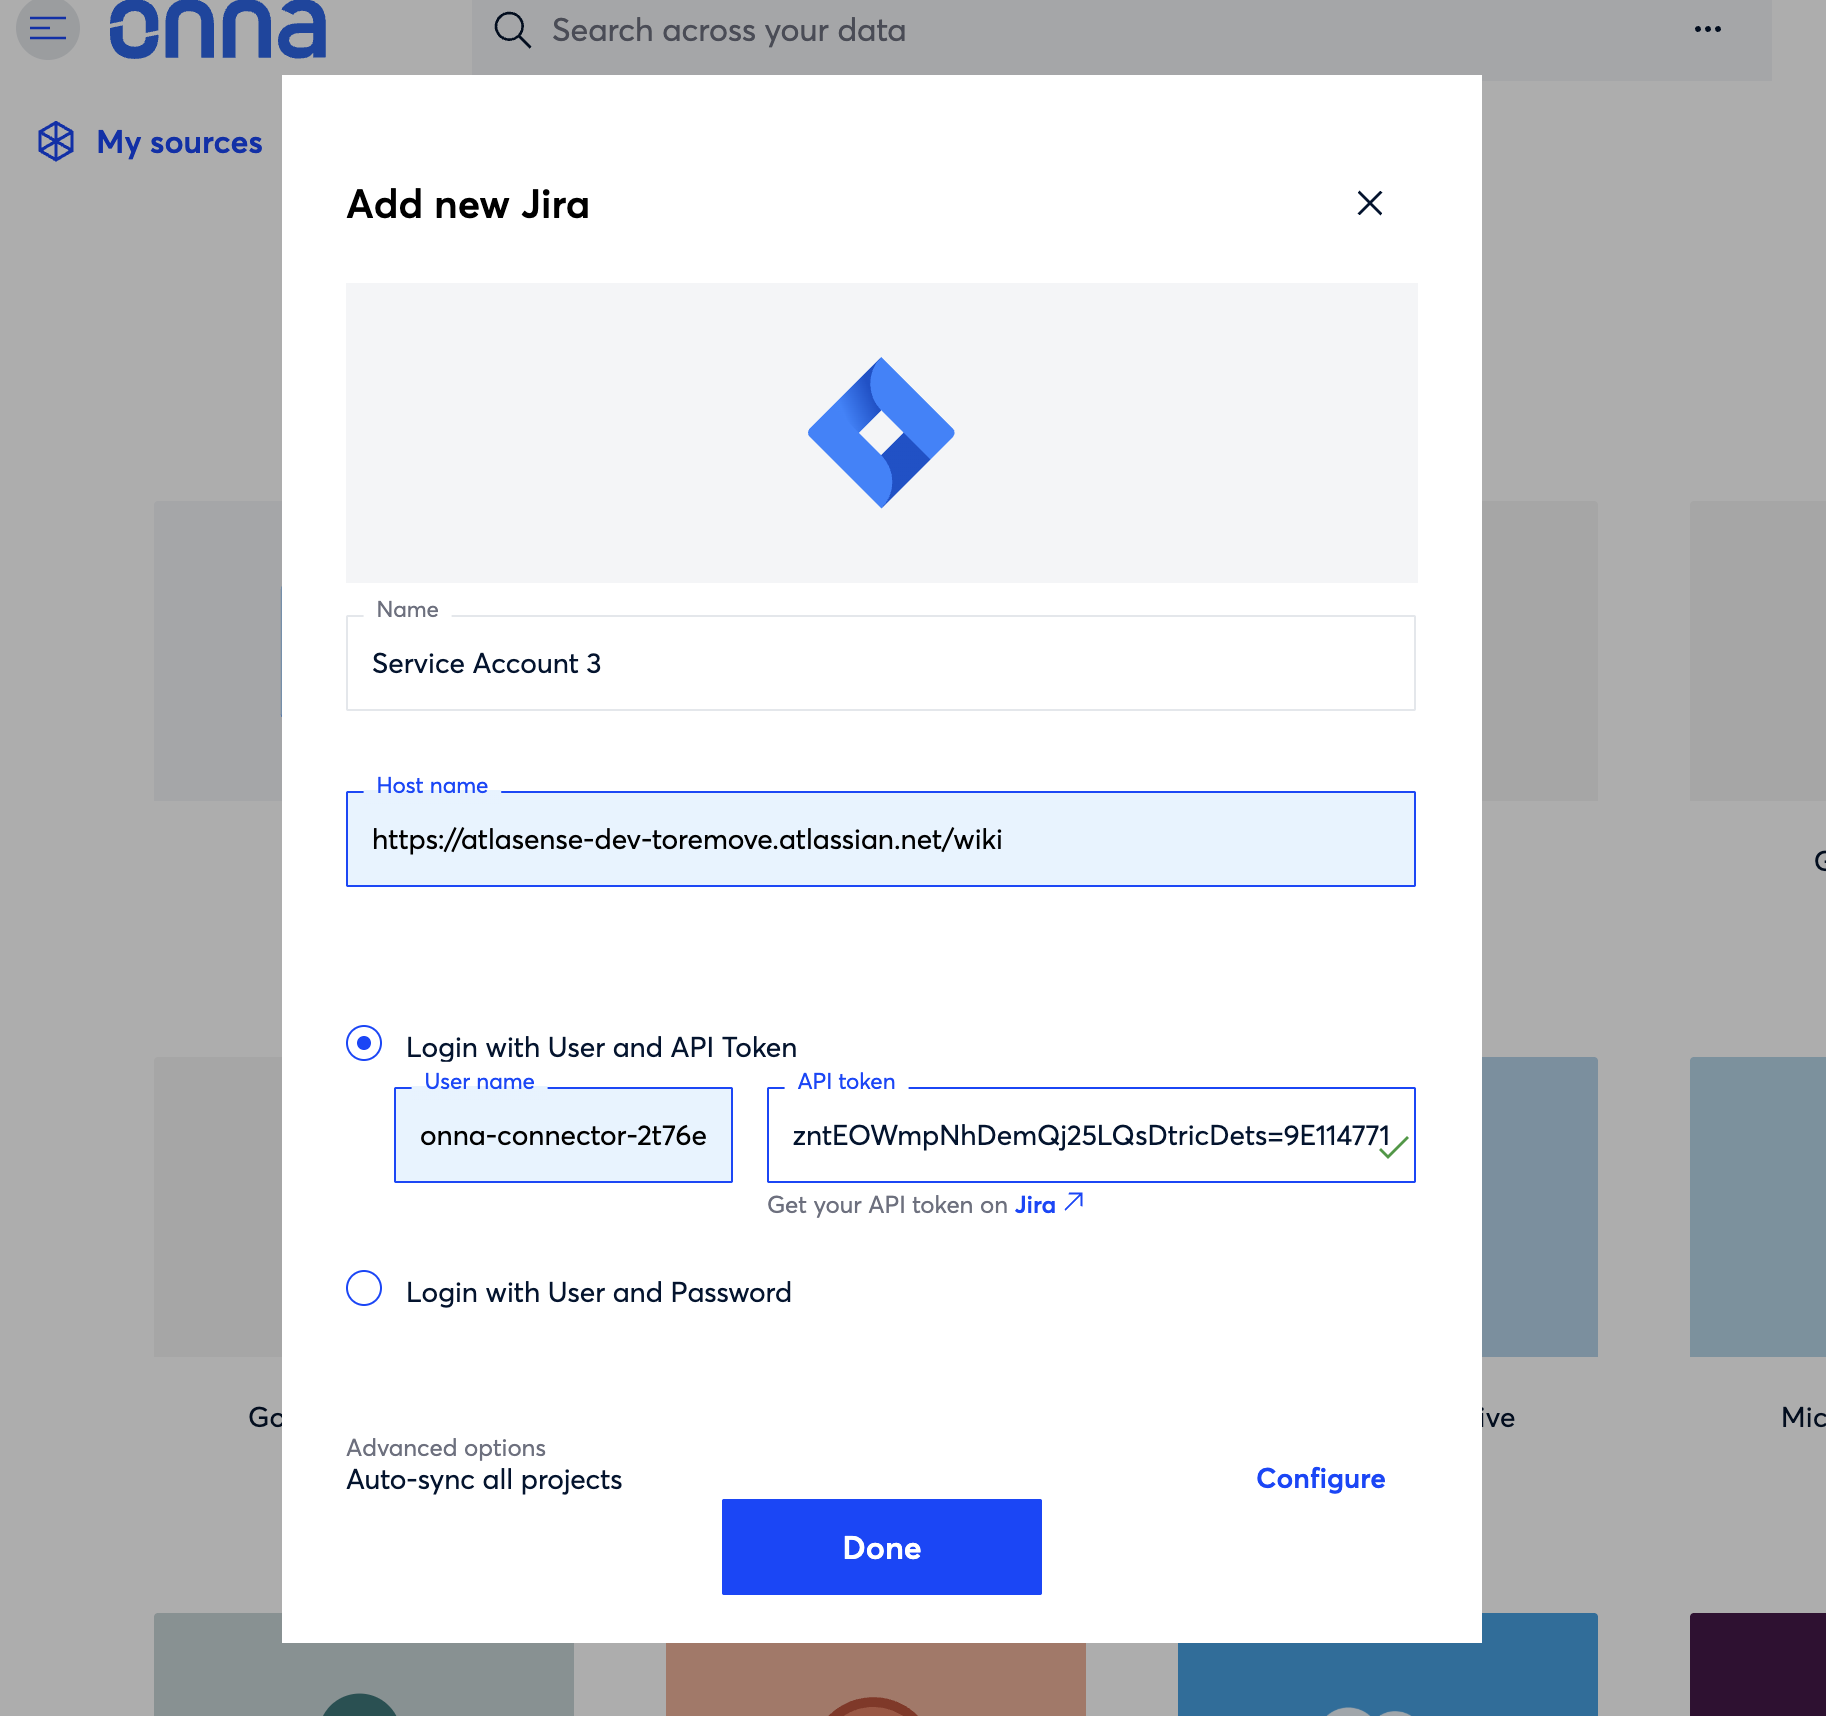
Step 5
Next, you’ll click on ‘Configure’ to select which data to sync and your preferred sync mode.
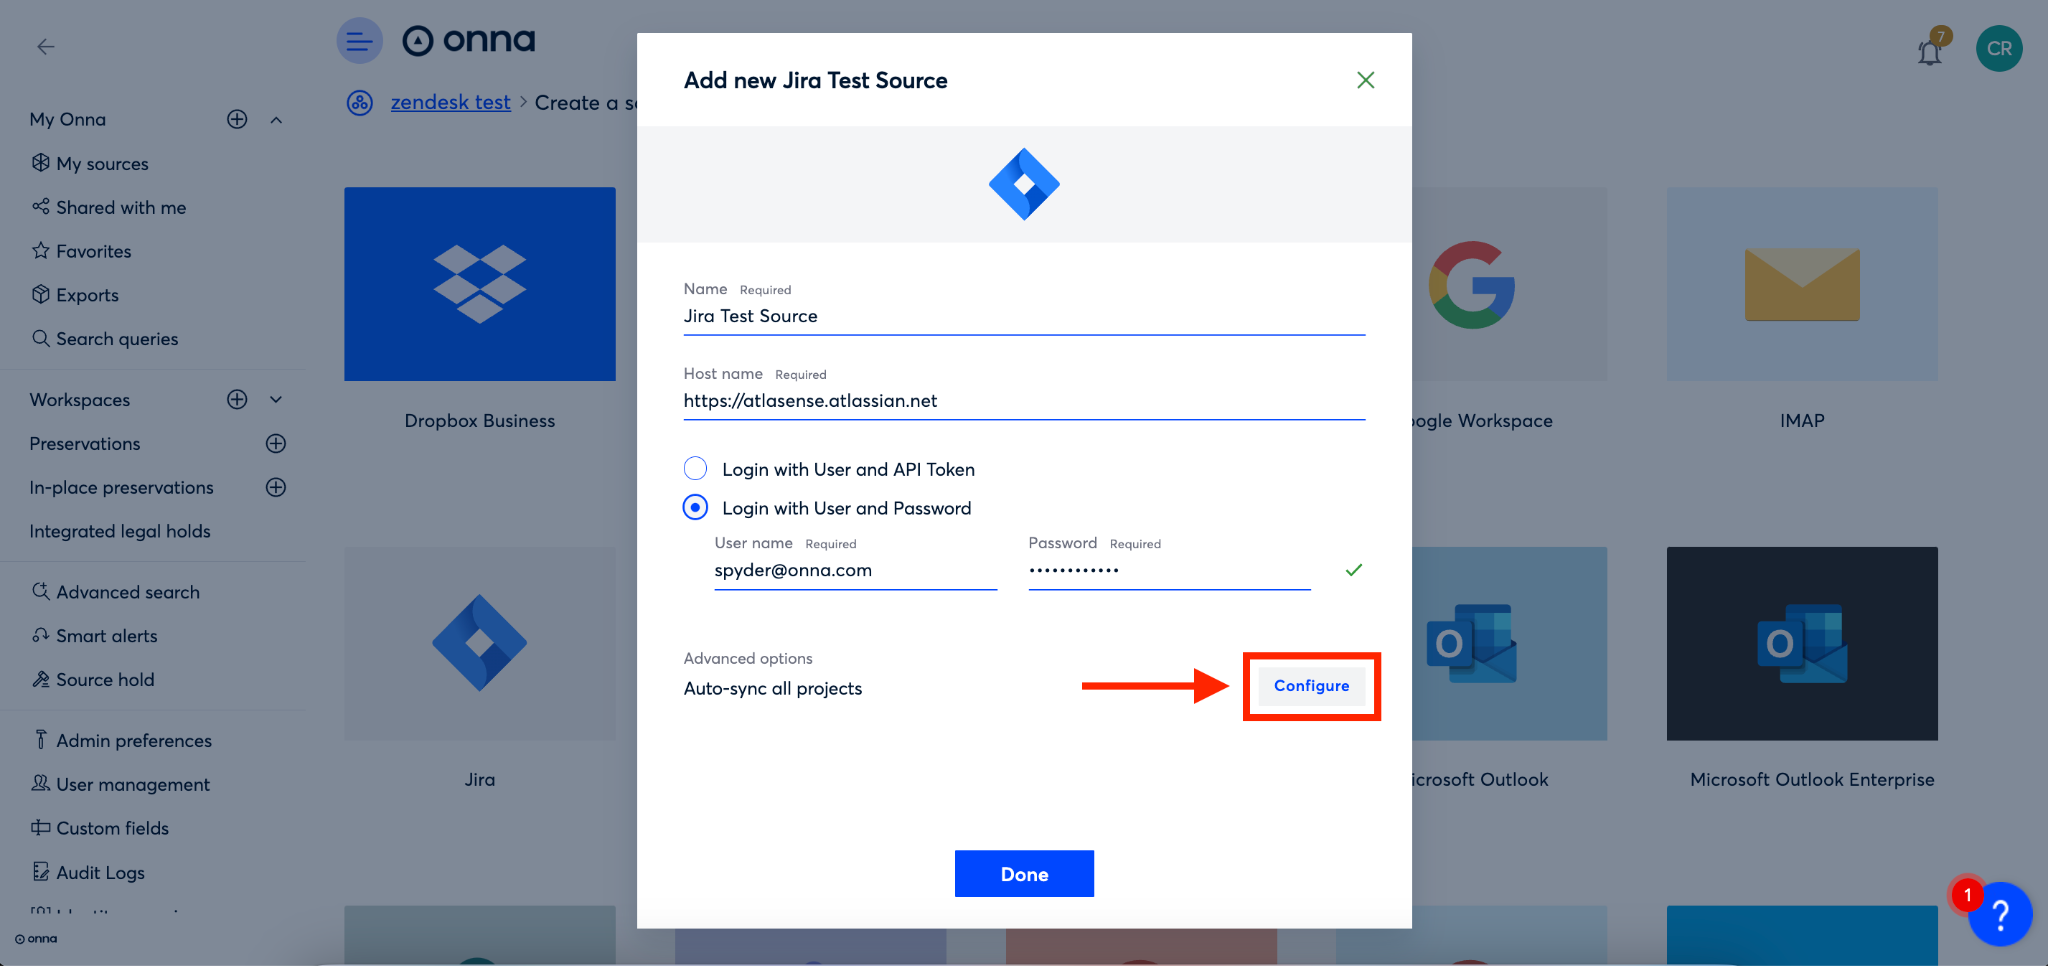
Step 6
To configure you’ll first select the projects that you want to sync (a). Then, you’ll scroll to the bottom of the configuration window (b).
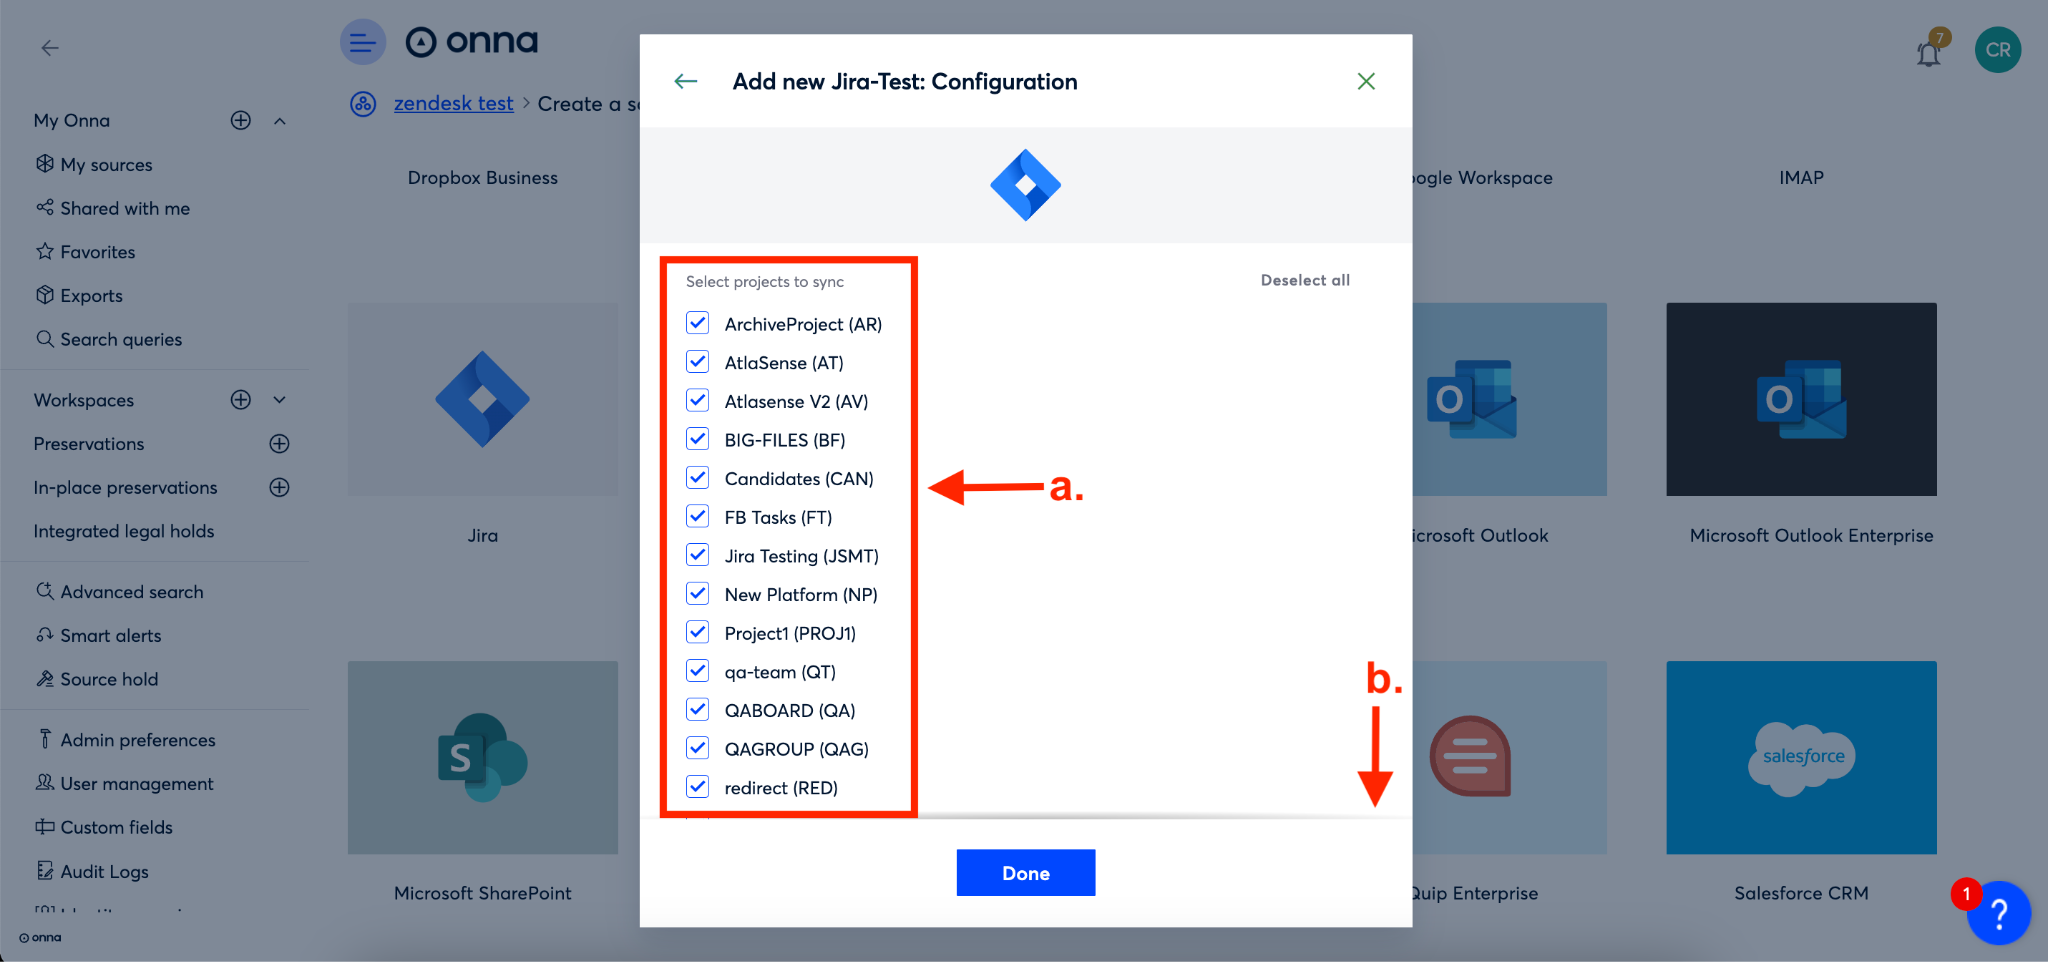
Step 7
You’ll now click the arrow to the right of the ‘Synchronization mode’ field to select your sync mode from the dropdown that appears.
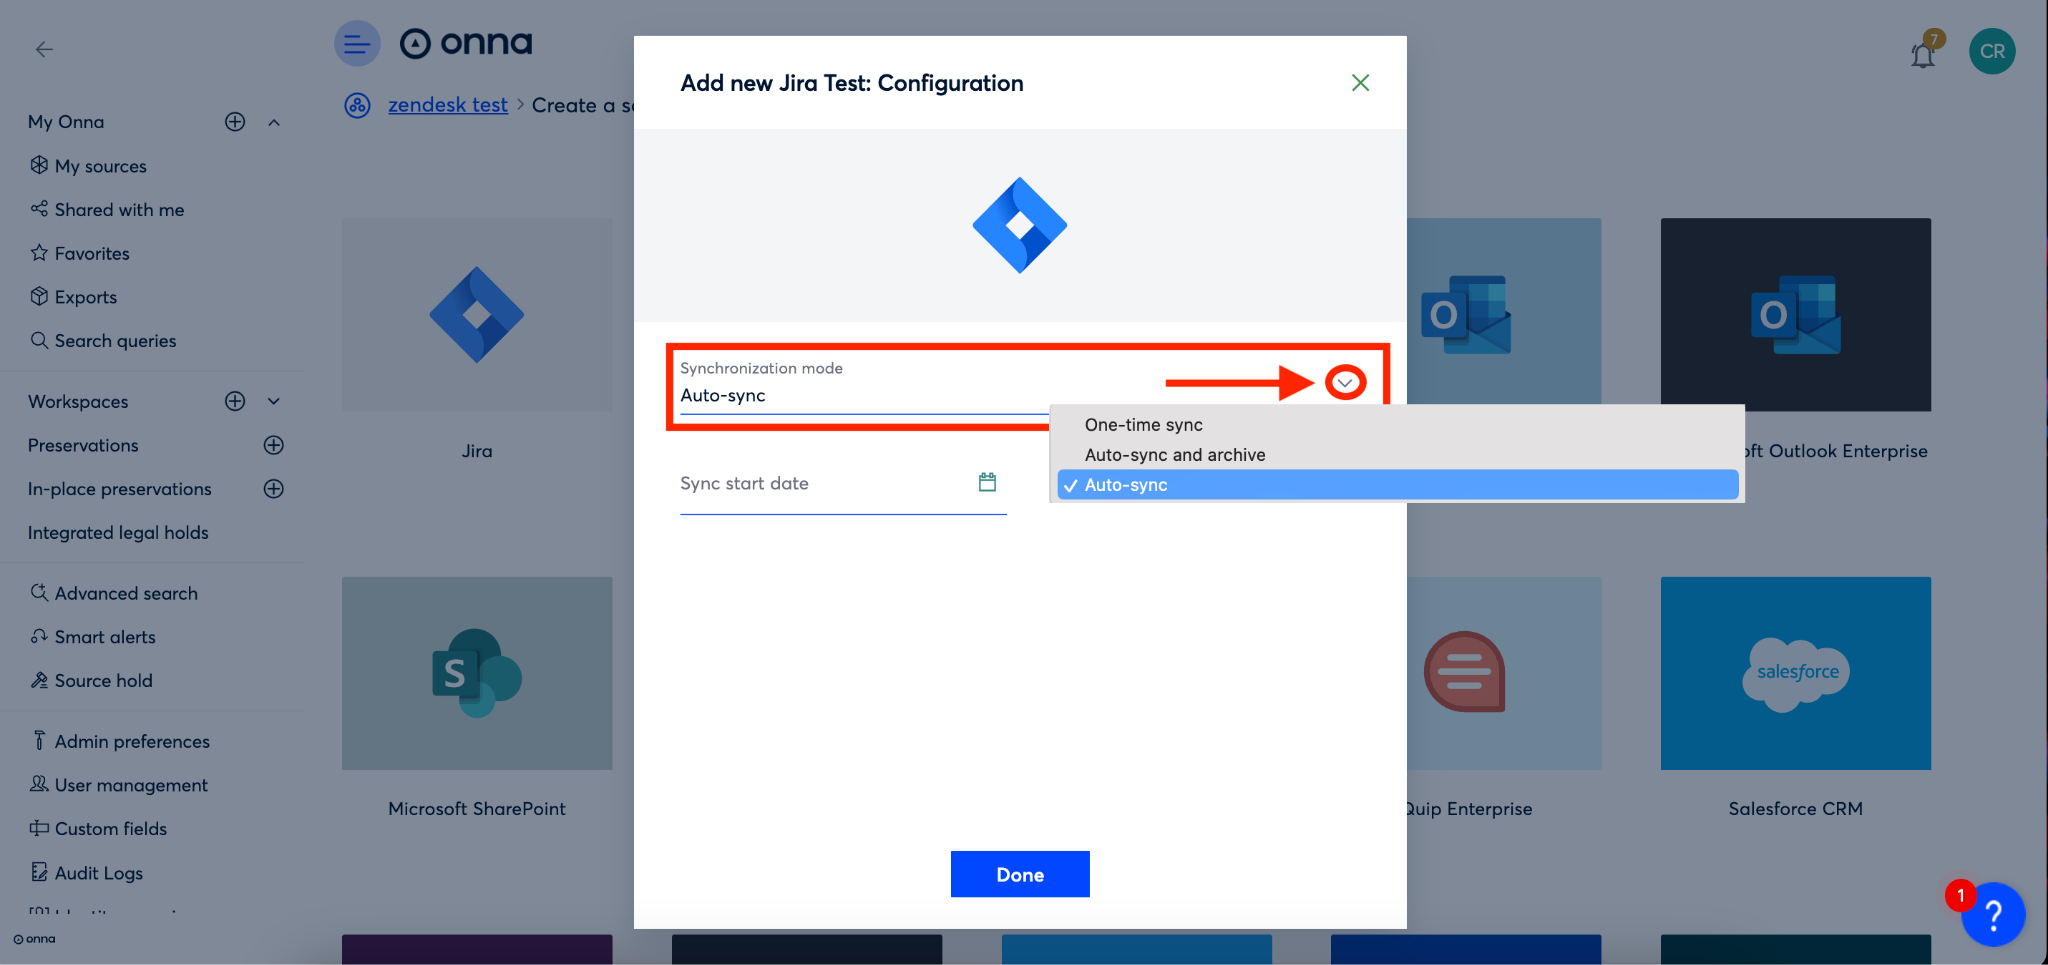
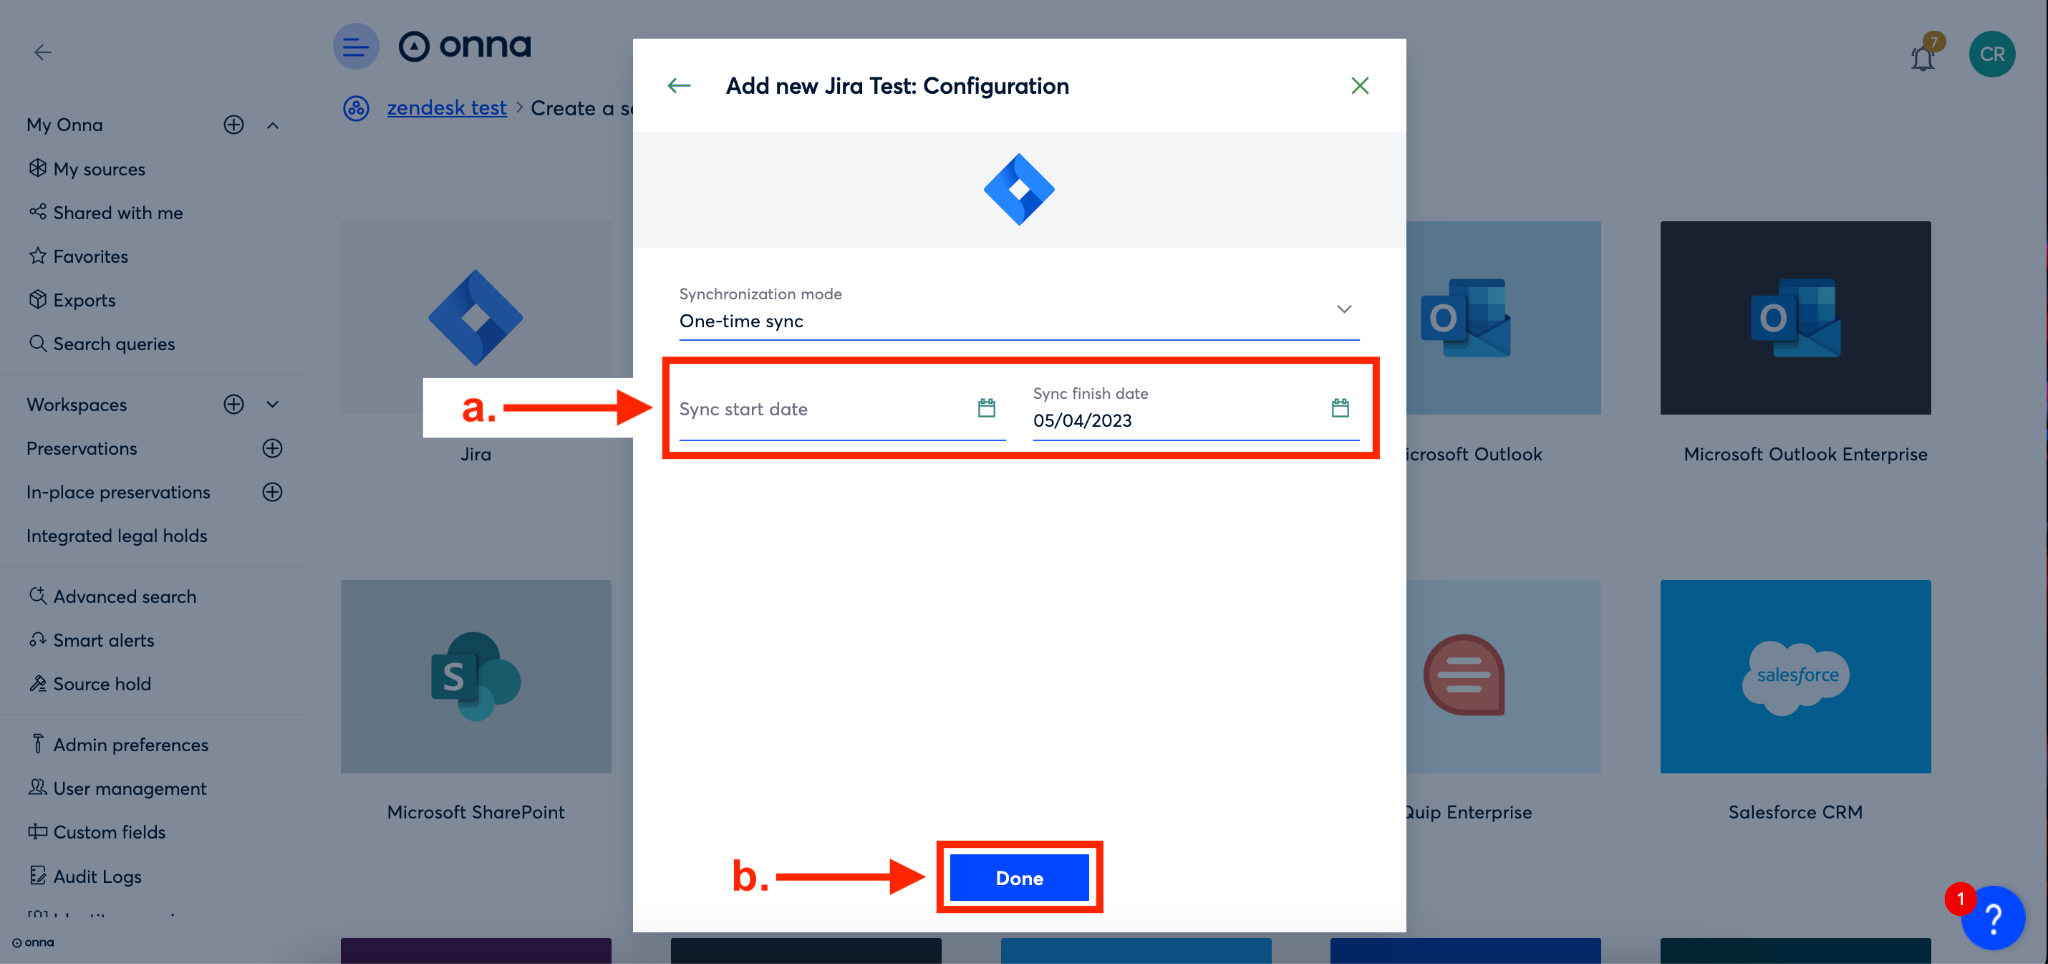
Step 8
Next, you’ll set up your sync dates (a). If you’ve chosen a one-time sync you will enter a ‘Sync start date’ and a ‘Sync end date’. If you’ve chosen auto-sync or auto-sync and archive you will select a ‘Sync start date’ only. Note: Leaving the ‘Sync start date’ empty will lead to the collection of all available data Jira.
Finally, you’ll click the blue ‘Done’ button (b).
Step 9
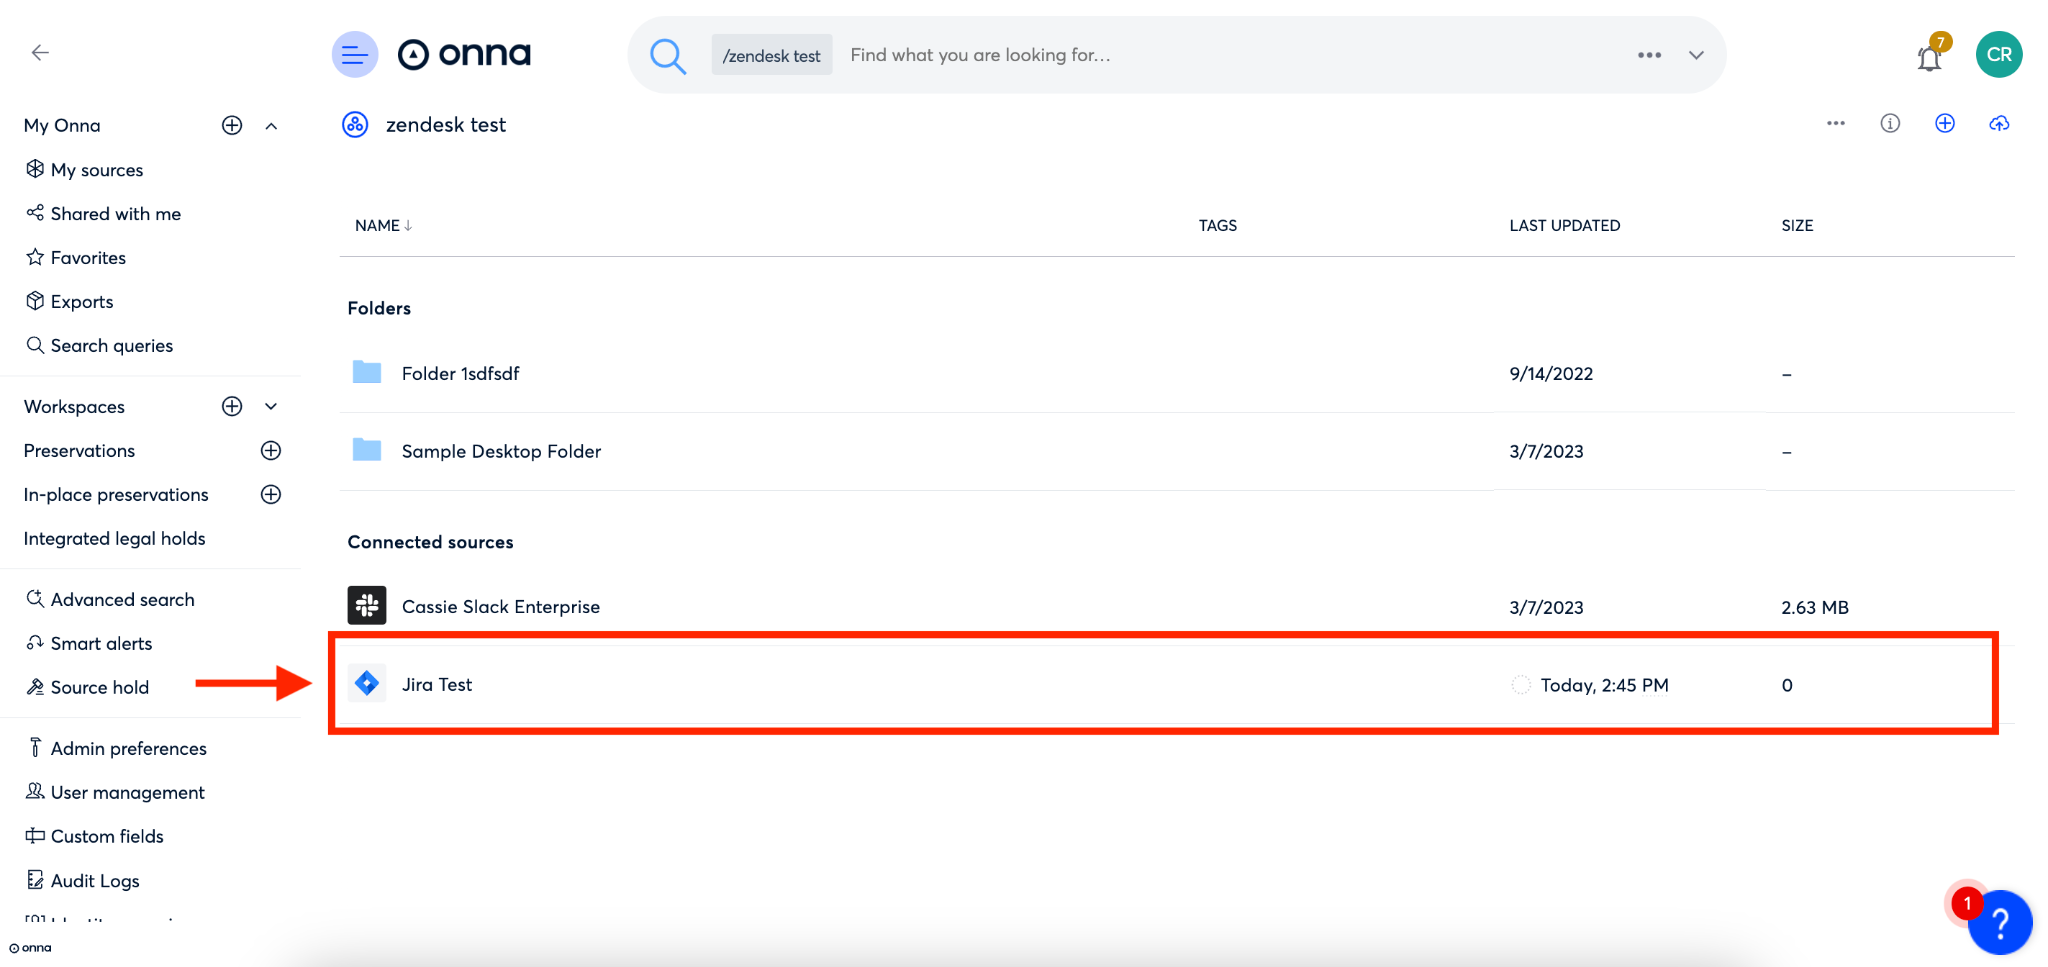
Your sync is now in progress and visible inside the workspace you added it to. To learn more, see the article "How to Monitor Your Source Sync Status.”