In this article:
Miro Connector Overview
What the Miro Connector Collects
Miro Connector Requirements
How to Connect and Collect Using Miro Connector
How to View Synced Miro Resources
How to Monitor Sync Progress and View Details
How to Handle Failed Resources
Miro Connector Overview
The Miro Connector for Onna allows users to seamlessly collect, process, and analyze content from their Miro boards. Once connected, Onna automatically syncs boards, users, comments and associated metadata, making the information fully searchable and easier to manage for eDiscovery, compliance, and knowledge-management workflows.
Note
The Miro Connector requires a Miro Enterprise plan. Enhanced eDiscovery functionality is available with the Miro Enterprise Guard add-on.
Key capabilities include:
Secure authentication through Miro's OAuth integration.
Flexible, customizable syncs based on user selection and time range.
Support for both continuous (ongoing) and one-time data collection.
Enhanced metadata visibility for all synchronized resources.
Collection of board comments, captured as readable conversation threads.
What the Miro Connector Collects
Boards
Each board is collected as a rendered document. PDF is the default format; SVG and HTML are also available. Multi-page boards are split into a parent resource with individual pages collected as child sub-resources.
Board Metadata
The following metadata fields are captured for each board:
Board name and description
Board type
Created date and modified date
Created by and modified by
Team
Board URL
Sharing and permission settings
Collaborator and member list
Comments
Each comment thread is collected and presented as a readable conversation. Captured fields include:
Author name and email
Timestamp
Comment text
Threaded replies
Reactions
Resolved or unresolved status
Note
Miro boards are visual whiteboards. Onna does not run OCR on board imagery. Typed content, metadata, and comments are fully captured and searchable, but text embedded inside drawings or images on a heavily visual board may not be full-text searchable.
Miro Connector Requirements
Before setting up the Miro Connector in Onna, confirm your organization meets the following Miro plan requirements:
Miro Enterprise plan — required to use the Miro Connector. The connector relies on Miro's API capabilities that are only available on Enterprise.
Miro Enterprise Guard add-on — enables enhanced eDiscovery functionality including legal holds, board export at scale, and content logs.
Note
Enterprise Guard is a paid add-on to Miro Enterprise. For more information, see Miro Enterprise Guard. Contact your Miro account team to enable it.
To add a Miro board to Onna, you must also ensure that an authorized connection for the Miro data source is configured. Follow the steps below to complete the setup.
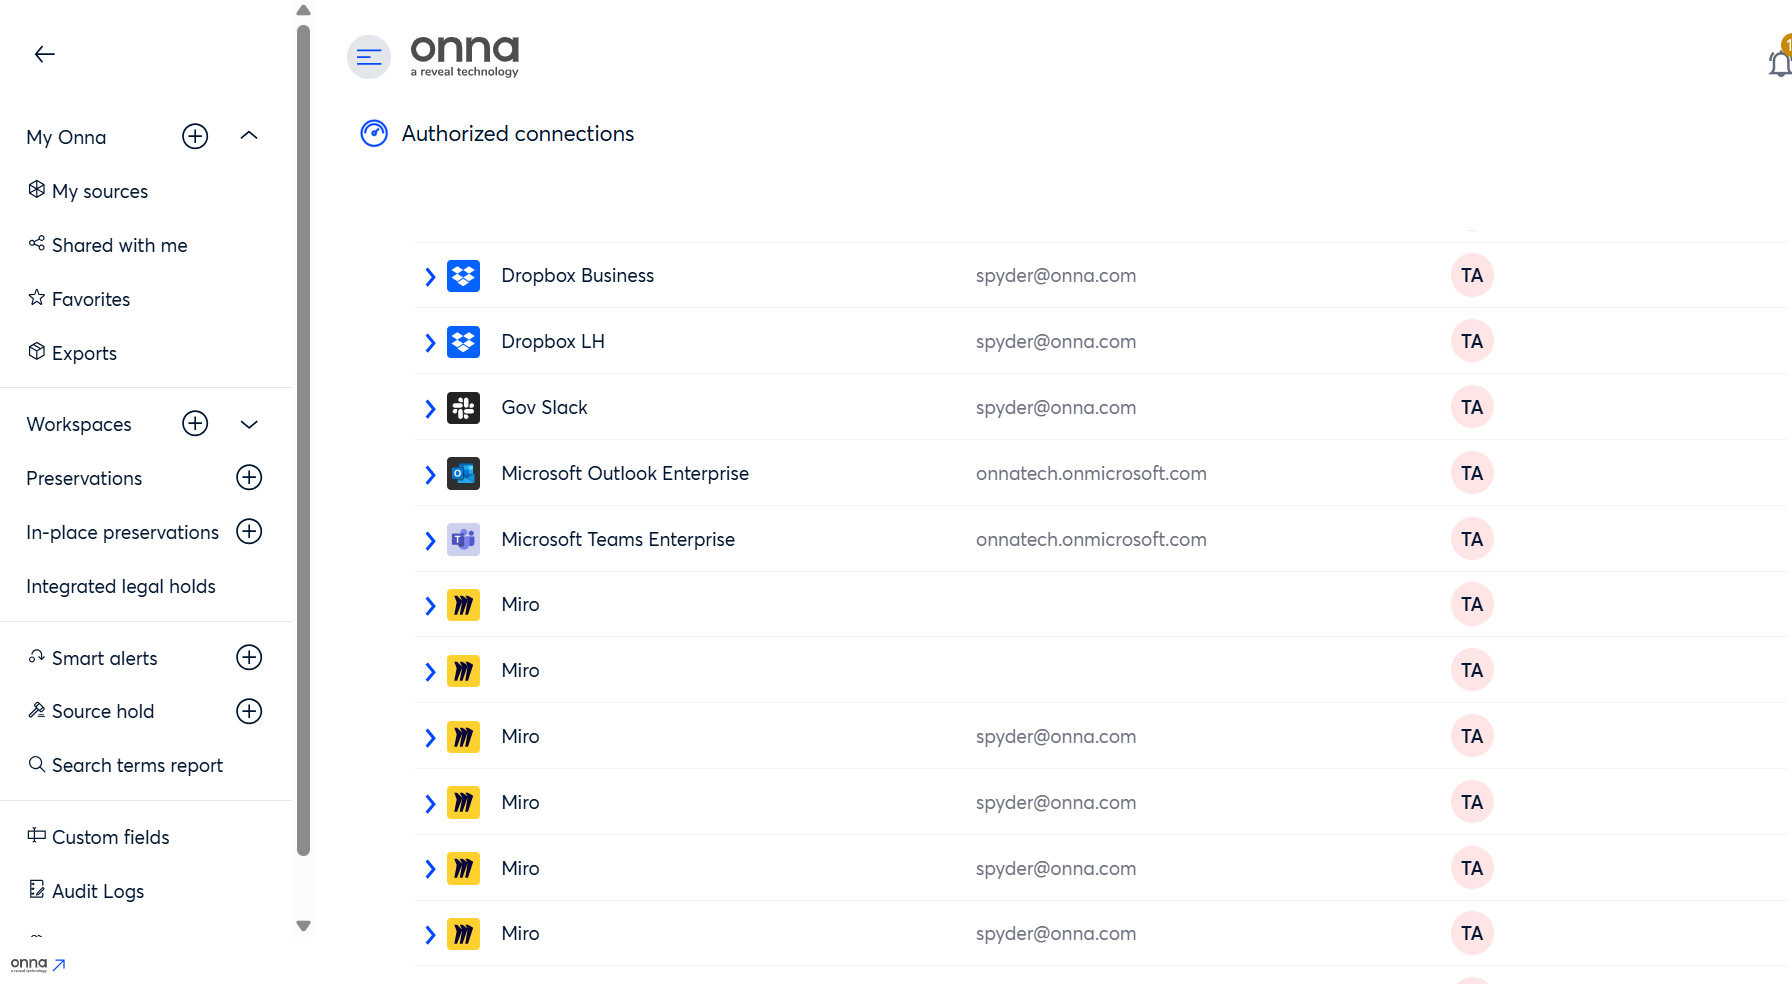
Step 1: Access Authorized Connections
Open the User Menu. And navigate to Authorized Connections.
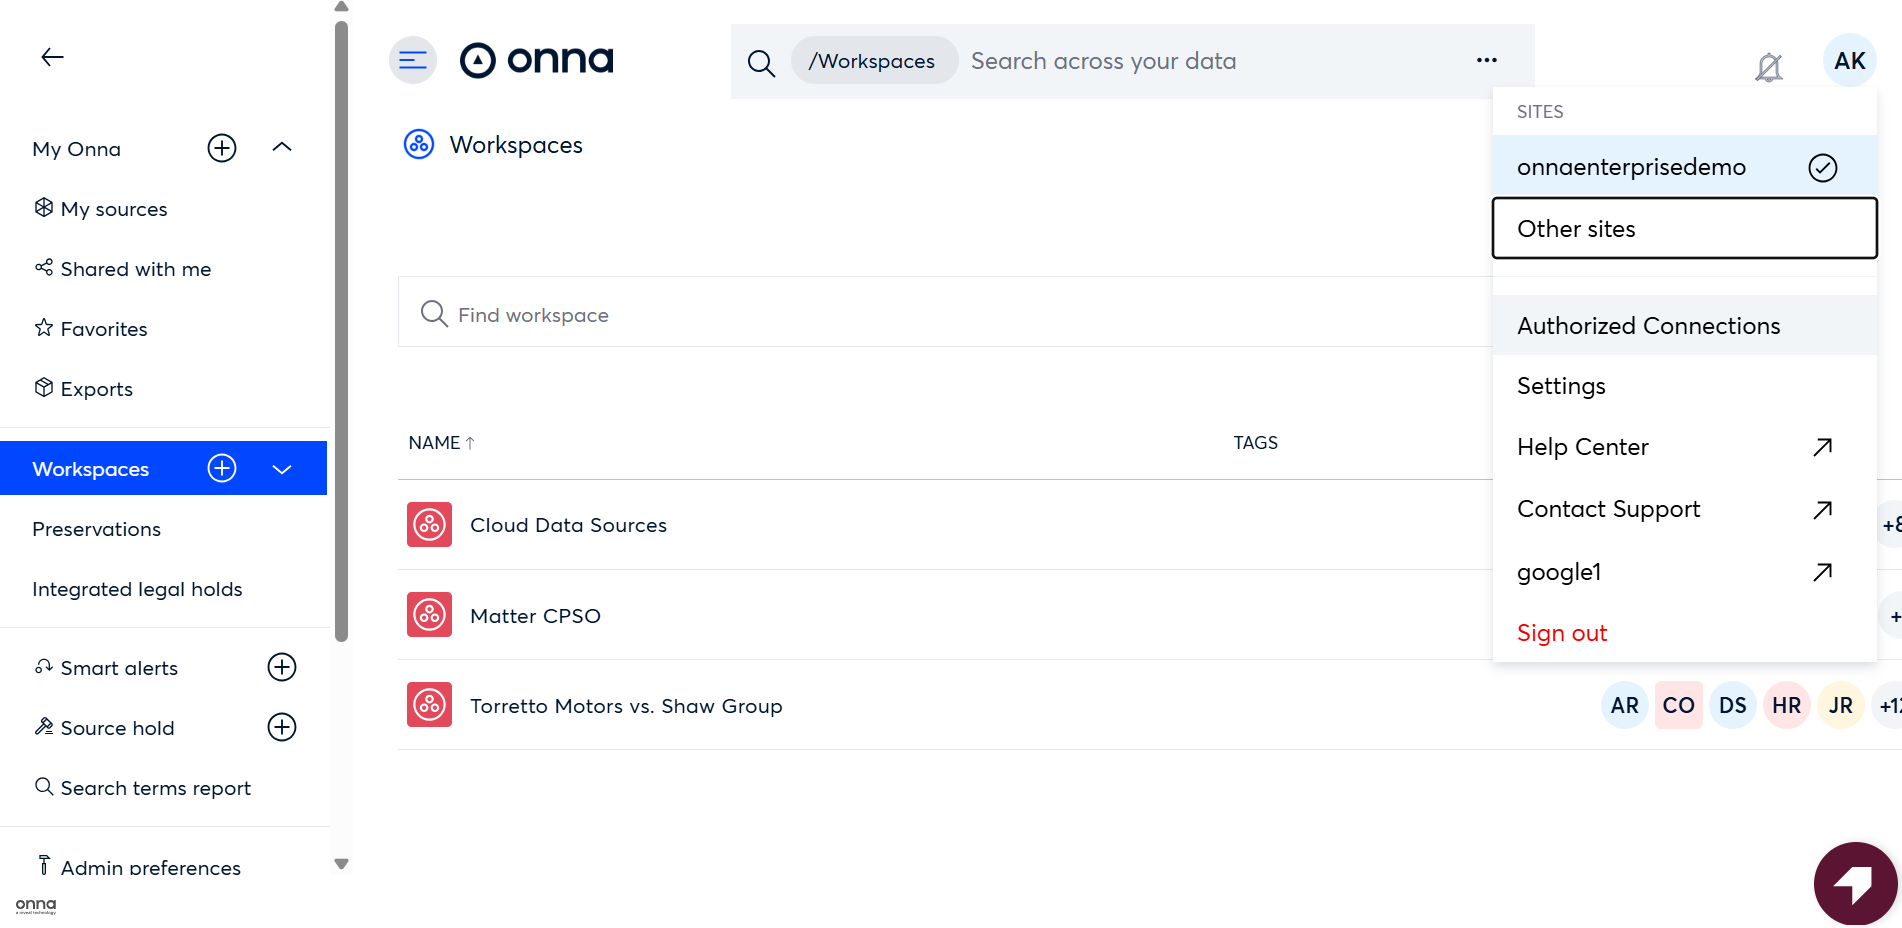
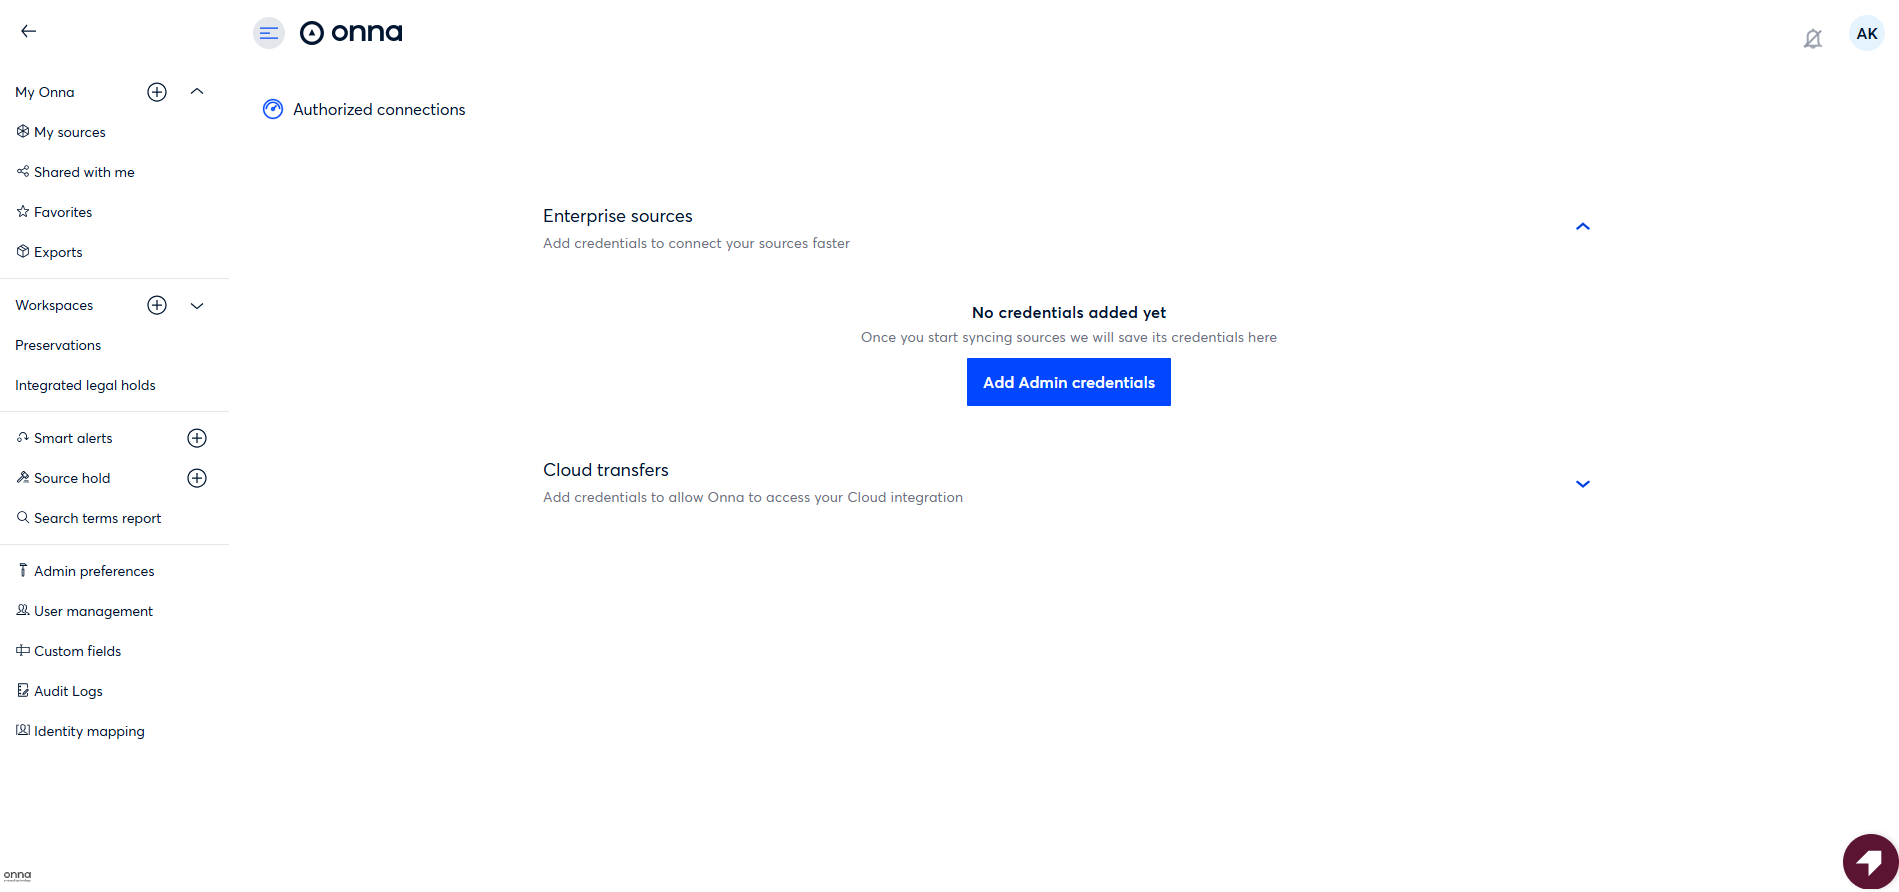
Step 2: Add Miro Admin Credentials
On the Authorized Connections page, click Add Admin Credentials.
The Add Admin Credentials modal will appear, displaying all available data sources.
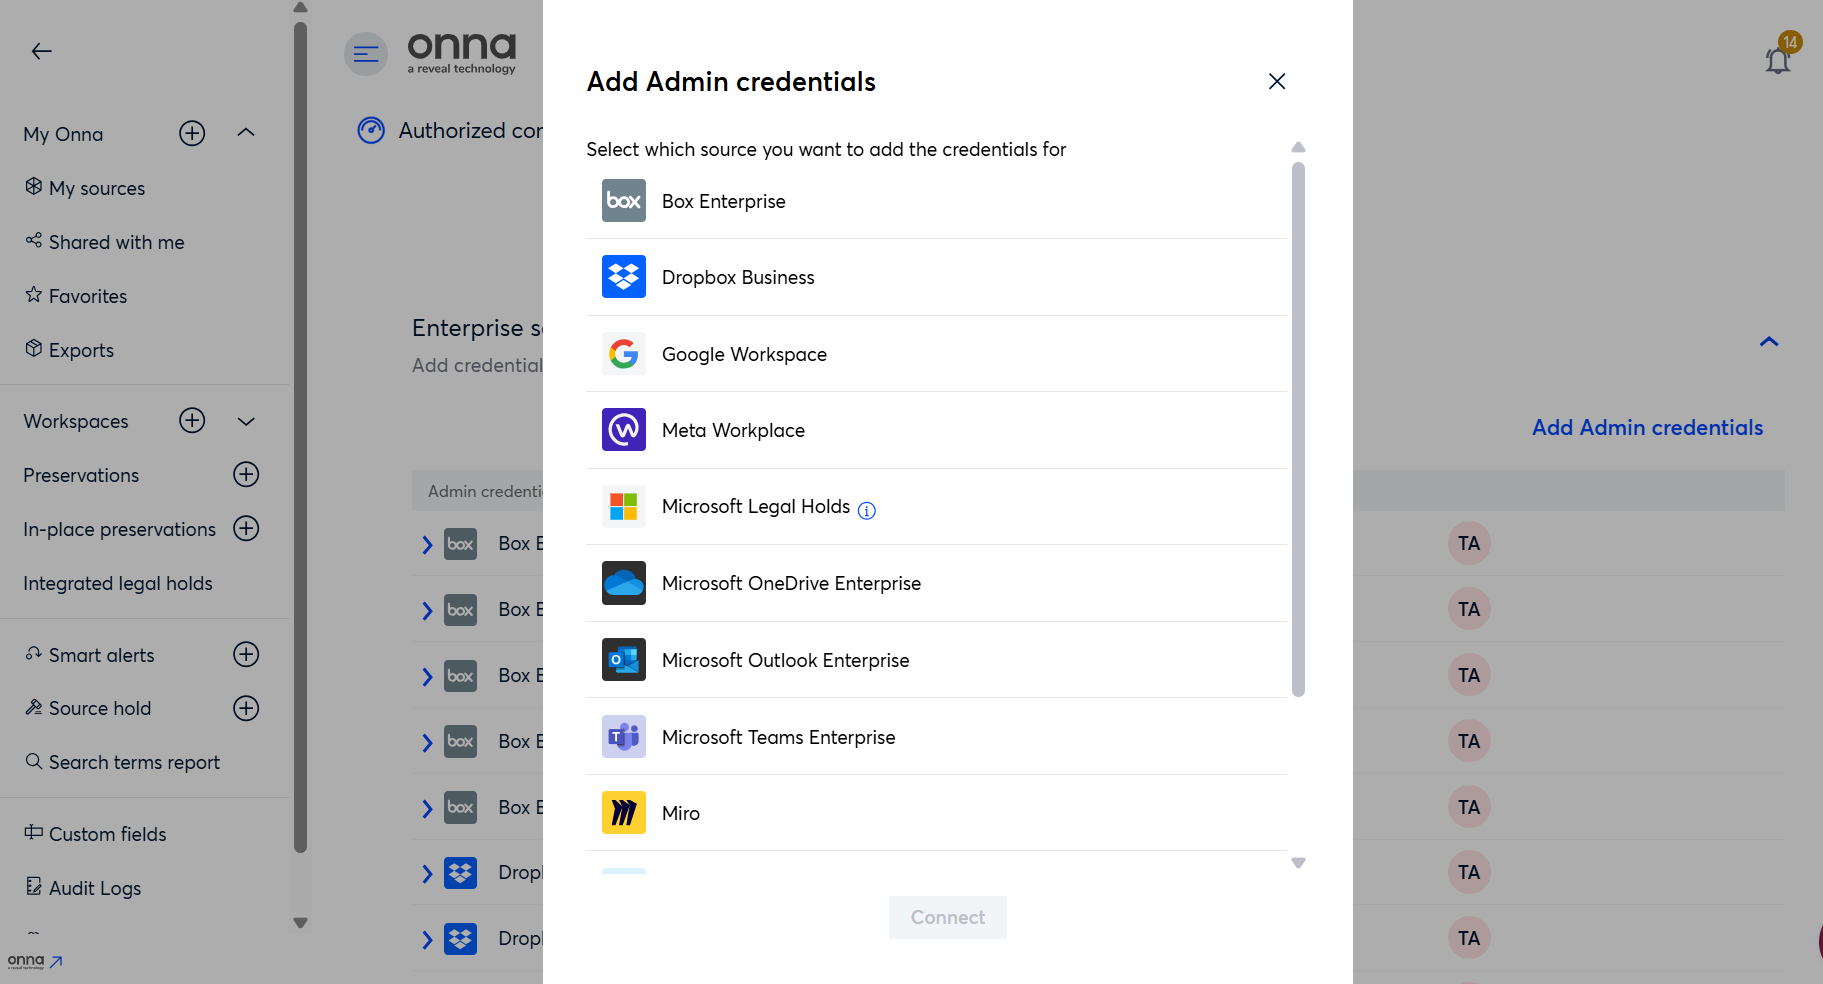
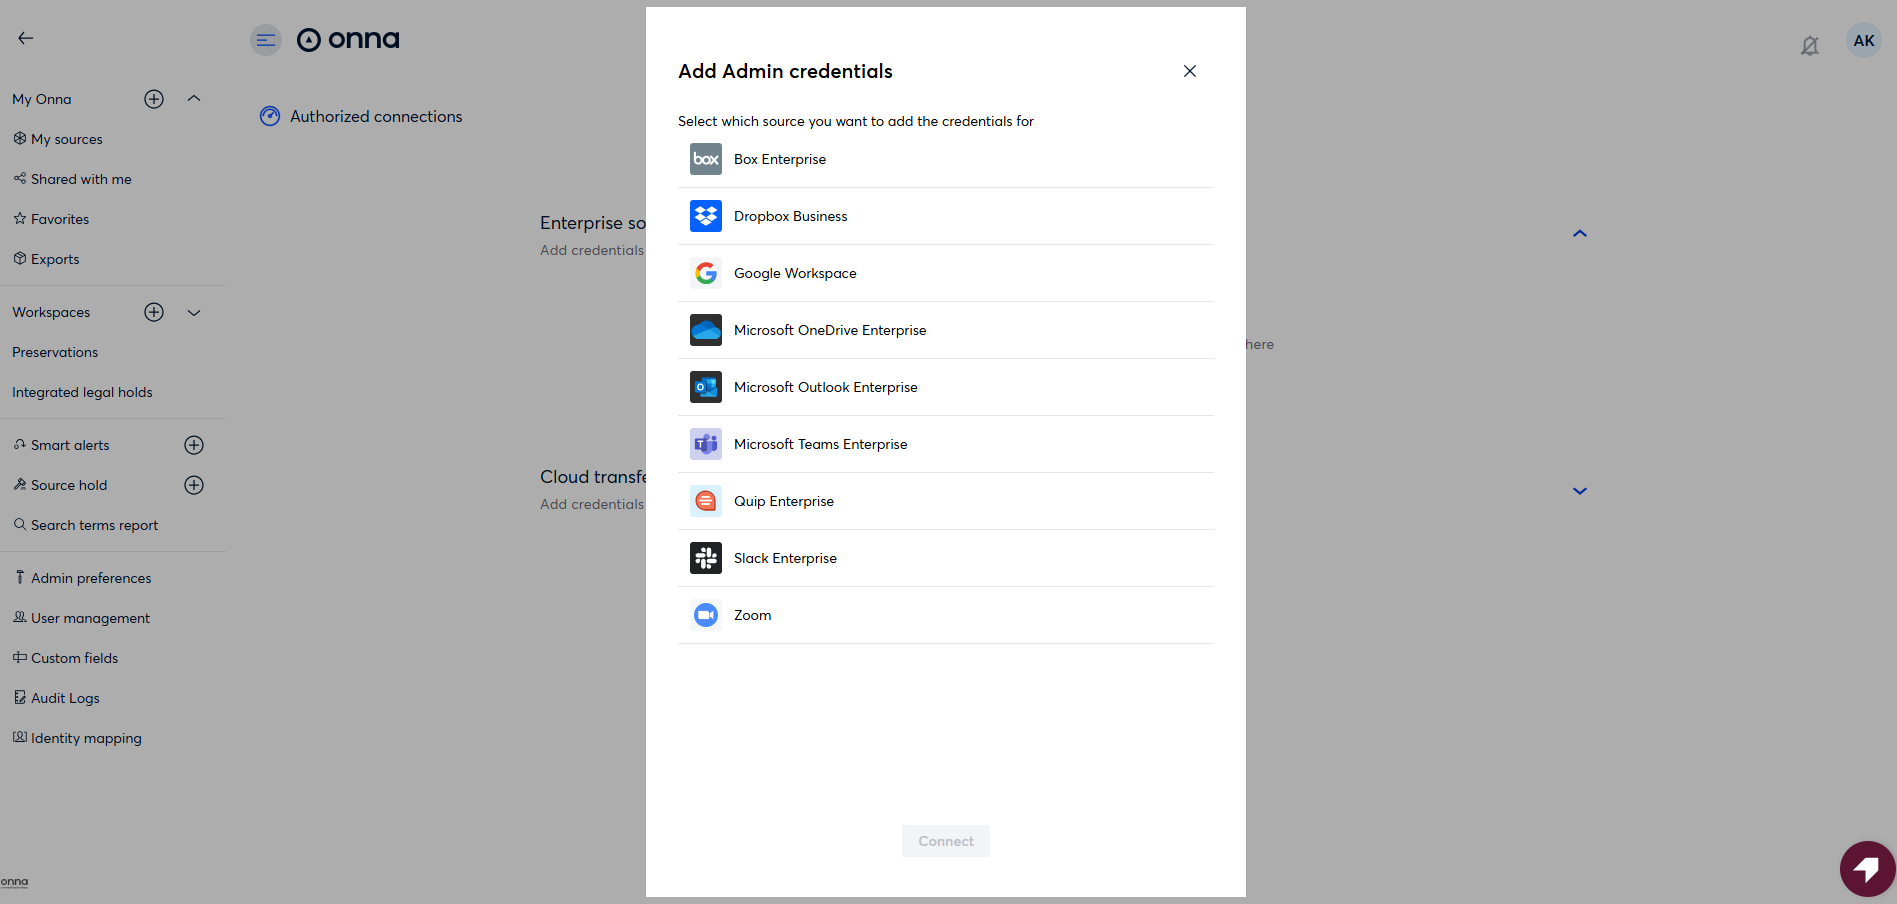
Select Miro from the list.
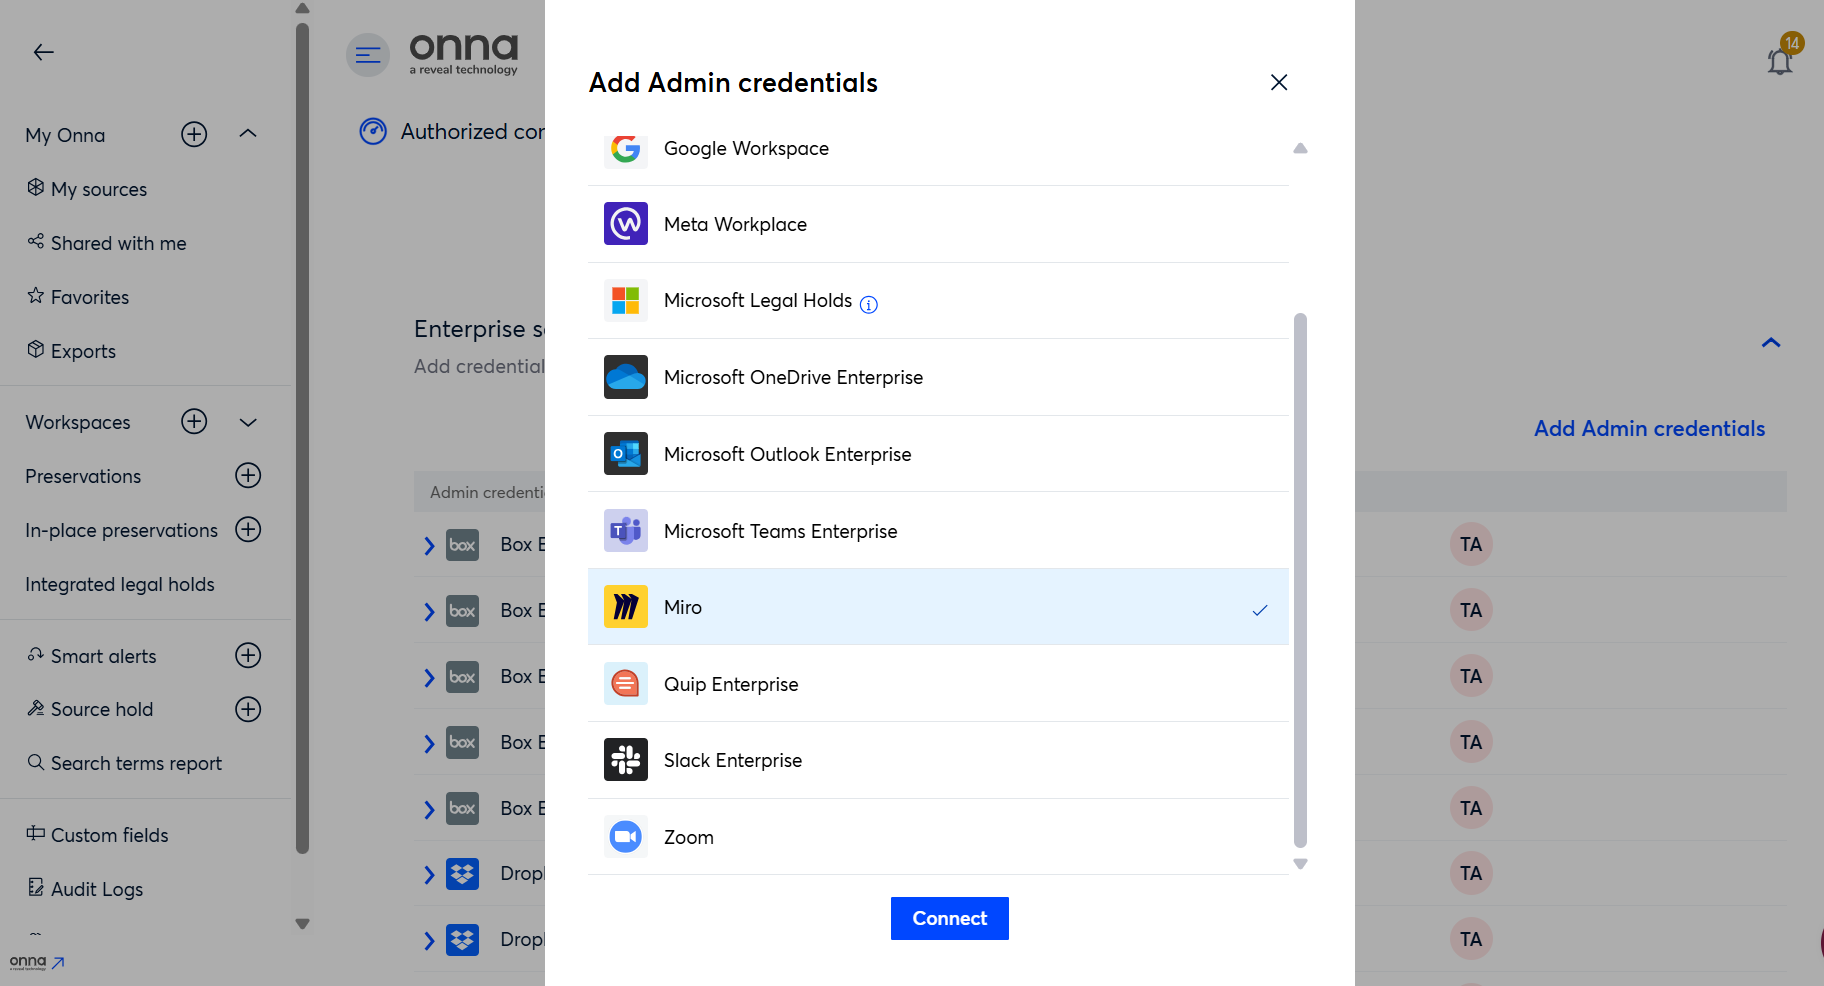
Click Connect to begin the authorization flow. You will be redirected to the Miro app to grant permissions and add Onna as an integration
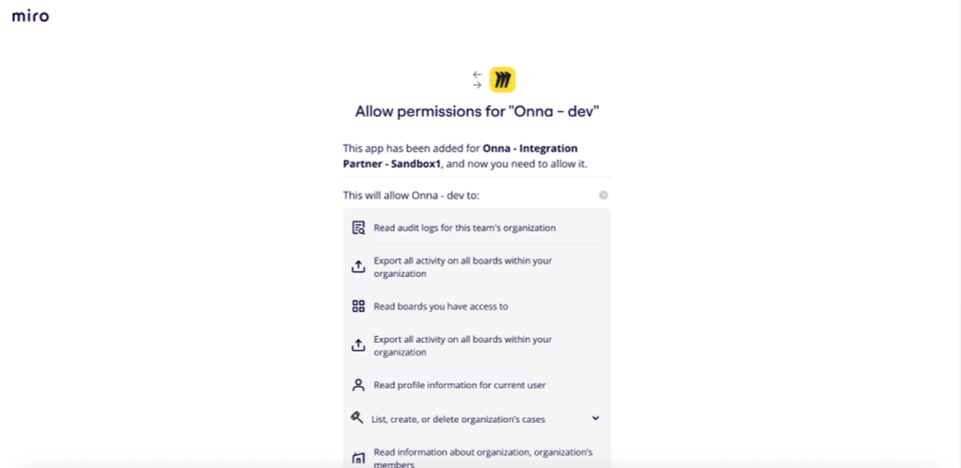
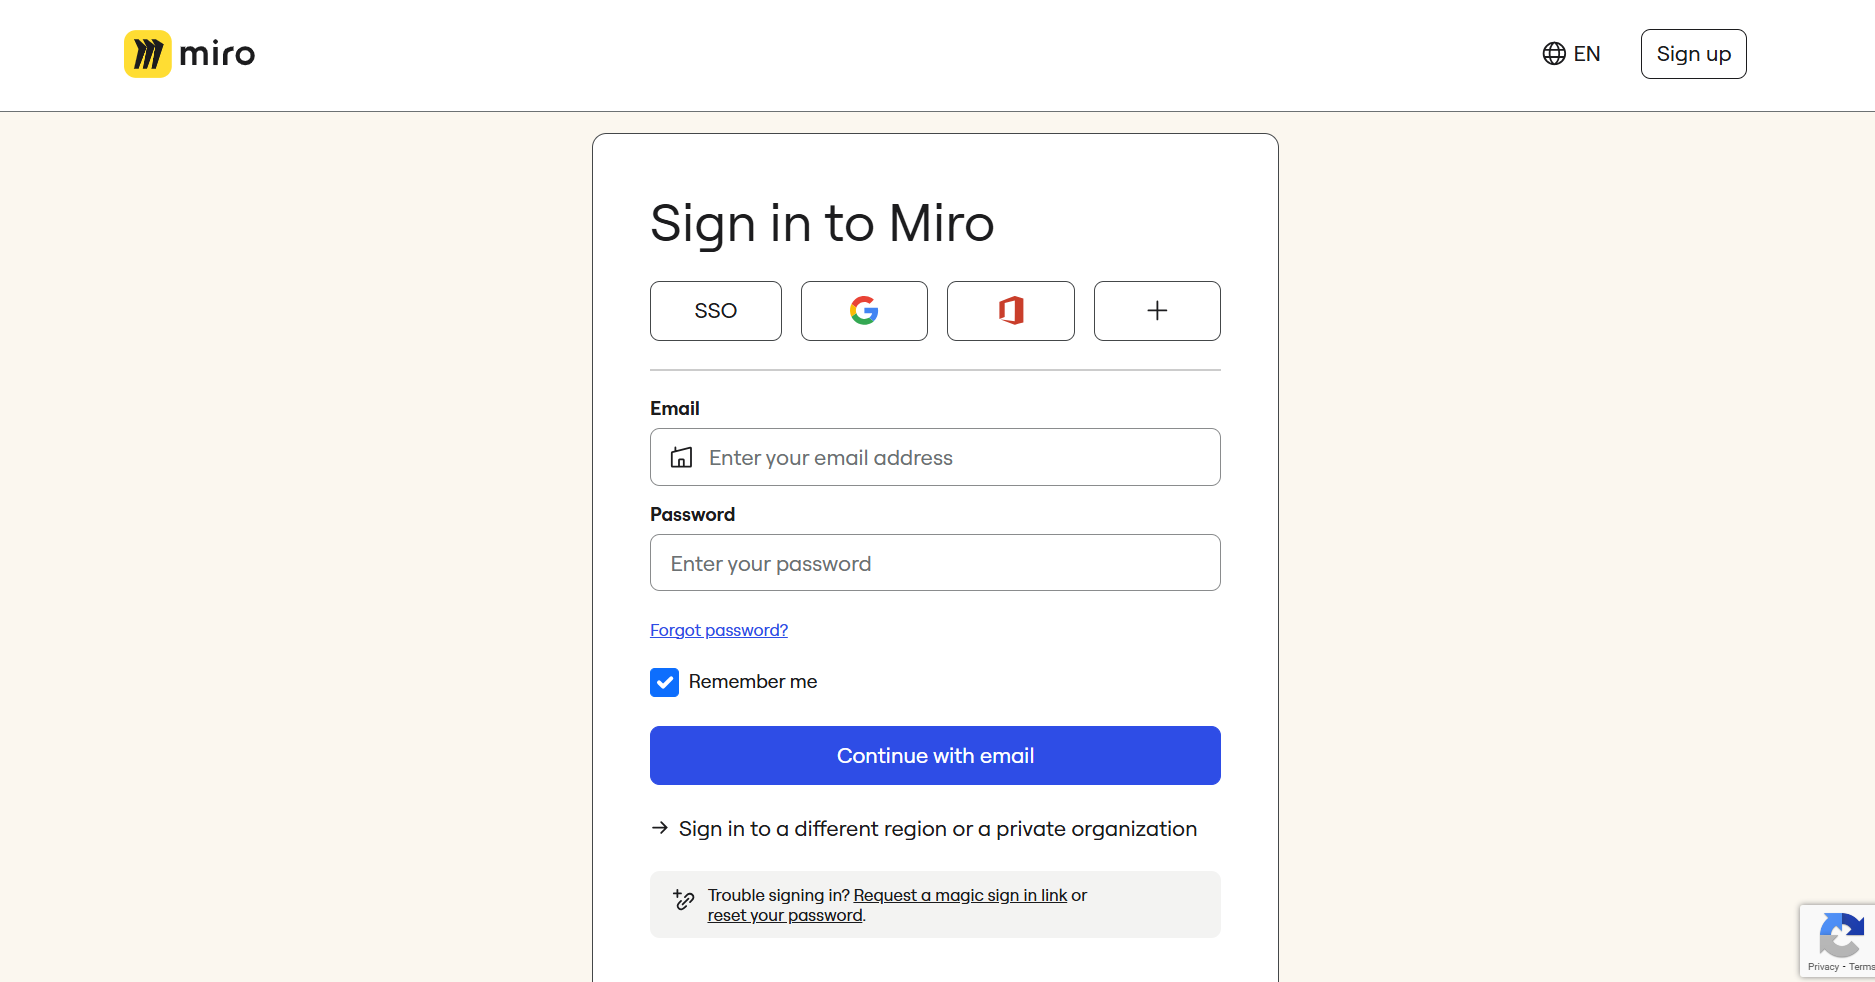
Step 3: Authorize Onna in Miro
In the Miro app, click Allow to grant the required permissions.
After authorization, you will automatically be redirected back to Onna.
A success notification will appear, confirming that your Miro credentials have been successfully connected and are now listed in Authorized Connections.
How to Connect and Collect Using Miro Connector
Once the authorization is complete, you can add Miro as a new data source inside your desired Workspace or under My Sources.
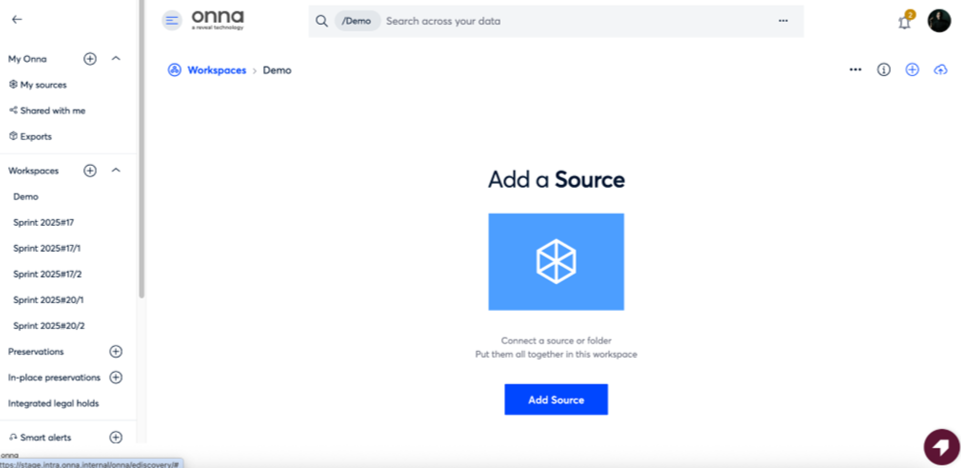
Step 1: Navigate to Your Workspace
Navigate to your desired Workspace and click the Add Source button.
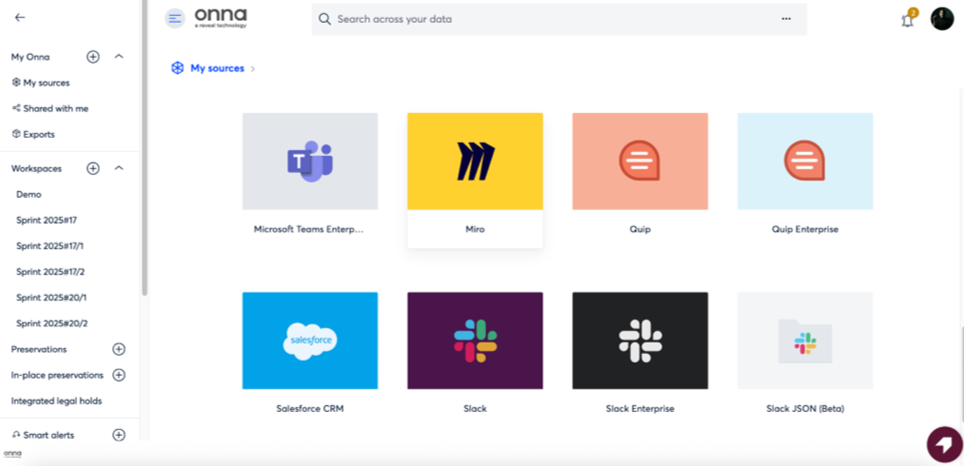
Step 2: Select Miro Data Source
From the list of available data sources, select Miro.
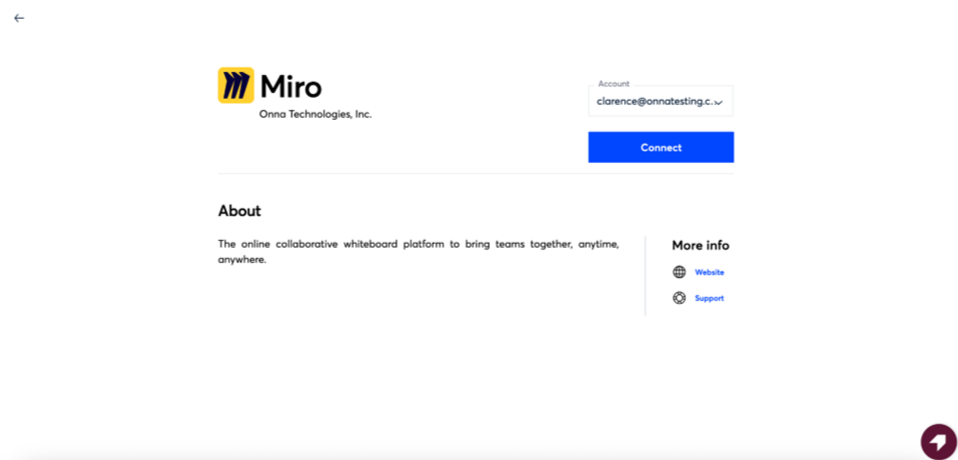
Step 3: Connect Your Miro Account
You will be redirected to the data source creation flow. Select the Miro account that you added through the Authorized Connection, then click Connect.
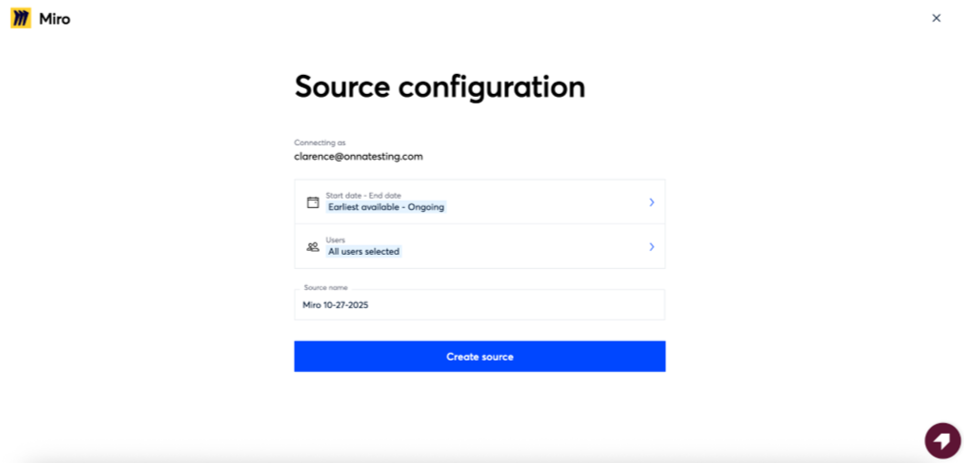
Step 4: Configure Source Settings
On the Source Configuration page, specify two configurations:
Start-End Date
Users
Start Date – End Date
Click the date range option to open the Select Period page.

Start Date options:
Earliest available – includes all data from the earliest Miro activity
Custom – select a specific date from the calendar
Note
Last Modified Date is considered when selecting dates, except when Created Date = Last Modified Date.
End Date options:
Ongoing – continues syncing new data up to the current date
Today – includes data up to the current day
Custom – allows a specific end date selection
Note
If both Start and End Dates are selected manually, the sync will default to One-time sync mode.
Users
To define which users' data will be included, click the Users option. This redirects you to the Select Users page.
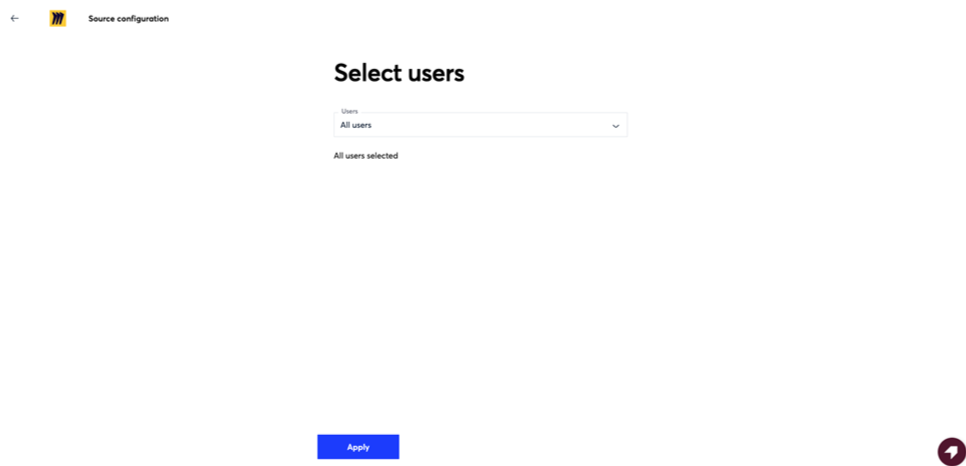
User selection options:
All users – syncs data from all Miro users
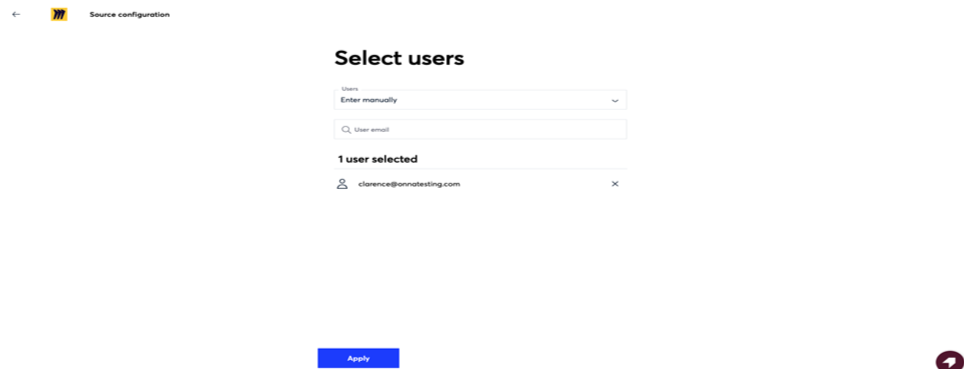
Enter manually – allows individual user selection by email
When manually entering users, type in the email address of each desired user. Selected users will appear listed under Selected, where they can also be removed or excluded.
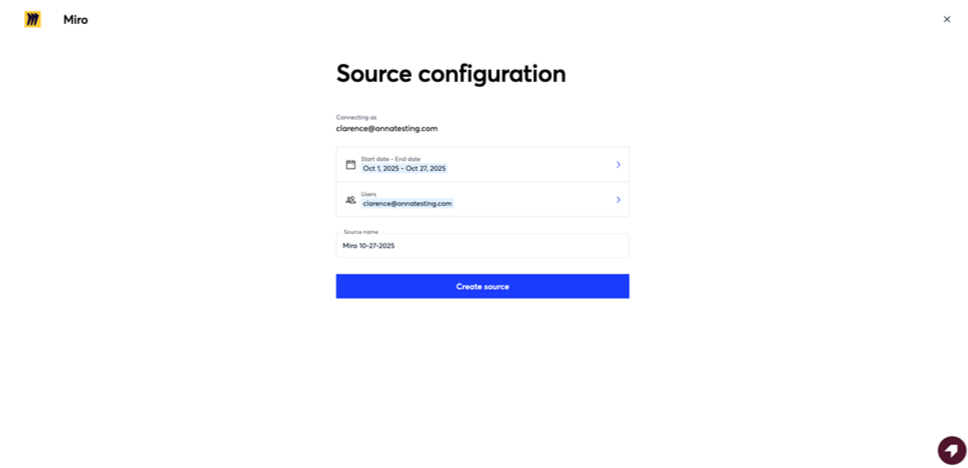
Step 5: Create Source
After setting the date range and user selection, click Create Source.
 You will be redirected back to your Workspace, where the new Miro data source will appear in the source list.

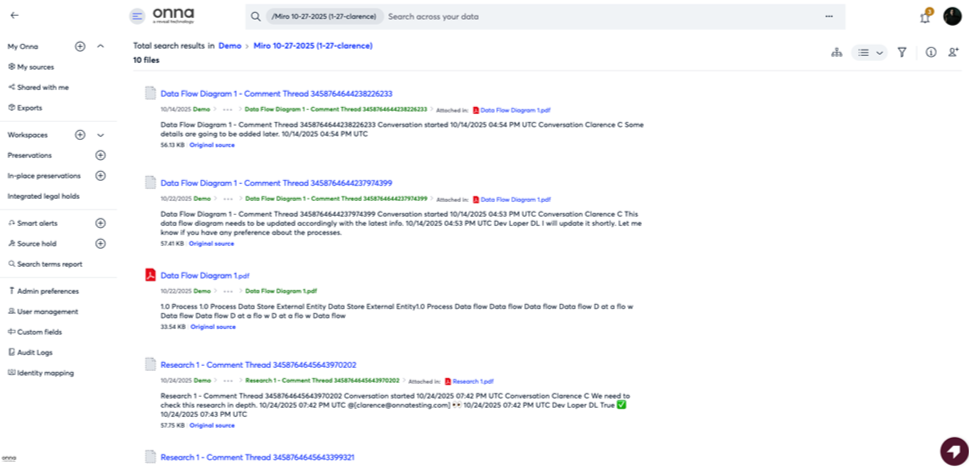
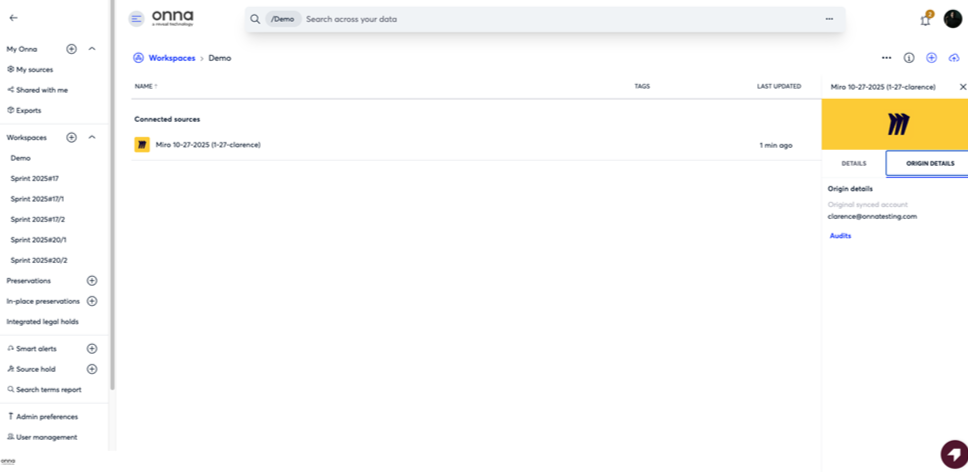
How to View Synced Miro Resources
Once the sync process completes, navigate to the Miro data source within your Workspace.
Here you can view all synced resources with details such as:
Resource name
Description
Date synced
Size
Original source
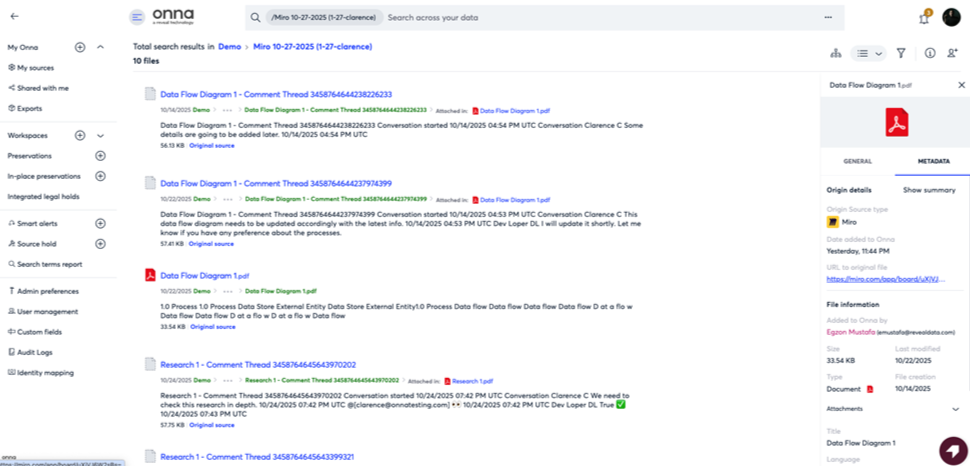
To view resource details:
Click the three-dot menu (⋮) beside a resource.
Select View Details to open a modal displaying metadata related to both Miro and Onna.
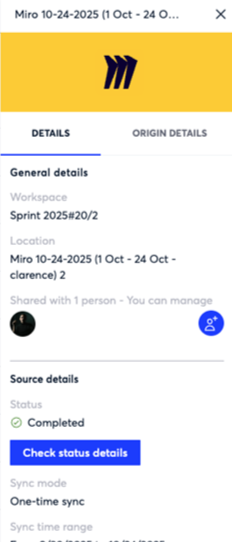
How to Monitor Sync Progress and View Details
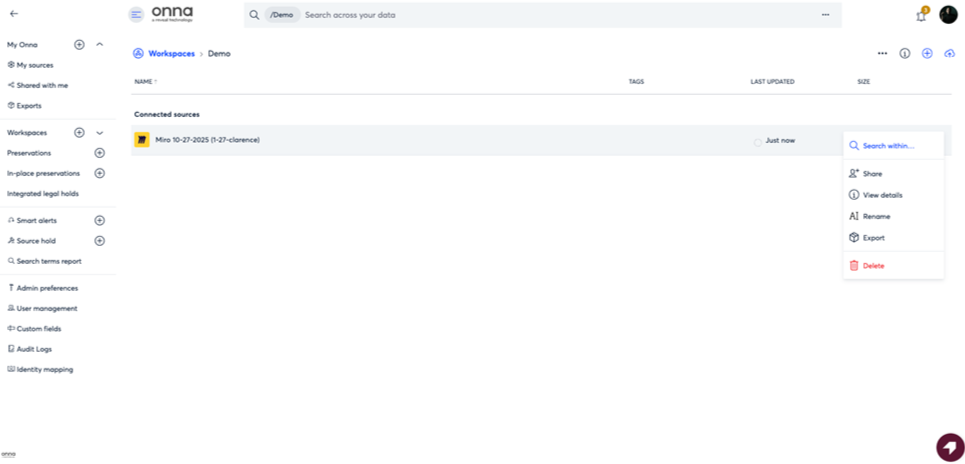
To check the status of a Miro data source:
Click the three-dot menu (⋮) next to the data source.
Select View Details.
You will see two tabs:
Details Tab – Displays Workspace, Location, Status, Sync Mode, Sync Time Range, Last Processing Completed, Total Size, Total Files, and Date Added to Onna.
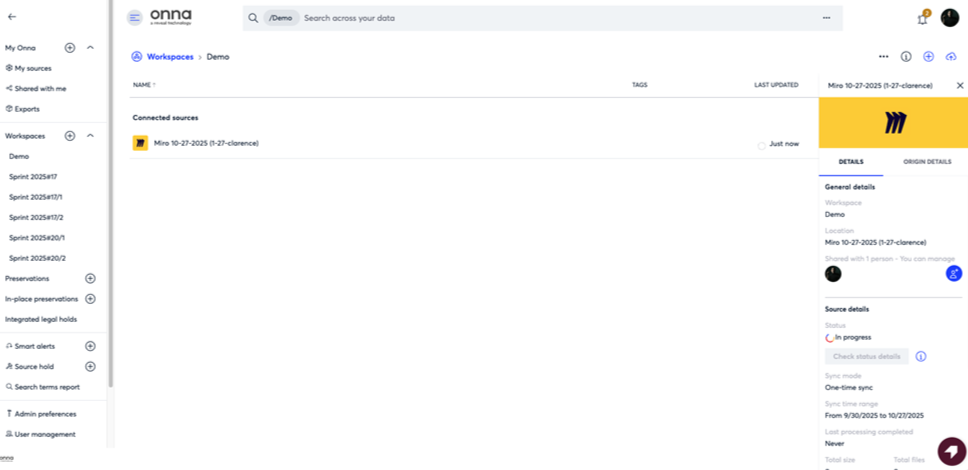
Origin Details Tab – Displays Original Synced Account and Synced Teams.
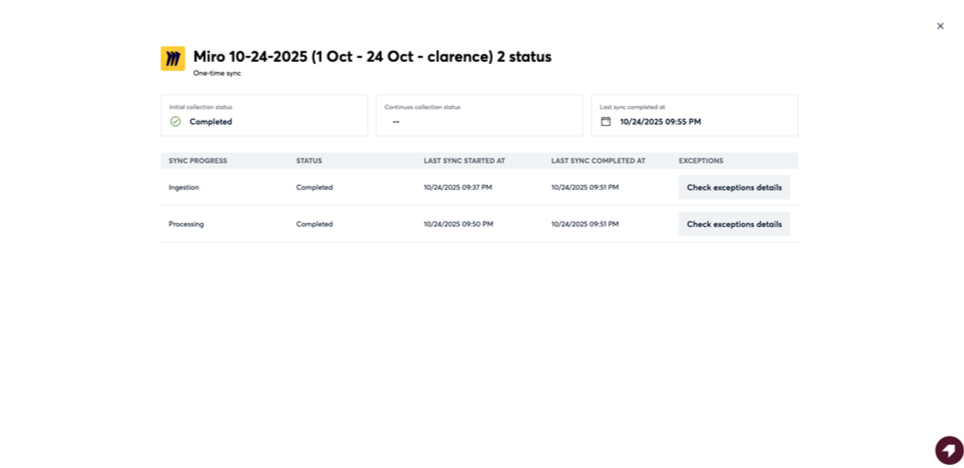
For more technical insights, click Check Status Details to access:
Ingestion and processing progress
Start and completion timestamps
Any exception details if errors occurred
The Status page displays the progress of ingestion and processing, along with their corresponding status, last sync start time, and last sync completion time. You can also check for exception details if any errors occurred during ingestion or processing.
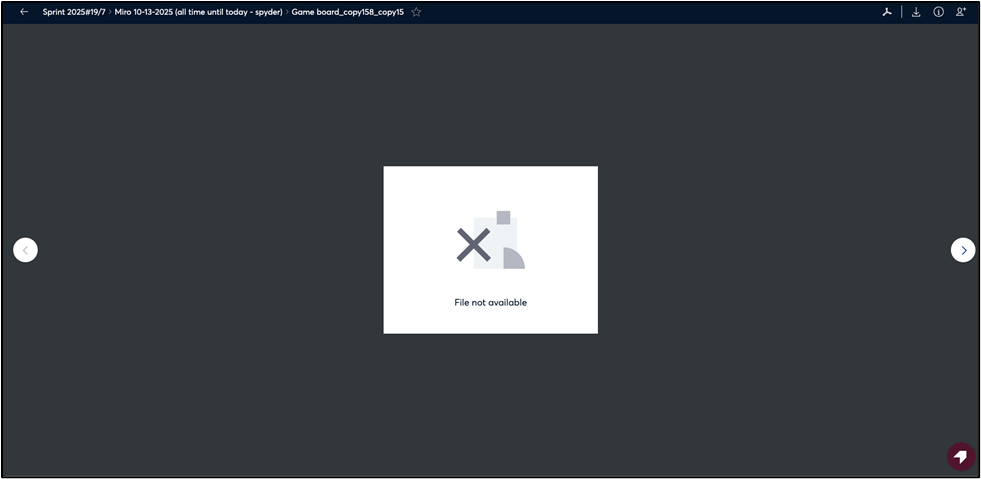
How to Handle Failed Resources
If certain Miro boards fail to sync correctly, they will appear as ".html" files that cannot be previewed within Onna. Opening these files will show "File not available," but you can still view their original content in Miro by following the Original Source URL.
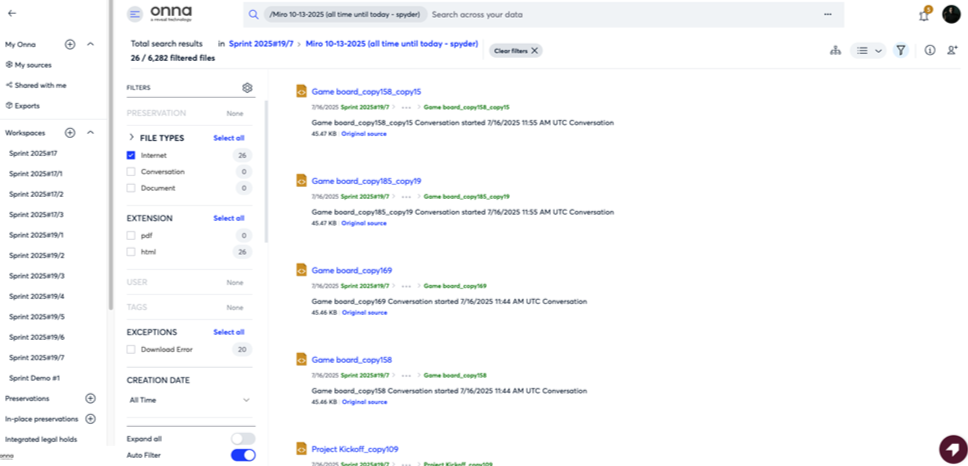
Despite being inaccessible in Onna, failed resources retain their metadata, which can still be viewed by selecting View Details from the three-dot menu.