Microsoft 365 Connector Setup Guide
- 31 Jul 2024
- 3 Minutes to read
- Print
- DarkLight
- PDF
Microsoft 365 Connector Setup Guide
- Updated on 31 Jul 2024
- 3 Minutes to read
- Print
- DarkLight
- PDF
Article summary
Did you find this summary helpful?
Thank you for your feedback
Overview
Reveal Hold supports integration with o365 Data sources Exchange, SharePoint & OneDrive for in-place preservation and data collection. This document describes the prerequisites for integrating Reveal Hold with o365 Data sources.
Information Required for Integration
The following details are required from the client for configuring o365 connector in Reveal Hold.
Service account username and password which has been assigned the following roles:
eDiscovery Manager
SharePoint URL.
OneDrive URL.
The below sections describe the steps to be carried out in o365 for integration with Reveal Hold.
Create a Service Account in Office 365
Adding User Account
Go to the admin center at https:/admin.microsoft.com.
How do I sign into the Office 365 admin center?
Head to the Microsoft portal.
Sign in using your Office 365 admin login details. ...
Once you have logged in, select the app launch icon in the upper bar and click on the Admin tile, which looks like the following image:
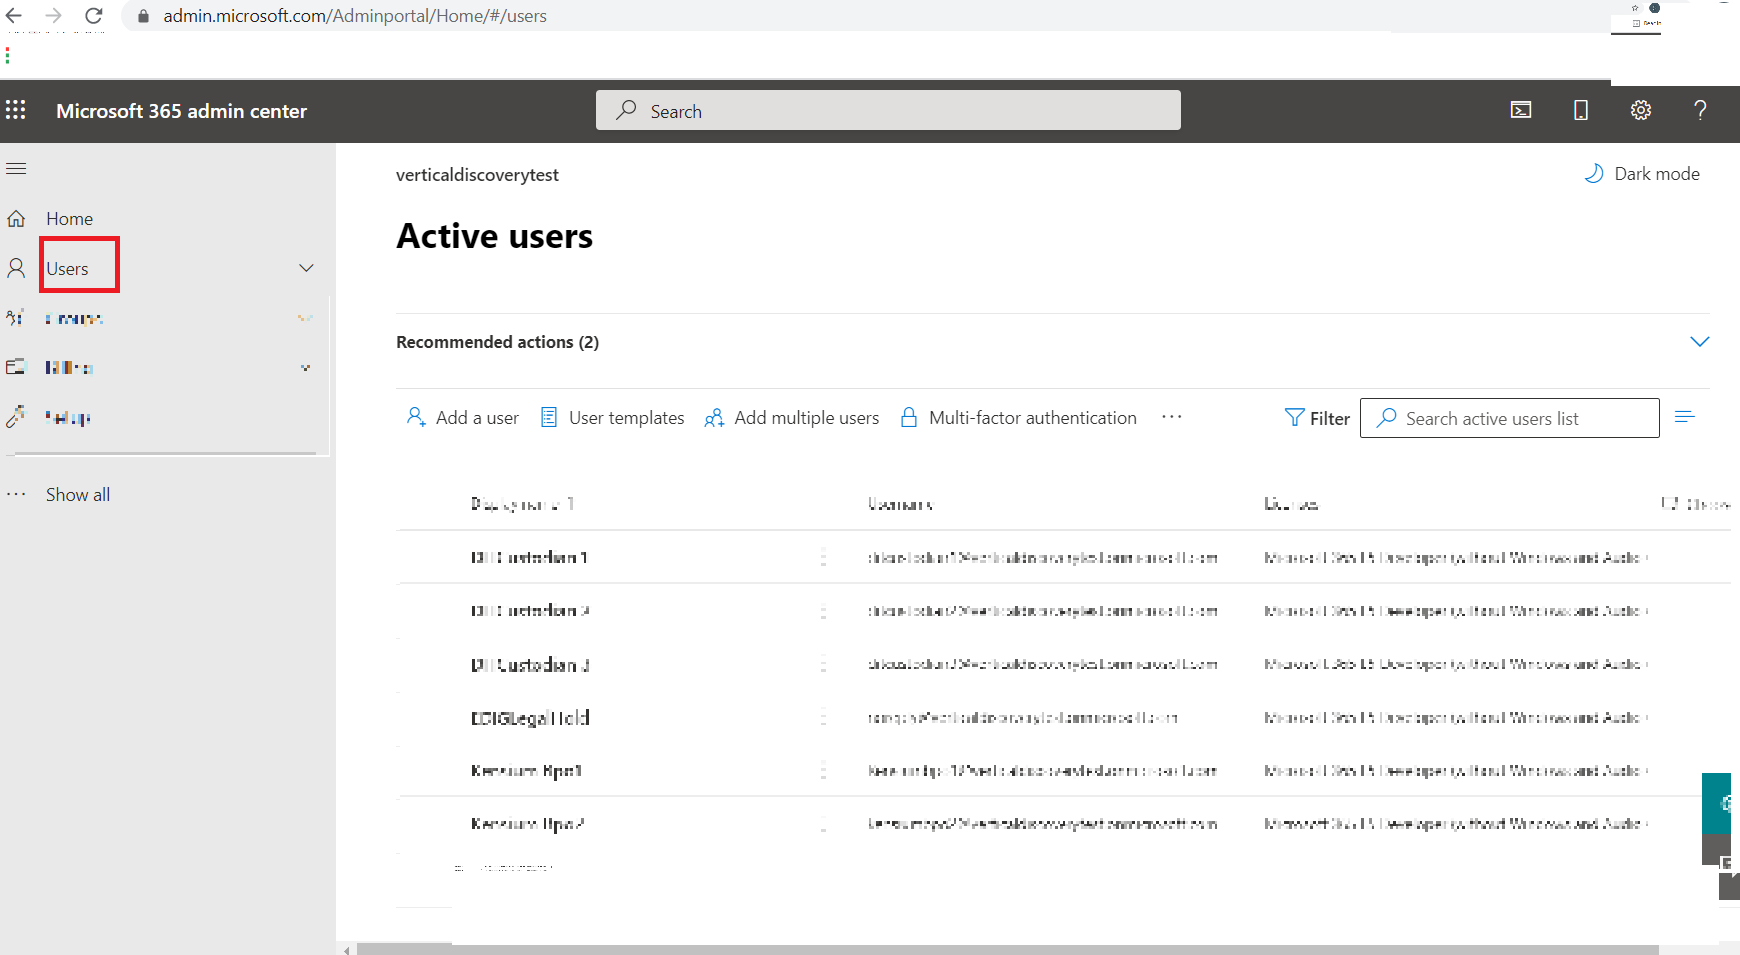
Go to Users > Active users and select Add a user.

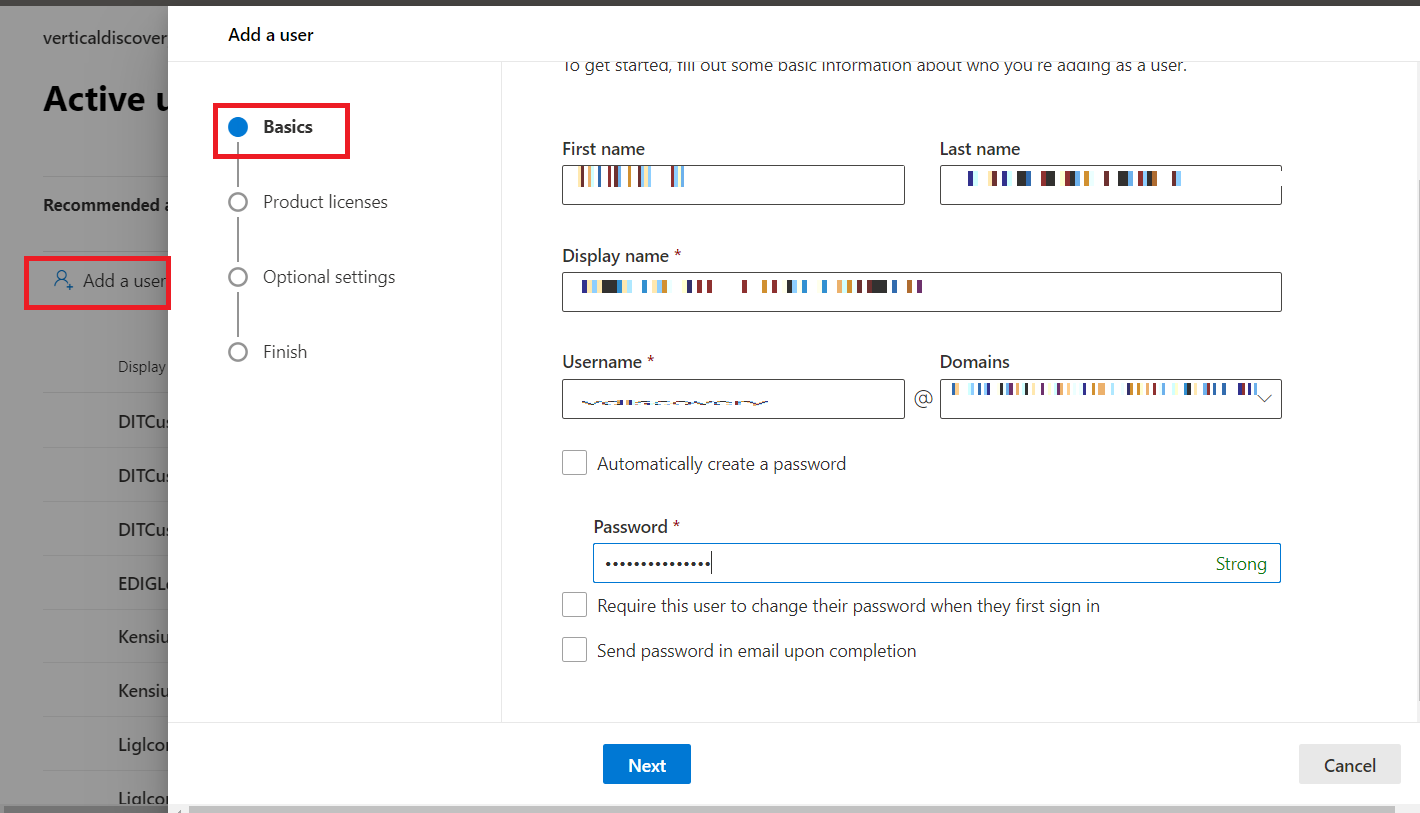
In the Set up the basics pane, fill in the basic user information, and then select Next.
Name Fill in the first and last name, display name, and username.
Domain Choose the domain for the user's account. For example, if the user's username is ****, and the domain is ***.com, they'll sign in by using ****@****.com.
Password settings Choose to use the autogenerated password or to create your own strong password for the user.
The user must change their password after 90 days. Or you can choose to Require this user to change their password when they first sign in.
Choose whether you want to send the password in email when the user is added.
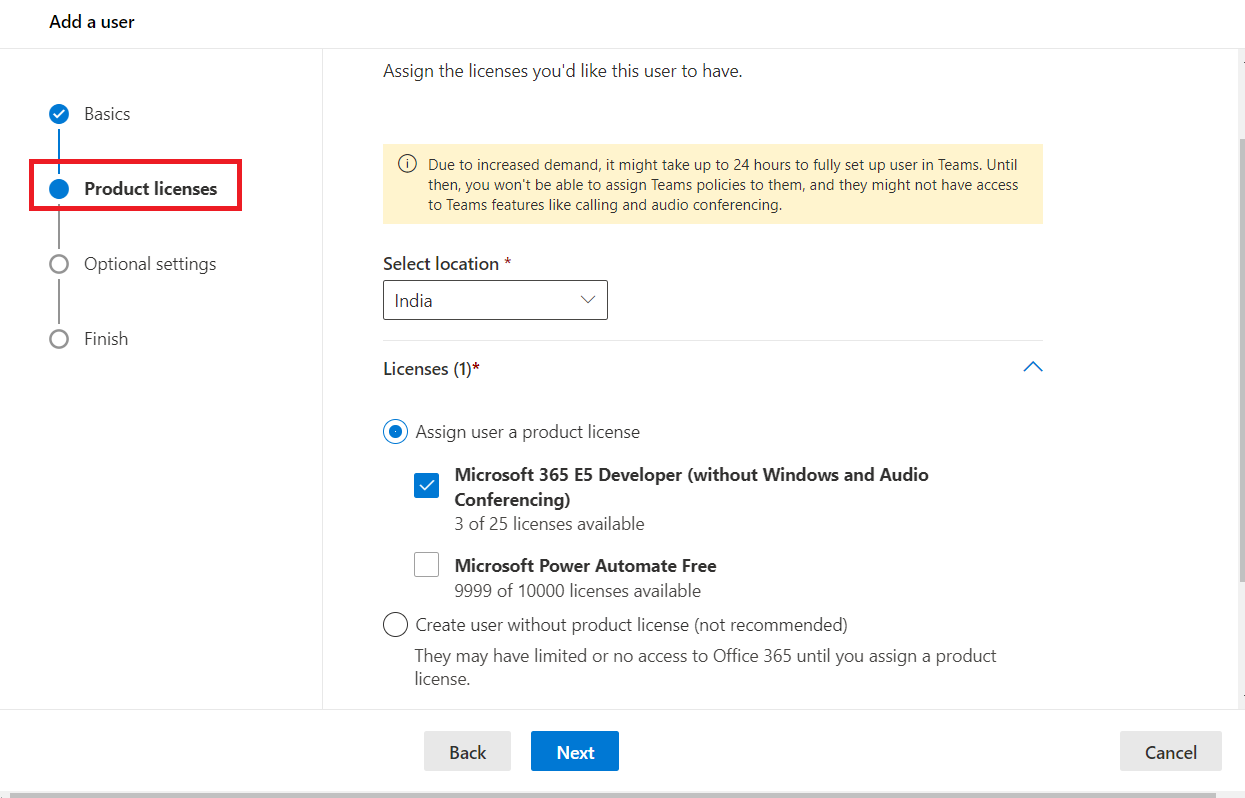
In the Assign product licenses pane, select the location and the appropriate license for the user. If you do not have any licenses available, you can still add a user and buy additional licenses. Expand Apps and select or deselect apps to limit the apps the user has a license for. Select Next.
In the Optional settings pane, expand Roles to make this user an admin. Expand Profile info to add additional information about the user.
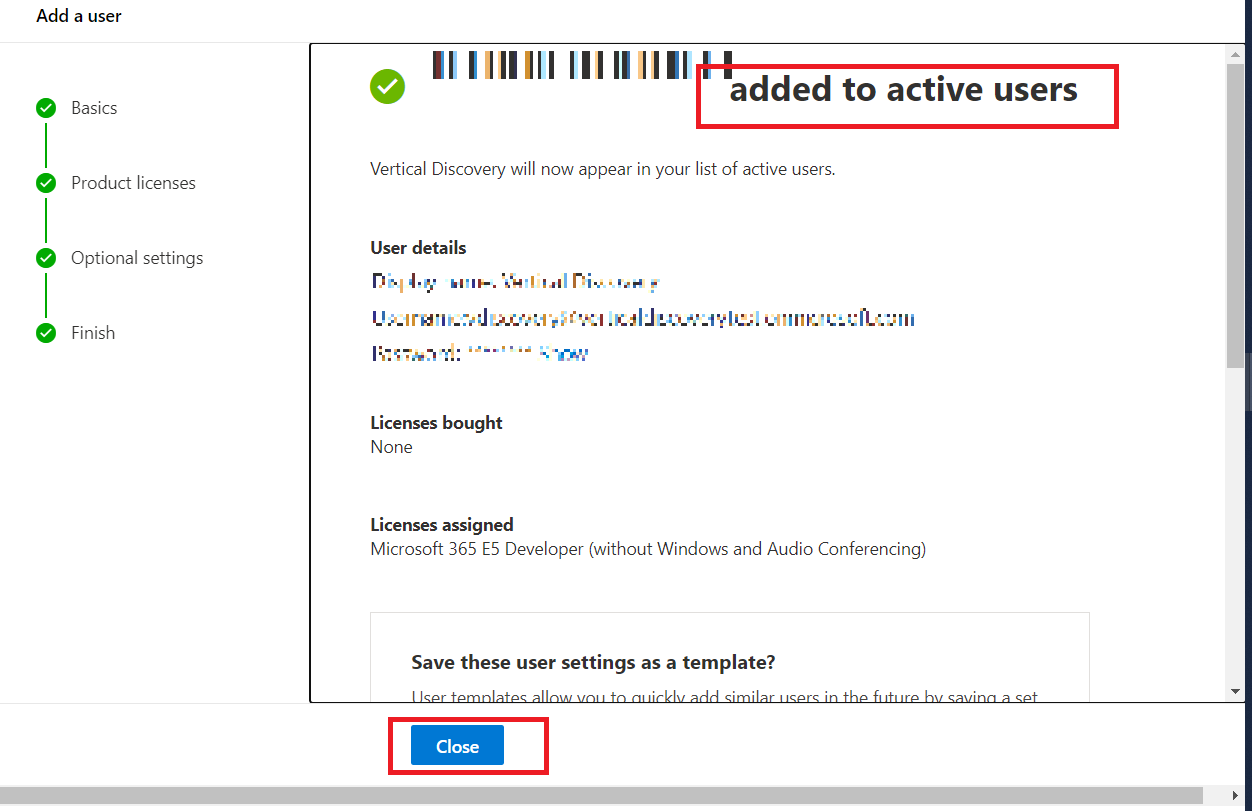
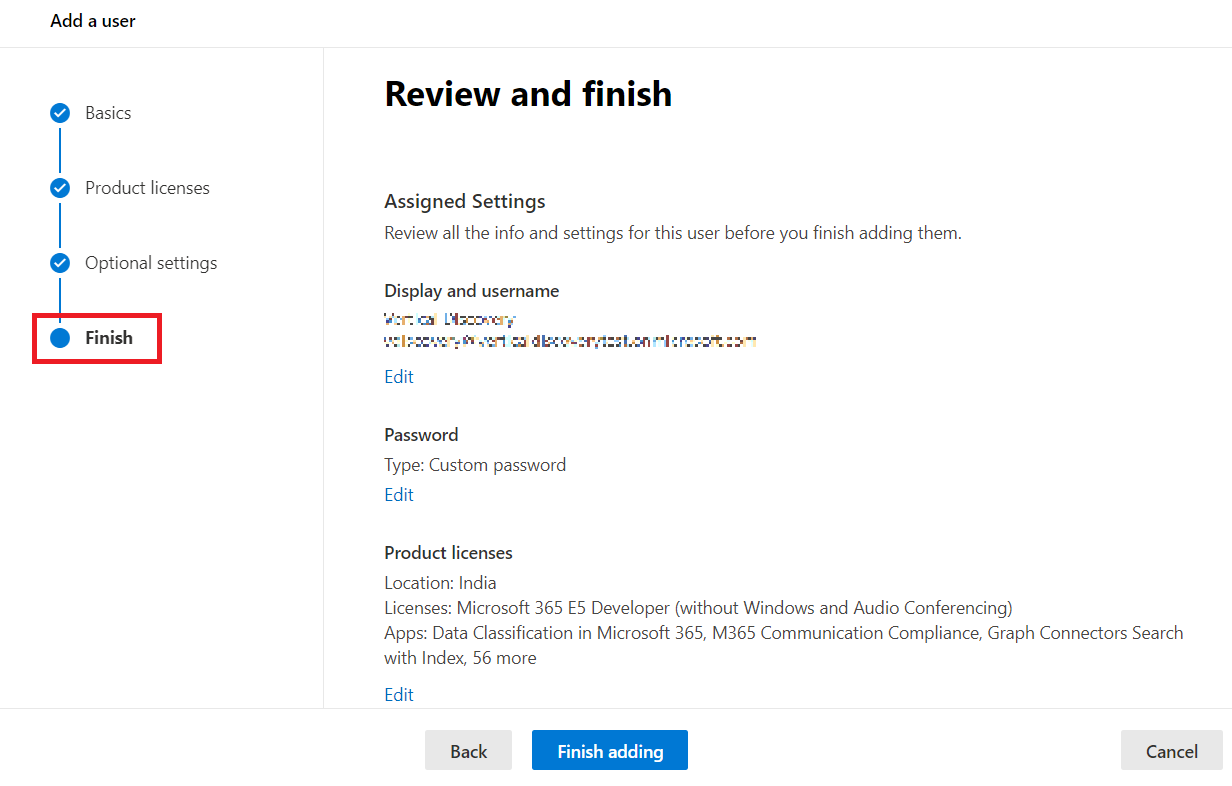
Select Next, review your new user's settings, make any changes you like, then select Finish adding, then Close
Grant Another User Access to Security & Compliance Center
Use the Security & Compliance Center to give another user access to the Security Compliance Center
Open the Security & Compliance Center at and then go to Permissions. To go directly to the Permissions tab, open https://protection.office.com/permissions.
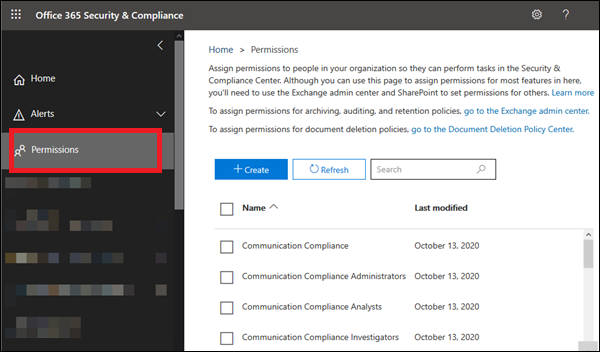
In the left pane of the security and compliance center, select Permissions, and then select the checkbox next to eDiscovery Manager.
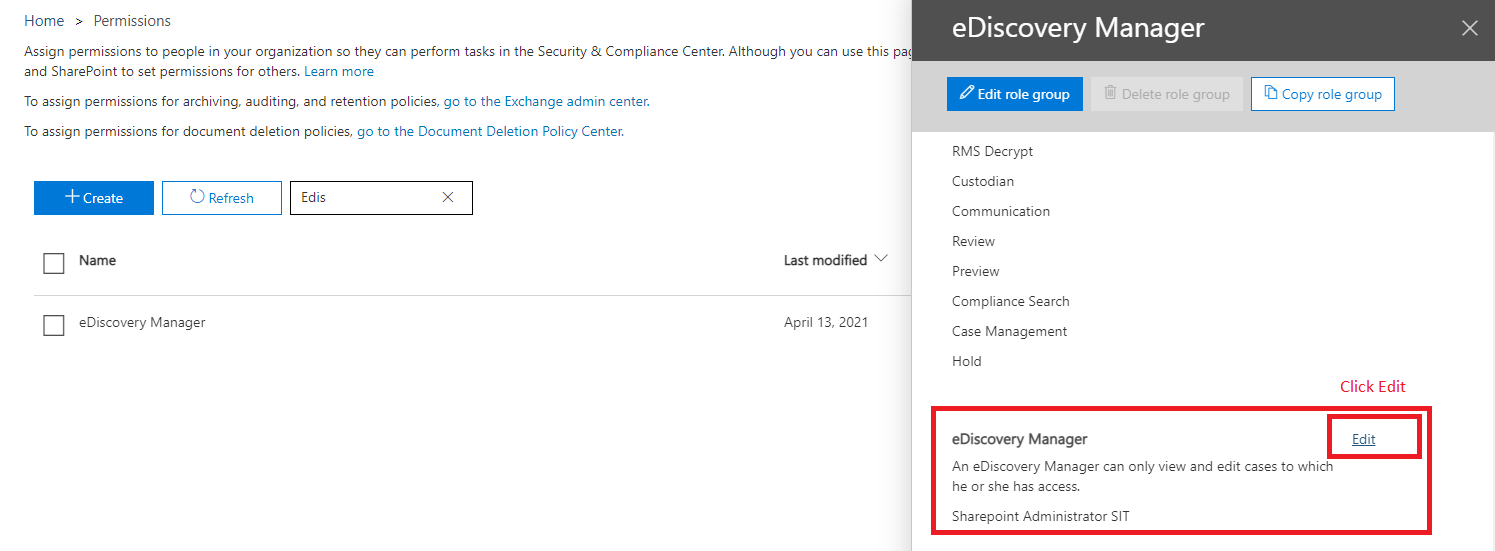
From the list of role groups, choose the role group, and then click Edit
 .
.In the role groupp’s properties page under Members, click Add
 and select the name of the user (or users) you want to add.
When you've selected all of the users you want to add to the role group, click add-> and then OK.
When you're finished, click Save.
 .
. and select the name of the user (or users) you want to add.
Assign eDiscovery Permissions
Go to https:/protection.office.com.
.png "image(25).png")
Sign in using your work or school account.
On the eDiscovery Manager flyout page, do one of the following based on the eDiscovery permissions that you want to assign.
Make User eDiscovery Manager
To make a user an eDiscovery Manager: Next to eDiscovery Manager, select Edit.
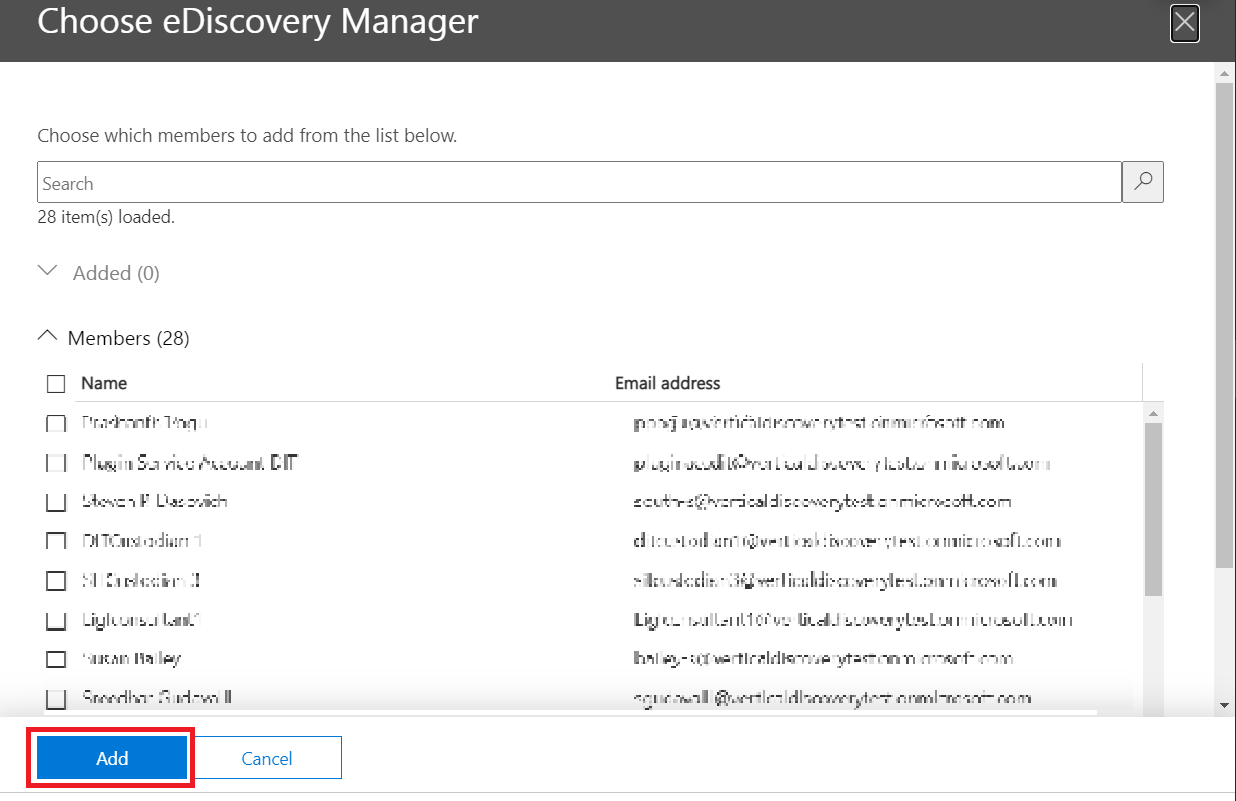
In the Choose eDiscovery Manager section, select the Choose eDiscovery Manager hyperlink.
Select
 Add. Select the user (or users) you want to add as an eDiscovery manager, and then select Add.
When you are finished adding users, select Done.
Then, on the Editing Choose eDiscovery Manager flyout page, select Save to save the changes to the eDiscovery Manager membership.
 Add. Select the user (or users) you want to add as an eDiscovery manager, and then select Add.
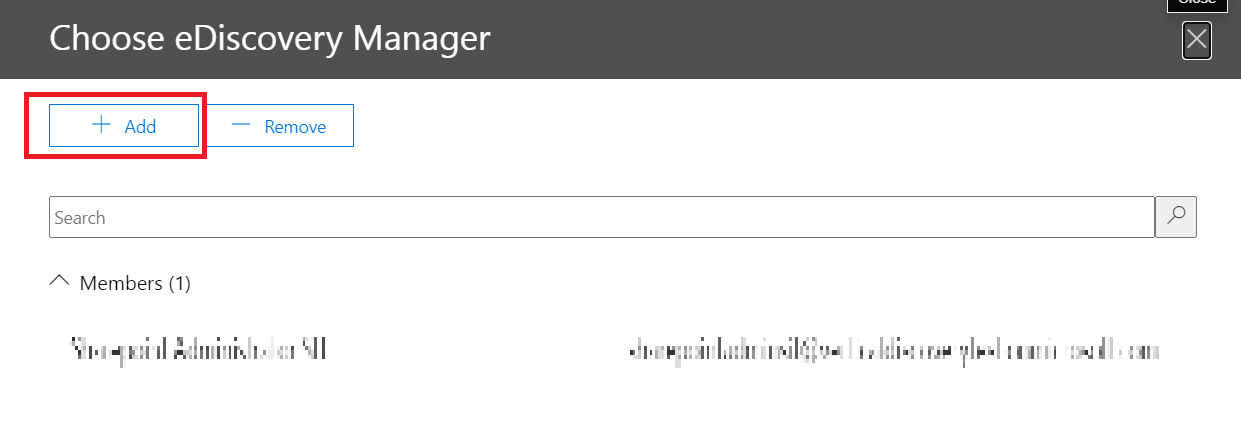
Additional requirements for Office365 SharePoint Connector:
Apart from above permissions, SharePoint Online connector requires, below mentioned additional Roles and permissions required.
Service Account needs be part of SharePoint Site Admin Group with Read-only access.
Service Account should be able have Read-Only access to each SharePoint site, this can be achieved by adding Service Account as “Site Visitor” to each SharePoint site.