Preservation and Collection
- 31 Jul 2024
- 3 Minutes to read
- Print
- DarkLight
- PDF
Preservation and Collection
- Updated on 31 Jul 2024
- 3 Minutes to read
- Print
- DarkLight
- PDF
Article summary
Did you find this summary helpful?
Thank you for your feedback
Preservation
CCD (Custom Custodian Data) can be locked only if the Lock/Unlock Status displays as Lock Not Initiated or Lock Failed.
When a CCD moves from DSI - QC Completed status to Data Hold, its status is Lock Not Initiated.
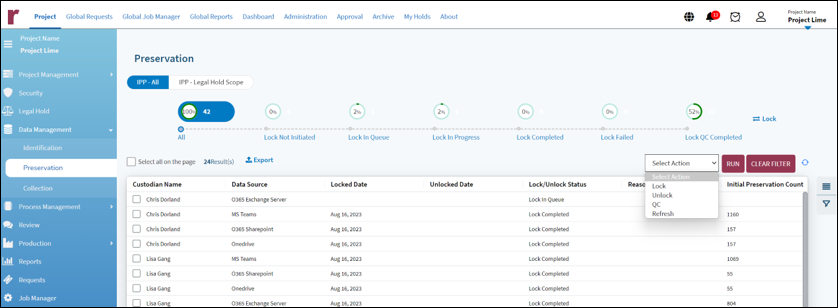
To lock a CCD:
Select the CCD by ticking the checkbox that appears against it to the left of the grid. Multiple CCDs can be selected.
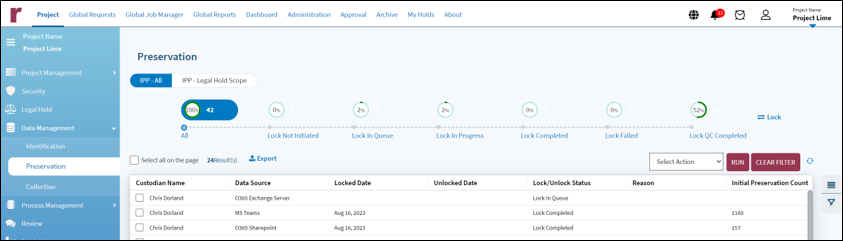
From the Select action dropdown located above the grid, select Lock.
Click the Run button to initiate the lock. A confirmation Pop-up window appears.
Click on Yes to lock the data source. Clicking on No will close the Pop-up window without further action. Lock will be initiated for the selected CCD and the Lock/Unlock Status changes from Lock Non-Initiated to Lock In Queue and later to Lock In Progress.
After the CCD record is successfully locked:
The Lock/Unlock Status appears as Lock Completed.
QC Status will appear as Lock QC Pending.
Locked Date will reflect the date lock was placed.
Unlocked Date will remain empty until the record is moved to Unlock Status.
If the CCD record could not be locked:
The Lock/Unlock Status appears as Lock Failed.
QC Status will appear as Lock QC Pending.
Locked/Unlocked Date will remain blank.
If the CCD record could not be locked:
The user can re-attempt to lock the CCD records that appear as Lock Failed any number of times. In the rare instances that it continues to fail, the only option is to ignore the failed CCD record.
Collection
When CCD (Custom Custodian Data) records are initiated for Collection, the application, irrespective of whichever data source is selected, uses the Source Path and API credentials provided to collect all the files and copy them to a target folder provided by the client, which is configured in the backend.
To initiate collection:
Select the CCD by ticking the checkbox that appears against it to the left of the grid. Multiple CCDs can be selected.
From the Select action dropdown located above the grid, select Collect.
Click the Run button to initiate the collection. A confirmation Pop-up window appears.
Click on Yes to initiate collection for the selected CCD. The Collection status changes from Not Initiated to In Queue, In Progress and then to Completed. Clicking on No closes the Pop-up window without any further action.
After the collection is done for the CCD record,
The Collection Status appears as Completed.
QC Status appears as Pending.
Destination Path displays the path where the files have been collected.
Collected On displays the date when collection was completed.
Size and Count of the collected files are displayed in the respective columns.
If the collection could be done only partially for the CCD record,
The Collection Status appears as Partially Completed.
QC Status appears as Pending.
Destination Path displays the path where the files have been collected.
Collected On displays the date when collection was completed.
Size and Count of the collected files are displayed in the respective columns.
If the collection could not be done for the CCD record,
The Collection Status appears as Failed.
QC Status will remain as Pending.
The Destination Path, collected on, Size, and Count columns will remain blank.
The user can reattempt to collect the Failed CCD records any number of times.
When collection for a CCD is completed, a Volume Barcode is generated which is assigned to the collected data for all future identification. This Volume Barcode is displayed in the Data Management - Summary Page and also contained in the Destination Path under Collections. The format for Volume Barcode is Project Prefix-Custodian ID- Data Source Type Abbreviation-Running Serial Number, for example, MW1-001-MST-005. An email notification/alert is also sent to users who have access to the project when collection is completed via automate or manual mode. All Volume Barcodes that were generated prior to the new Volume Barcode format implementation will display Data Source Type IDs instead of the Data Source Type Abbreviation. Only Volume Barcodes generated after the new implementation will follow the format indicated above.
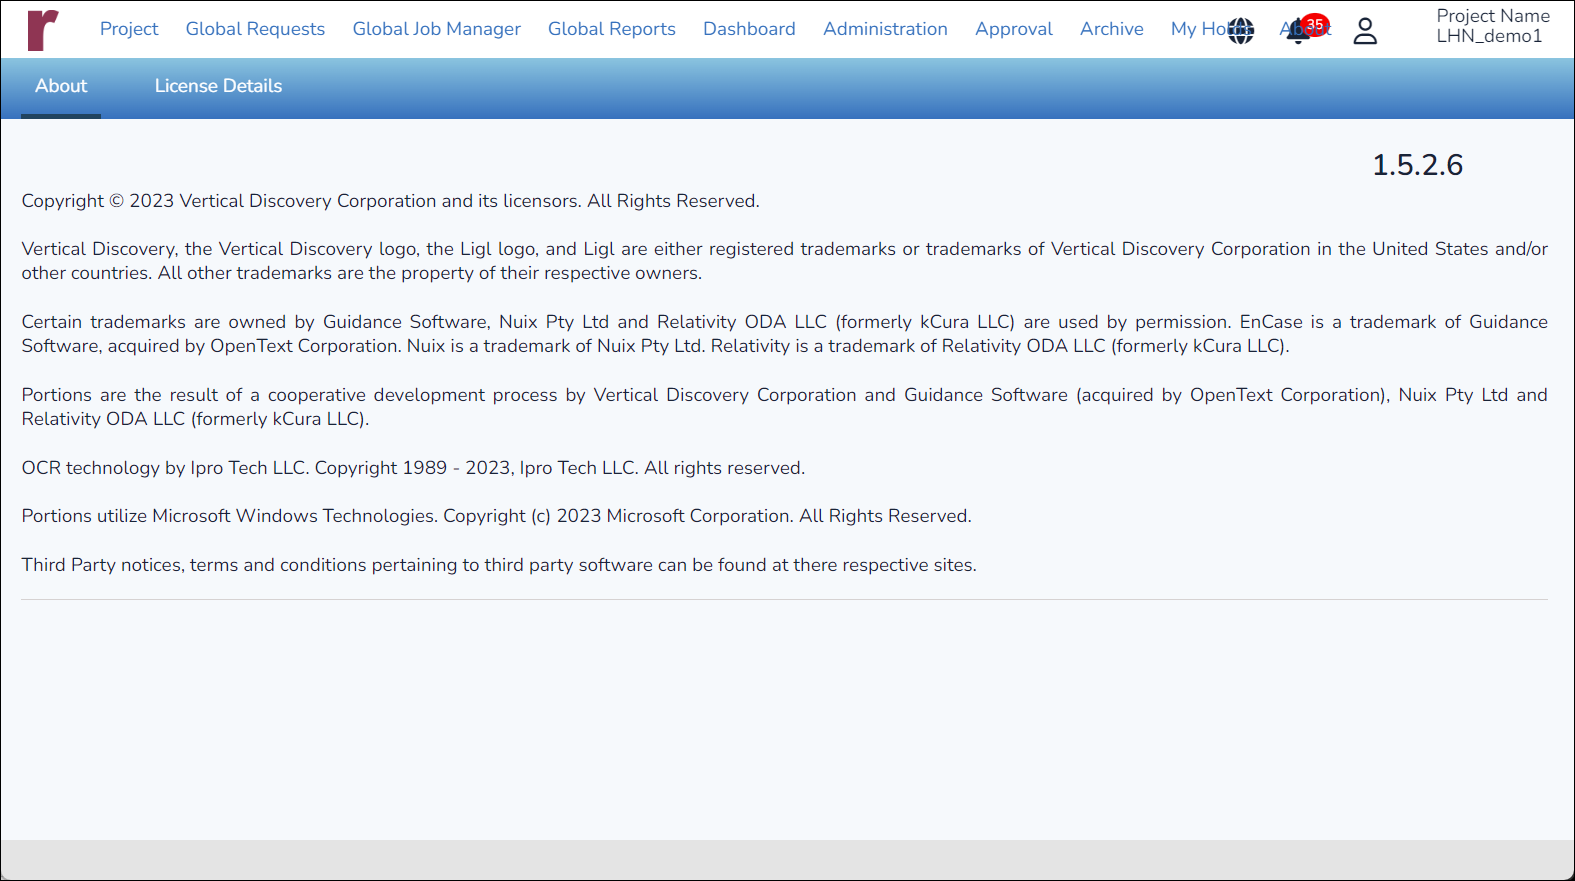
About
The About module provides information about the Reveal Hold application. To access the module, select About from the Primary navigation bar.
The page displays details about Vertical Discovery Reveal Hold such as the latest version number and copyright information.
Technical Support
For any technical support further to what is covered in this user guide, please contact Reveal Hold support by email at [email protected].