- 05 Dec 2024
- 5 Minutes to read
- Print
- DarkLight
- PDF
Workflow: Get Started with TRIAL DIRECTOR
- Updated on 05 Dec 2024
- 5 Minutes to read
- Print
- DarkLight
- PDF
Applies To: TRIAL DIRECTOR, Presentation
This topic contains high-level procedures to help you create a case, add documents and transcripts, create transcript clips, create and add items to a workbook, and view documents and clips in Presentation.
The following illustration shows the basic process outline.

The basic workflow diagram, above, and the tasks that follow outline one way you can create a case, import documents and transcripts, create a clip, create and add items to a workbook, and view documents and clips in Presentation. This is the standard, most basic, method for doing so. There may be alternative ways to complete the same process.
Note:
To make it easier to find the procedures you need, the procedures are collapsed. If you want to expand a procedure, click the triangle next to the procedure title to open and close the detailed information.
Review the Prerequisites
The following table shows the prerequisites that must be in place before you start.
Task | Notes |
|---|---|
Set Up Your TRIAL DIRECTOR Account | You must set up your TRIAL DIRECTOR account before you can download and install the application. |
Install TRIAL DIRECTOR | The TRIAL DIRECTOR module must be installed in order to complete the tasks which follow. |
Set TRIAL DIRECTOR User Preferences | Make sure that you have set up your TRIAL DIRECTOR EVIDENCE user preferences. |
Set Presentation Preferences | Make sure that you have set up your Presentation Preferences. |
Create a Case
The first step in the process of using TRIAL DIRECTOR is the creation of a case. After a case is created, you can import documents and transcripts, and view those documents and transcripts in Presentation.
Important:
You must have set up your TRIAL DIRECTOR account and have TRIAL DIRECTOR installed in order to complete the following tasks.
To create a case, open Case Manager and follow the steps below:
Click Case Manager.
Click the Create Case button.
.png)
The Create Case wizard appears.
Progress through the steps of the wizard.
Fill in the information on each step of the wizard and click the Next button to progress to the next step.
Note:
On the first step, Case Details, the Case Name is required to create the case. The other steps, Issues, Team Members, and Parties, are only included for your convenience. You will be able to add or import issues, invite team members, or add parties after the case is created.

When you arrive at the Summary step, click the Create button.
After you click the Create button, the case is created.

Click the Open in Evidence button.
Add Documents to the Case
The easiest way to add a document is the drag and drop method. With the case you want to add documents to open, in TRIAL DIRECTOR EVIDENCE, follow the steps below:
Open the file location in the local file explorer.
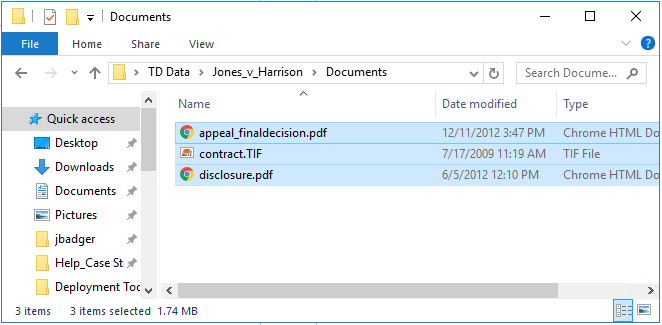
Left-click on the file(s) and, while holding down the left mouse button, drag the file over to the TRIAL DIRECTOR EVIDENCE Documents Explorer.
Release left click to drop the files into the Documents Explorer.
After dropping the file into the Documents Explorer, the Add Documents dialog appears.
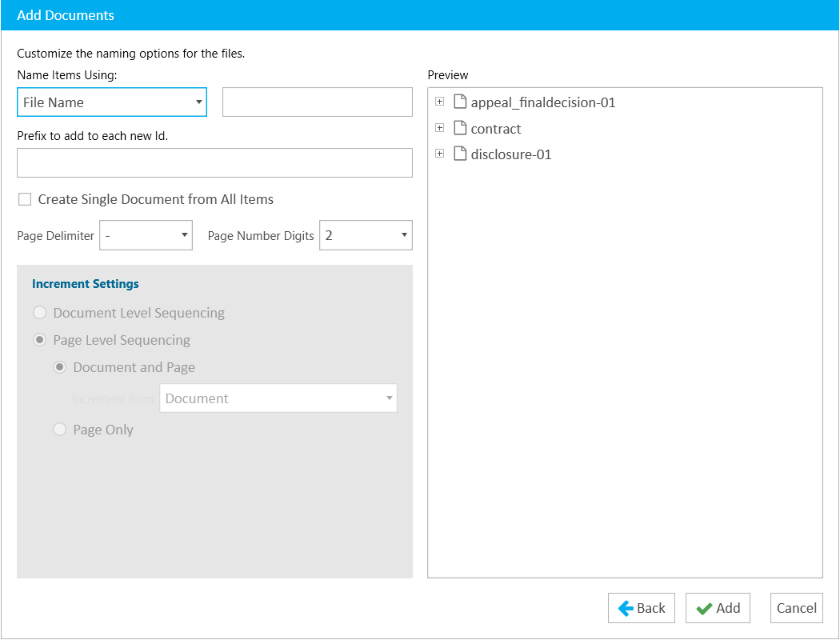
Review the information in the Add Documents dialog and change settings, as appropriate.
Click the Add button.
The documents are added to the case.
Add a Transcript to the Case
To add a transcript to a case, follow the steps below:
Open the file location in the local file explorer.
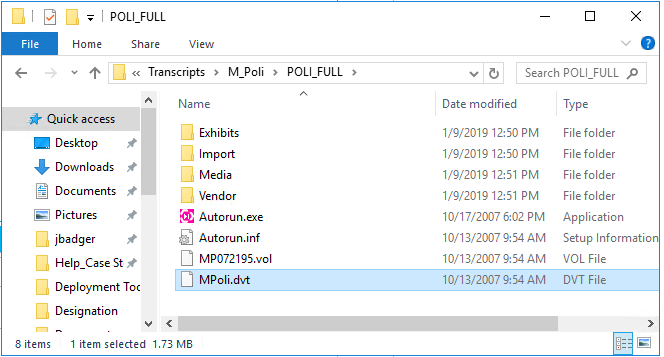
Left-click on the file and, while holding down the left mouse button, drag the file over to the TRIAL DIRECTOREVIDENCE Transcript Explorer.
Release left mouse button to drop the files into the Transcript Explorer.
After dropping the file into the Transcript Explorer, the Add Transcript dialog appears.
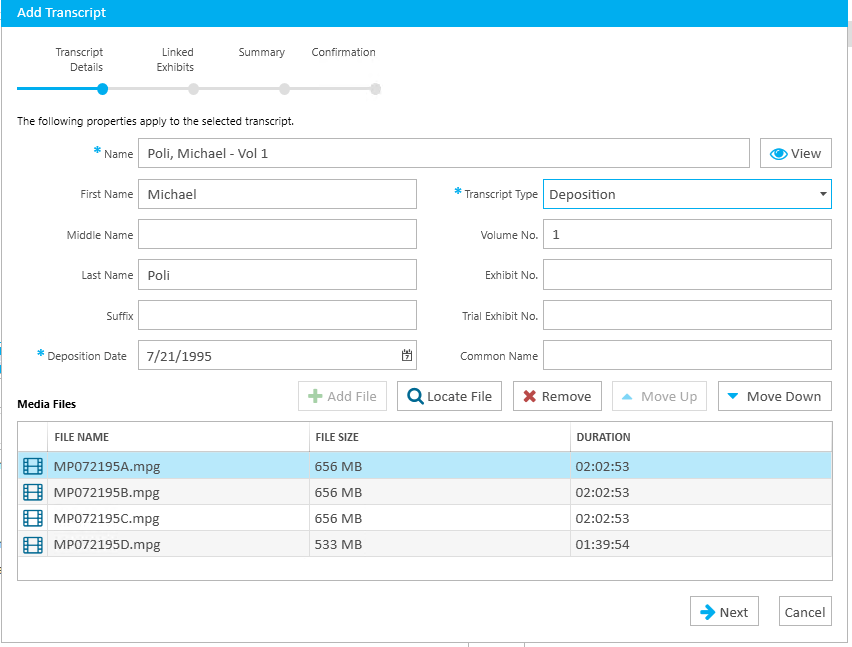
Complete the steps in the Add Transcript wizard.
Click the Add button.
The transcript is added to the case and is displayed in the Transcript Explorer.
Create a Transcript Clip
To create a clip from a transcript, open a transcript in the Transcript Work Area follow the steps below:
In the Transcripts Explorer, double-click on the transcript you want to create a clip from.
The Transcript Work Area displays.
Select text within the transcript that you want included in your clip.
.png)
Right click on the selected text.
The context menu appears.
.png)
Click the Create Clip button.
The Create Clip dialog appears.
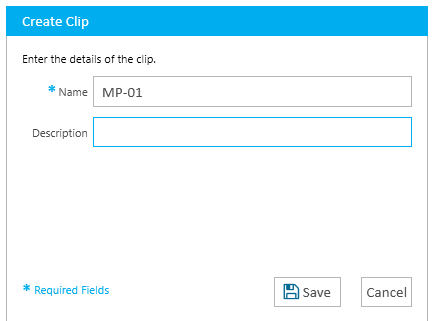
Enter the information for the clip.
Click the Save button.
The clip is created from the selected text. When a clip is created, it appears under its respective transcript in the Transcripts Explorer as well as in the Clips Explorer.
Create a Workbook and Add Items to the Workbook
To add a workbook to a case from the Workbooks Explorer, open a case and follow the steps below:
Open the Workbooks Explorer.
Click the Add button in the explorer.
.png)
The Add Workbook dialog appears.
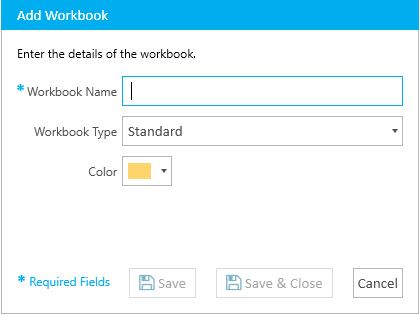
Fill in the information for the workbook.
Select the Standard workbook type.
Click the Save & Close button.
When a workbook is added, it appears in the Workbooks Explorer.
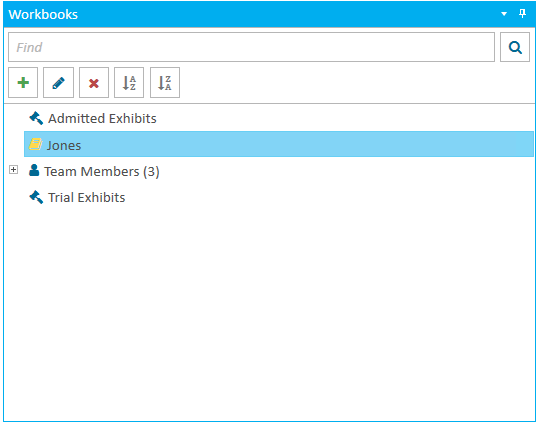
In the Documents Explorer, select the document(s) you want to add to a workbook. In our example, we selected the documented titled "contract" to the workbook.
Click and drag the document into the newly created workbook.
.png)
In the Clips Explorer select the clip you want to add to a workbook. In our example, we selected a clip we named "MP-01" to the workbook.
Click and drag the clip into the newly created workbook.
.png)
Now the workbook has both a document and a clip included in it.
| Tip: Items in Evidence, (e.g. documents, multimedia, clips, etc.), do not need to be in a workbook for them to be displayed in Presentation. |
Present a Document in Presentation
To present a document on the presentation screen, follow the steps below:
Select a case from the Cases table on the EVIDENCE Start Page.

With the case selected, click the Open Case button. Alternatively, you can open the case by double-clicking the case name in the Cases table.

Select the Presentation button in the main menu.

The presentation and preview windows display in separate windows.
Presentation Preview

Presentation (Empty)

Type in the name of the document you want to view. In our example, we want to view the document called "contract". As you type in the name of your document, the text you are typing appears in the bottom-right corner of the presentation screen.

When you have finished typing the document name, press Enter.
The document displays in the presentation screen.

Note:
To clear the presentation screen, press the Esc key on your keyboard.
Present a Transcript Clip in Presentation
To present a transcript on the presentation screen, follow the steps below:
If the presentation screen is not open, open it.
Select a case from the Cases table on the EVIDENCE Start Page.
With the case selected, click the Open Case button.
The presentation screen appears.

Type in the name of the clip you want to view. In our example, we want to view the clip called MP-01.

Press Enter.
The clip is displayed in the presentation screen.

To clear the presentation screen, press the Esc key on your keyboard.
.png)
.png)


.png)
.png)

.png)


.png)
.png)
