Connecting Relativity® Tags to Brainspace
Relativity® as the Connector
If Relativity® was selected as the connector type for the dataset, Admin-level users have the option of connecting to an existing Relativity® tag (coding field). This process only works for single choice and yes/no fields. The choices must be set in Relativity® before they can be connected. Connected tags can be used in combination with all of the visuals as well as training a Predictive Model (CMML).
After creating a dataset and choosing Relativity® as the connector type, you must connect the Relativity® tags to the Brainspace dataset.
Note
Connecting a tag that already exists in Brainspace will cause all choices and document tagging to be overwritten.
To connect Relativity® tags to a Brainspace dataset:
In the user drop-down menu, click Administration:
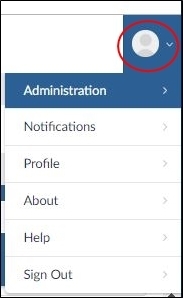
The datasets screen will open.
In the Datasets screen, locate the dataset, and then click the Tag Management icon:

The Manage Tags dialog will open.
On the Manage Tags dialog, click the Connect Tags button:

Note
If Relativity® was not selected as the connector type for the dataset, this button will not appear on the Manage Tags dialog.
In the Relativity® Credentials dialog, type your Relativity® user name and password, and then click Use these credentials. The Manage Tags dialog will open.
In the Connect Tags dialog, click the checkbox next to each tag name that you want to use for the dataset.
Click the Connect button. The Manage Tags dialog will refresh. If the connection is successful, the Disconnect icon will appear in the row with the
The Relativity® tags are now connected to the Brainspace dataset. After connecting the Relativity® tags to the Brainspace dataset, you can pull tags from Relativity® into the Brainspace dataset, push tags from the Brainspace dataset to Relativity®, and disconnect the Brainspace dataset from Relativity®.
Pull Relativity® Tags into Brainspace
After connecting Relativity® tags to a Brainspace dataset, you can pull the Relativity® tags into the Brainspace dataset.
Note
Pulling tags will result in overwriting document tagging and tag values in Brainspace, and your work product could be destroyed.
To pull Relativity® tags into the Brainspace dataset:
In the user drop-down menu, click Administration:
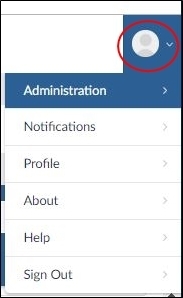
The datasets screen will open.
In the Datasets screen, locate the dataset, and then click the Tag Management icon:

The Manage Tags dialog will open.
On the Manage Tags dialog, click the Pull Tags icon:

A confirmation dialog will open.
Click the Confirm button.
The pull process will run for a few moments. When finished, you should see the Counts column populated with the correct document totals for each choice associated with your connected tag.
After pulling Relativity® tags into Brainspace, you can push tags back to Relativity® or disconnect tags at any time.
Push Brainspace Tags to Relativity®
After connecting a Relativity® tags to a Brainspace dataset, you can push tags from Brainspace to Relativity®.
Note
Pushing tags will result in overwriting the tag values in the connected system, and the work product could be destroyed.
To push tags from Brainspace to Relativity®:
In the user drop-down menu, click Administration:
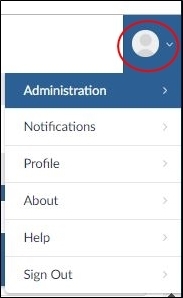
The datasets screen will open.
In the Datasets screen, locate the dataset, and then click the Tag Management icon:

The Manage Tags dialog will open.
On the Manage Tags dialog, click the Push Tags icon:

A confirmation dialog will open.
Click the Confirm button.
The push process will run for a few moments.
Disconnect Relativity® Tags
After connecting tags, you can disconnect individual tags at any time.
To disconnect tags:
In the user drop-down menu, click Administration:
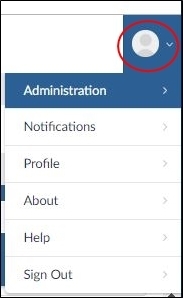
The datasets screen will open.
In the Datasets screen, locate the dataset, and then click the Tag Management icon:

The Manage Tags dialog will open.
On the Manage Tags dialog, click the Disconnect Tags icon in the row with the tag to be disconnected:

Connecting Brainspace Tags to Relativity®
After creating tags in Brainspace, you can connect them to tags in Relativity®.
Important
Connecting a tag that already exists in Brainspace will cause all choices and document tagging to be overwritten.
To connect Brainspace tags to Relativity® tags:
In the user drop-down menu, click Administration:
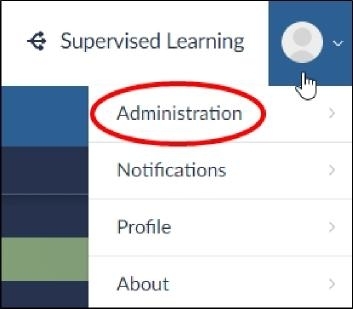
The Datasets screen will open.
In the Datasets screen, locate the dataset, and then click the Tag Management icon:

The Manage Tags dialog will open.
In the Manage Tags dialog, click the Connect Tags icon:
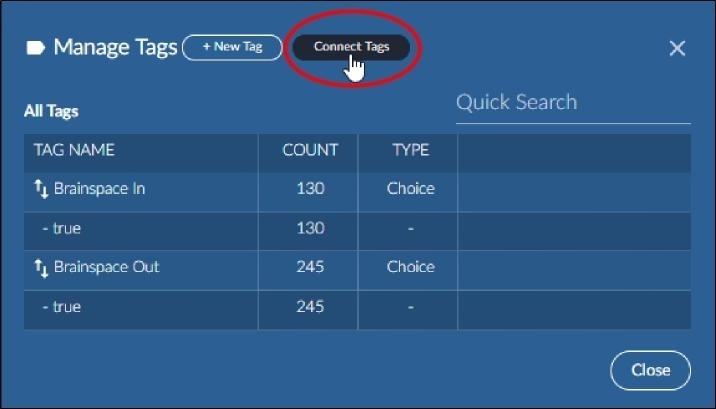
After Relativity® verifies your stored credentials, the Connect Tags dialog will open.
Note
If you have not stored your Relativity® credentials, you will be prompted to verify you Relativity® user name and password.
In the Connect Tags dialog, click the check boxes for the tags to connect.
Click the Connect button. The Manage Tags dialog will refresh, and the tag will display the Connect Tag icon
 .
.Click the Close button. The Manage Tags dialog will close.
After connecting a tag, a user can disconnect it, push the tag, pull the tag, modify the tag, or delete the tag at any time.