A Native file connector allows Brainspace to analyze common native file types, including basic versions of emails (EML), PDF, MS Office, PST (Outlook), Mbox (email formats), ZIP, and RAR.
Native documents must be presented to Brainspace within the /data/brainspace/ directory structure to be ingested. These native documents can be viewed and downloaded in the Brainspace Document Viewer as long as they continue to reside in that location.
Create a Native Connector
To create a native connector:
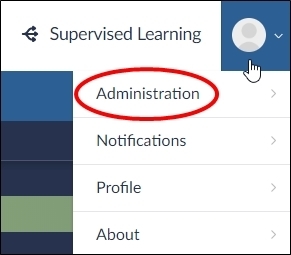
In the user drop-down menu, click Administration, the Datasets screen will open.

Click the Connectors button, the Connectors screen will open.

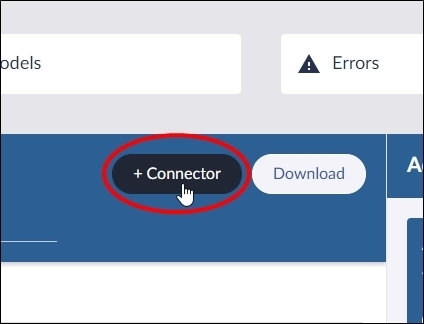
Click the Add Connector button, the Connector menu will open.

Click a native connector in the menu, the connector dialog will open.
Complete the required text fields, and then click the Test Connector button.
Note
Required fields are specific to the connector that you selected.
After the connector test is successful, click the Create Connector button.

After the connector is added to the Connectors pane, you are ready to use the connector to create datasets.
Manage a Native Connector
After creating a connector, you can update or delete it from Brainspace.
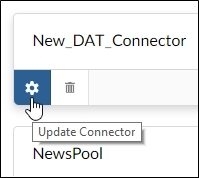
To update a connector, click the Update Connector icon:

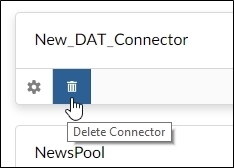
To delete a connector, click the Delete Connector icon:
