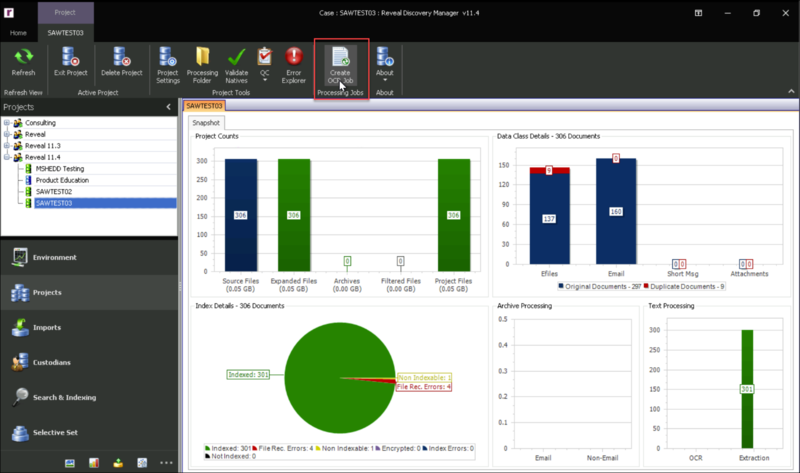
An OCR job can be created using the Create OCR Job button from within the Projects Module. Users may want to create an OCR job if they did not initially check the option to automatically OCR during import, or if there is a need to address OCR errors for outlying file types.

Open the Projects Module in Reveal Discovery Manager.
Select your Project.
Click Create OCR Job.
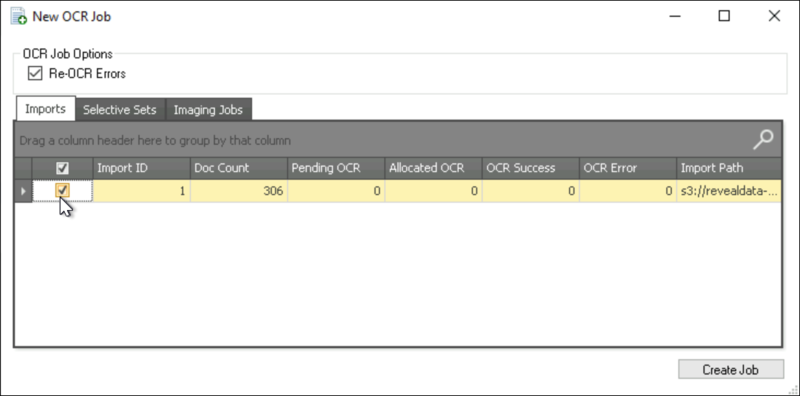
The New OCR Job dialog box opens.

The first option is a checkbox to Re-OCR Errors.
The first tab in the OCR job selection table below is Imports, where one or more project imports can be selected for OCR processing (including, if selected, re-OCR of errors).
The second tab is where one or more Selective Sets can be added; for example, if a Selective Set incorporated searches for JPEG and PNG file types on ORIGFILEEXT metadata, that selective set could be checked here.
The third tab, Imaging Jobs, will create an OCR task on the selected imaging job scope for all successfully imaged documents. The informational text for this tab informs us that if documents have been previously OCRed within the system they will be OCRed once again if selected here.
Click Create Job in the tab containing your selection(s) to proceed.
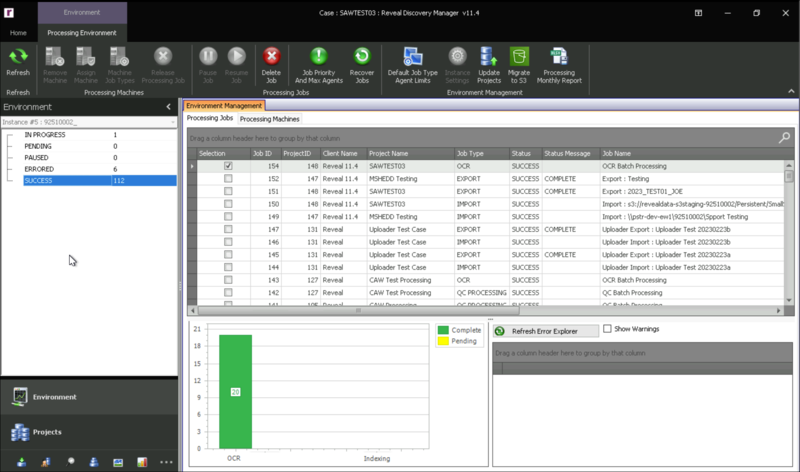
Open the Environment Module.
First open the PENDING screen.

You will see your job here as a processing machine is found to address the job.
The job to go to IN PROGRESS as processing begins; job status will be reported here.
When completed, a job that finishes without errors will be listed under SUCCESS. We see shadow bar graphs superimposed here because the job contained no documents requiring OCR.

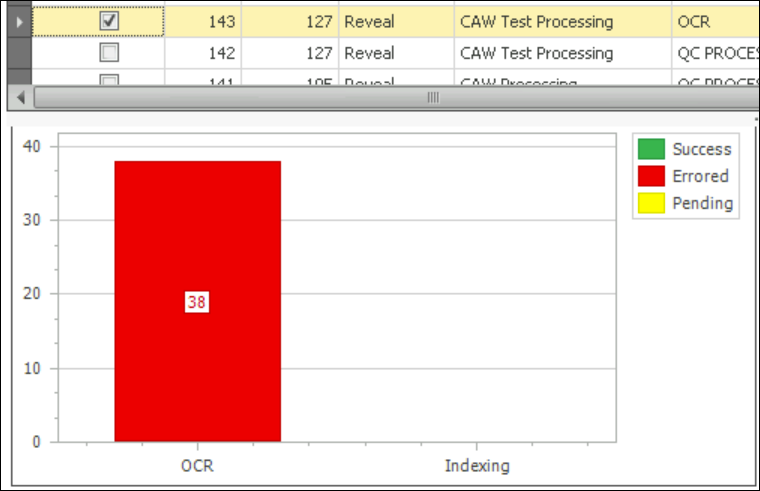
If a job did not complete successfully, you will find it under ERRORED.
