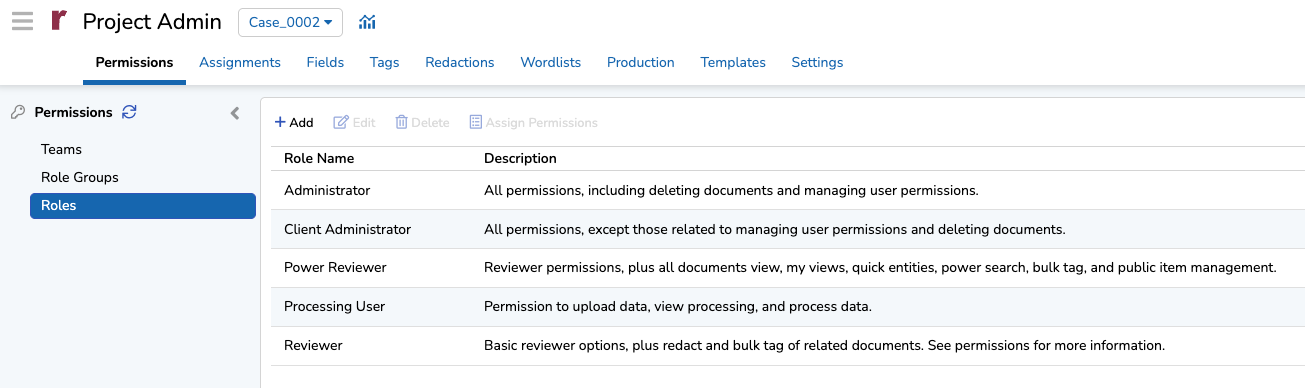
There are five default roles in Reveal: Admin, Client Admin, Power Reviewer, Processing User, and Reviewer. Each role has its own default set of permissions, which can be edited if needed.
Permissions are managed in the Roles page by navigating to Project Admin > Teams + Roles > Roles from the project navigation sidebar.
Modify permissions
From the Roles page:
Click your desired role from the list. Its row will highlight in blue.
Click
 Assign Permissions.
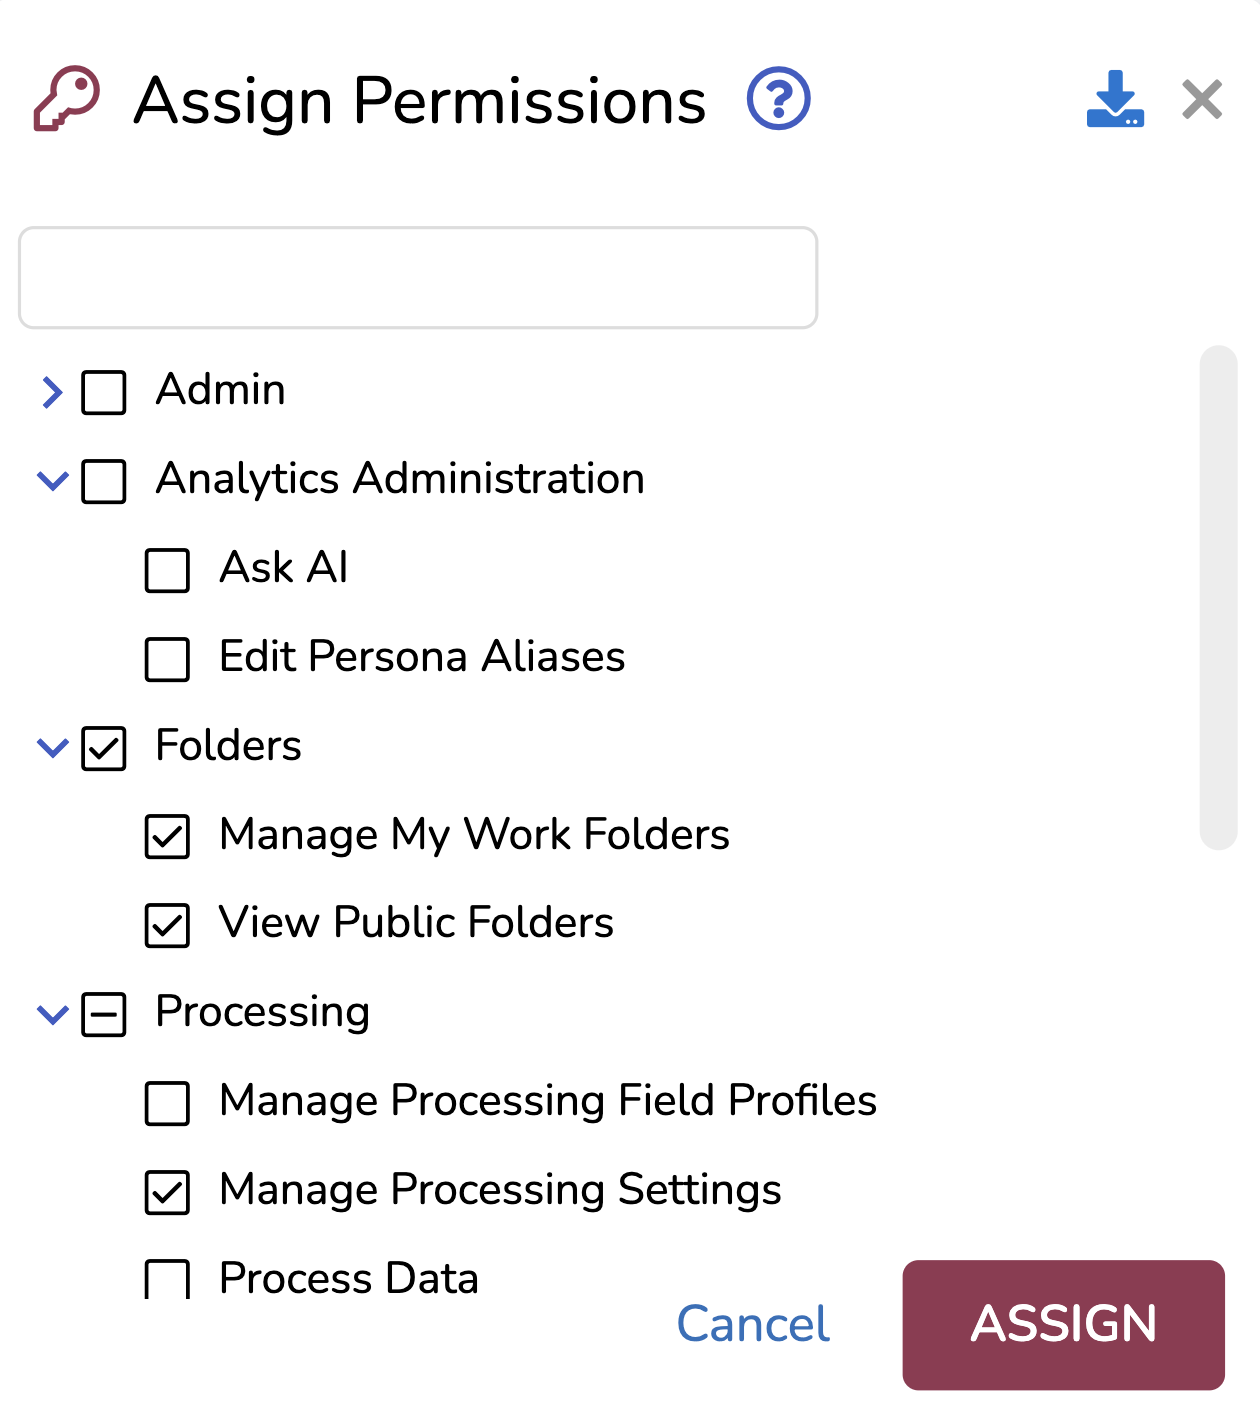
In the Assign Permissions modal:
Use the
 arrow to expand and collapse folders, revealing permissions.
Where the folder’s checkbox is
 unchecked, all items below are disabled.
Where the folder’s checkbox is
 checked, all items below are enabled.
Where the folder’s checkbox contains a
 dash, there are some items below that are checked (enabled) and some that are unchecked (disabled).
Check and uncheck boxes to enable or disable your desired permissions for the specific role.
You can use the search bar to quickly search for any permissions.
Press ASSIGN to save your changes.
Note
Our Permissions Matrix (Default) article contains a table of all permissions, including descriptions for what features each permission grants access to if checked. Notably, the Administrator role is assigned all permissions by default, and the Company and Instance Admins rolls have all permissions but are not configurable.