The Payments tab lets Admins configure your agency’s payment settings and connect to payment carriers (currently limited to Stripe). It can be accessed via Settings >  Payments.
For instructions on how to send a fee notice, and how the “pending payment” status works, see Send Fee Notice.
Connect to Stripe
If you’re in the Payments tab and you’re not currently connected to a payment carrier, Logikcull for Public Records will display the below dropdown.

Currently, Stripe is the only carrier that can connect to Logikcull for Public Records.
To connect to Stripe…
Carrier: Choose Stripe from the dropdown.
Click Connect with Stripe. This will route you to a new tab, shown below.
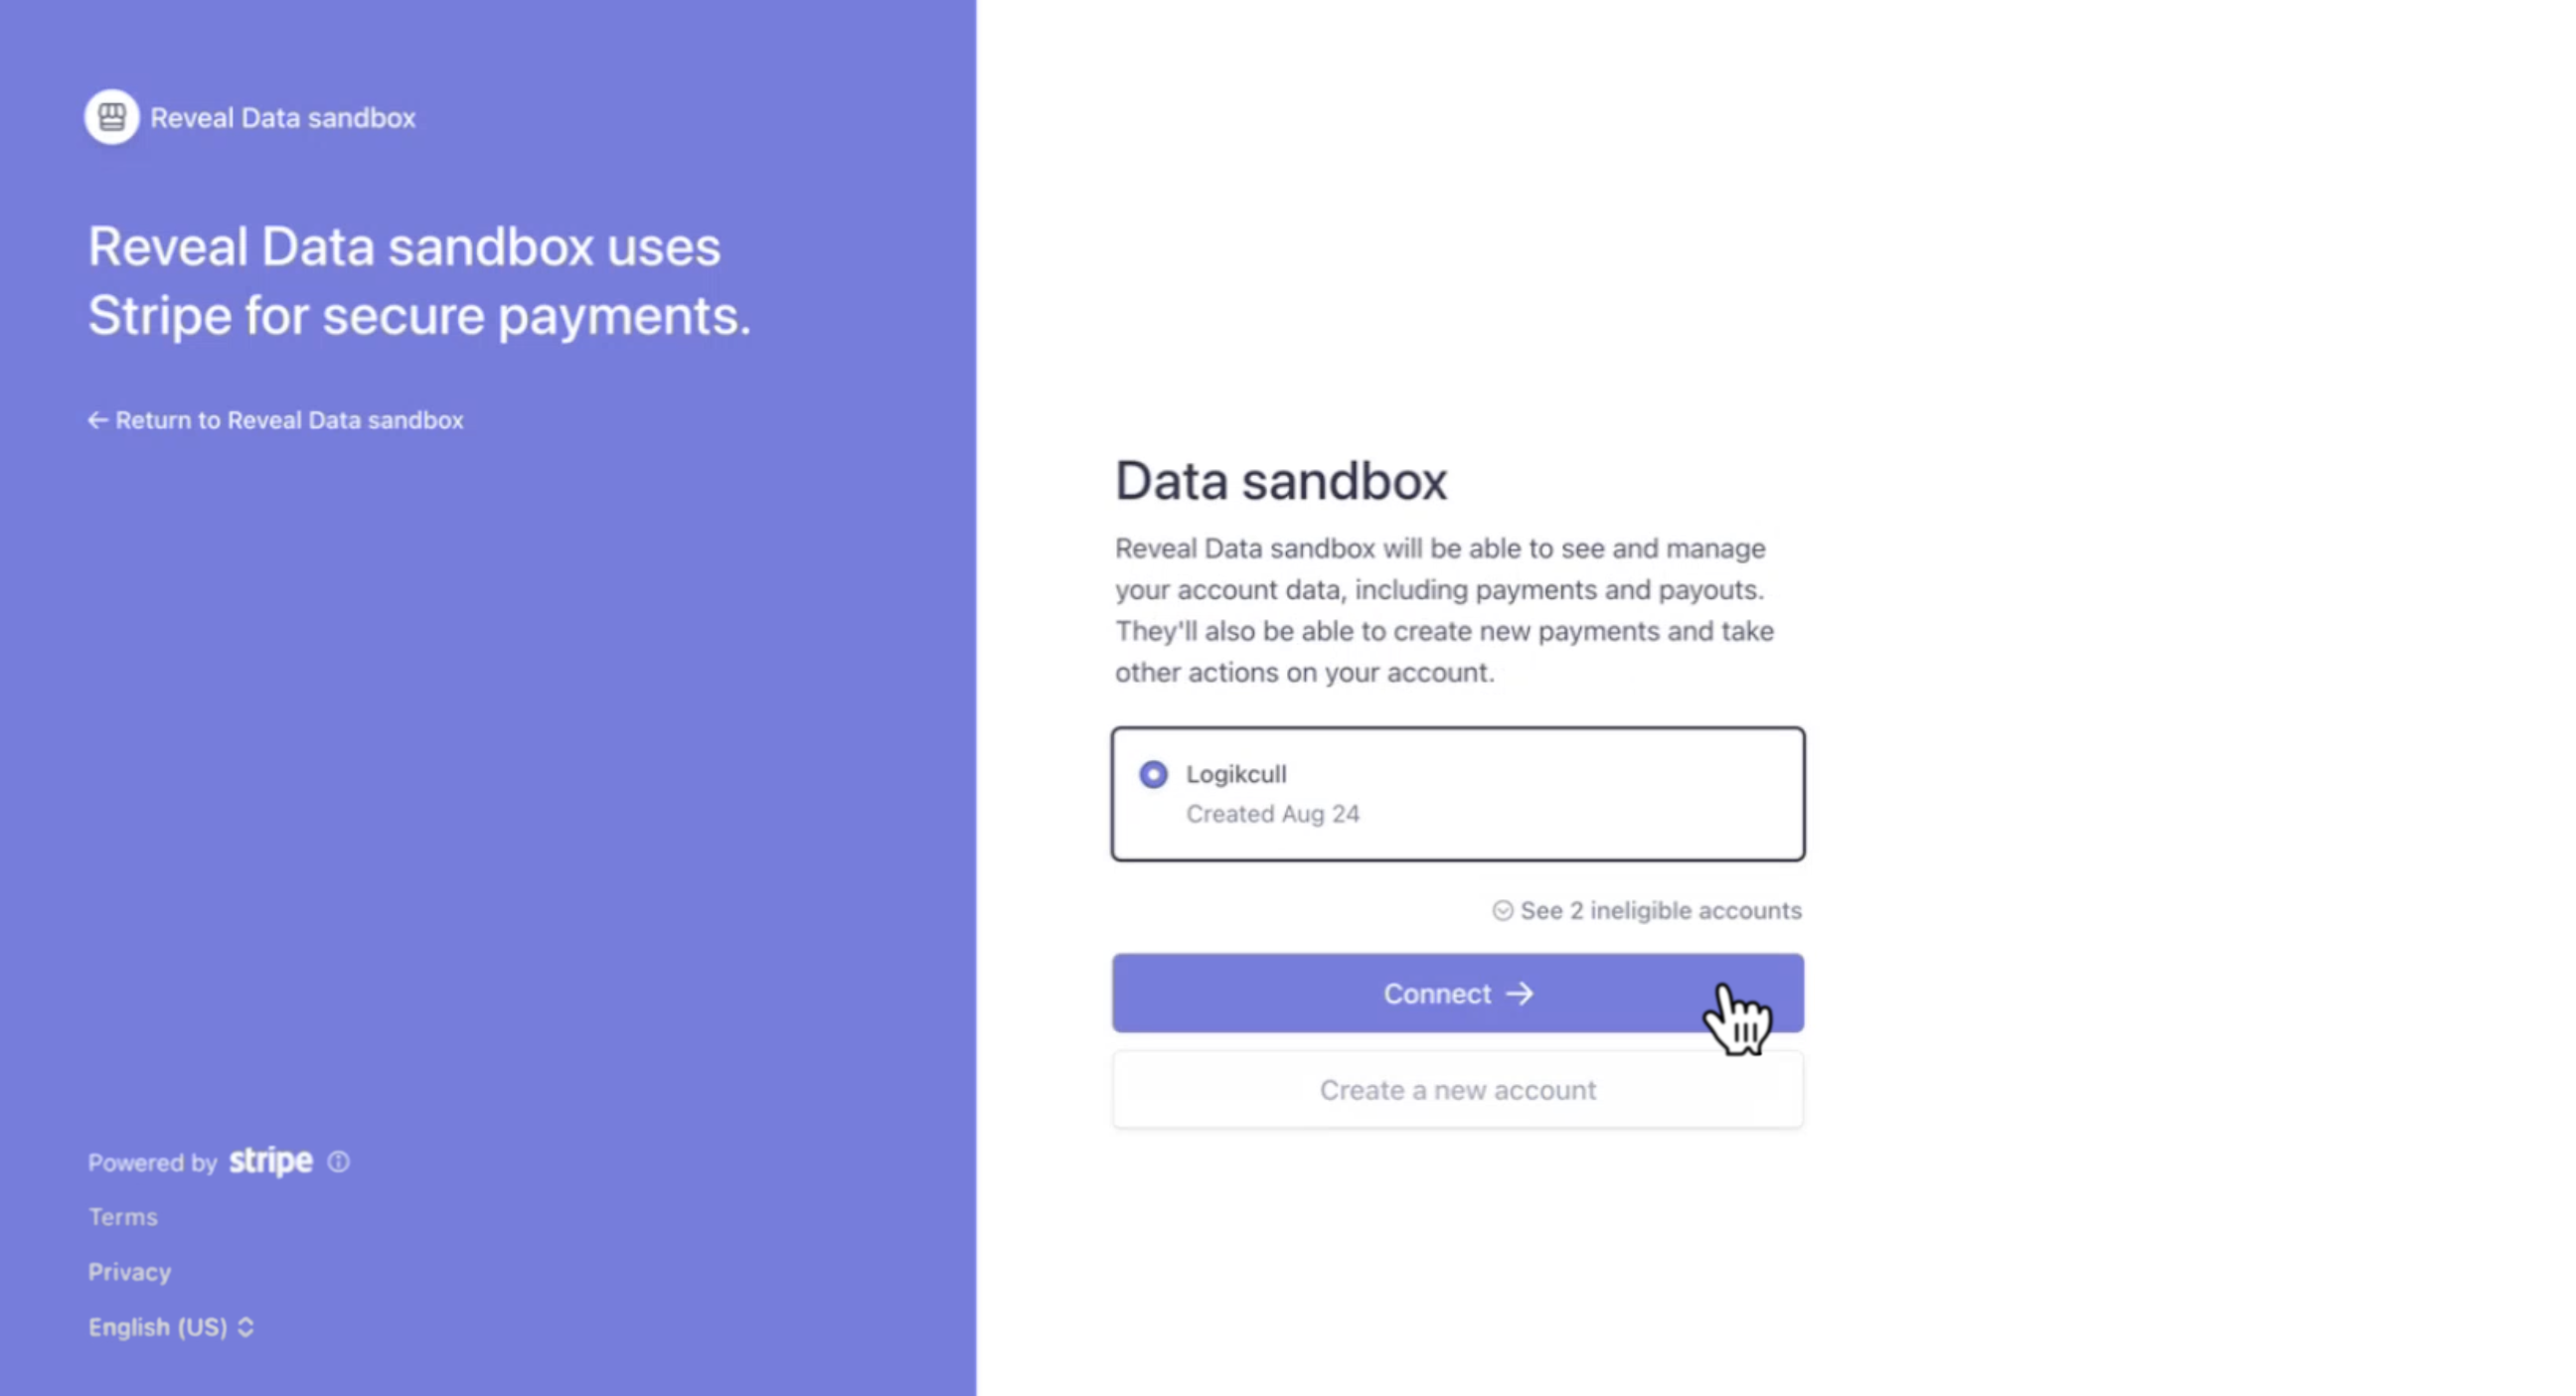
Choose the appropriate Stripe account from the available options.
Click Connect. This will bring you back to Logikcull for Public Records.
Once configured, the Payment carrier box should have Active and Connected labels to confirm it’s been set up correctly.
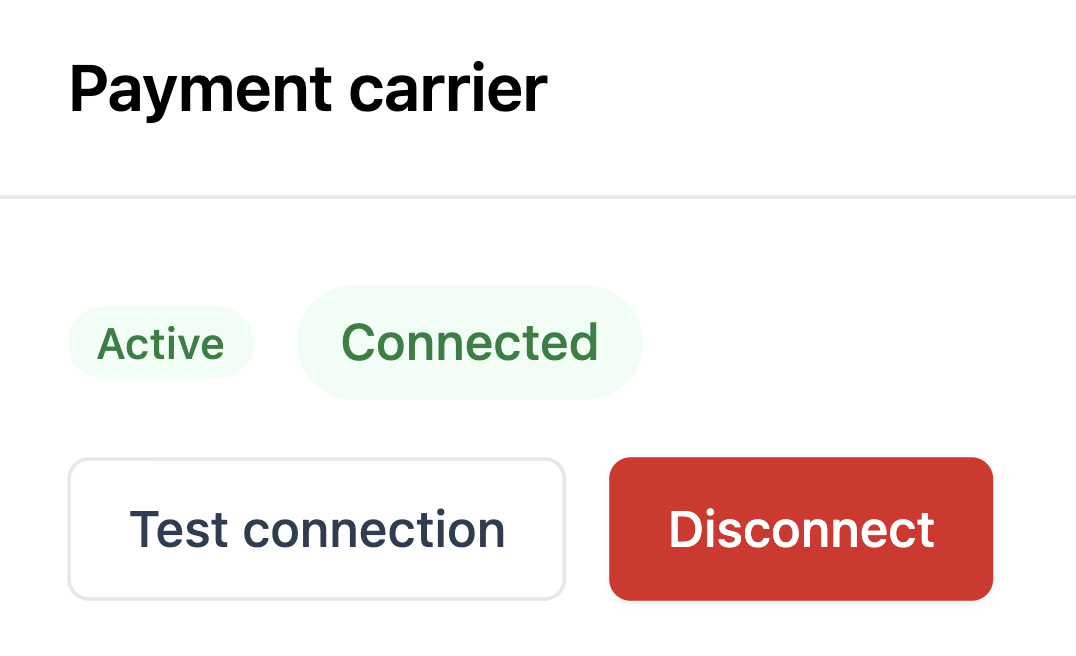
You can always test your connection by clicking Test connection. If the connection is successful, you should get the message Stripe account connected and ready.
Payment options
Logikcull for Public Records lets you choose from three types of payment options – manual payment link, carrier-generated payment link, and carrier-managed invoicing. For a description of how each of these payment options works, see Send Fee Notice.
.png)
Turning the toggles on and off will show or hide that payment option in a request’s Messages tab, limiting what payment methods can be used to bill requesters. You can also set your currency in the Currency dropdown. Click Save any time you change your payment option preferences to apply your new settings.