
In this article you will learn:
How to Access your User Profile
Features Available in the User Profile
How to Update Profile Settings
How to Update Security Settings
How to Update Application Settings
How to Access Your User Profile
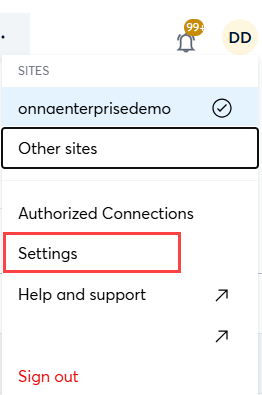
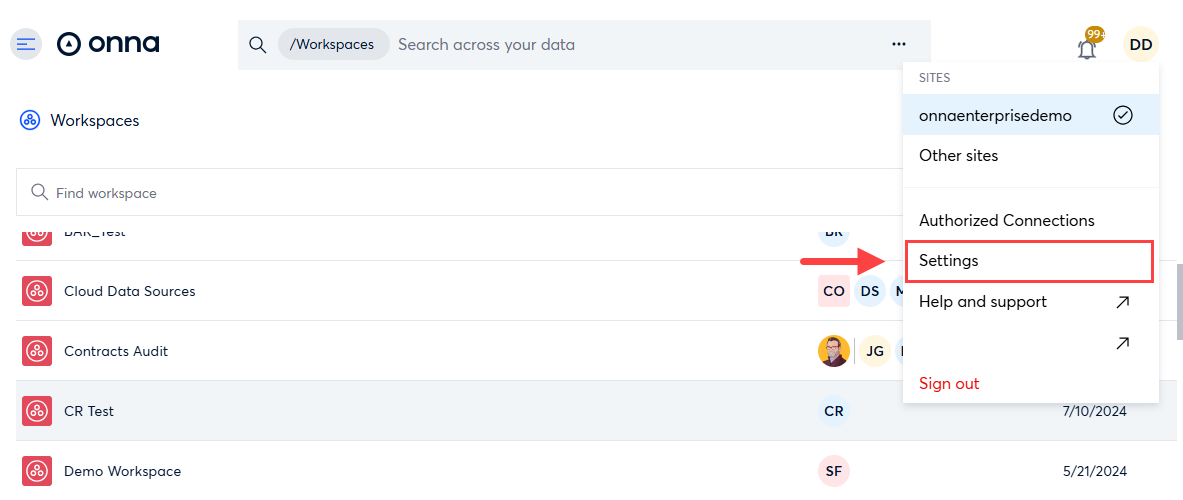
To access your user profile click on the User Profile icon in the upper right corner of your screen.

Features Available in the User Profile
Inside your user profile, you have many features that are available depending on your role at Onna. Below is a comprehensive list of all features that can be accessed in the User Profile:
Site Navigation
If you have access to multiple Onna sites, the first you will see in your user profile is a list of all the sites you have access to.
From here you can navigate to another site by clicking on the name of the site you want.

Authorized Connections
If you are an Admin in Onna you have access to the Authorized Connections feature. This is where you will navigate to create and manage authorized connections for your enterprise data connectors.

Settings
Navigating to the settings section of your user profile allows you to manage your name, profile, security, and application settings.

Custom URL
The custom URL will appear based what your Onna admin entered for the ‘Custom support name’ and ‘Custom support URL’ fields in the ‘Site settings’ section of the ‘Admin preferences’ page.
Help and Support
Clicking this link will open up the link to the Support page. From there you can complete information to contact Support.

Sign Out
Clicking this button will log you out of your Onna site.

How to Update Profile Settings
You can modify your name and profile image in the settings area of your user profile. To do so, follow the steps below:
Navigate to your user profile menu and select Settings.

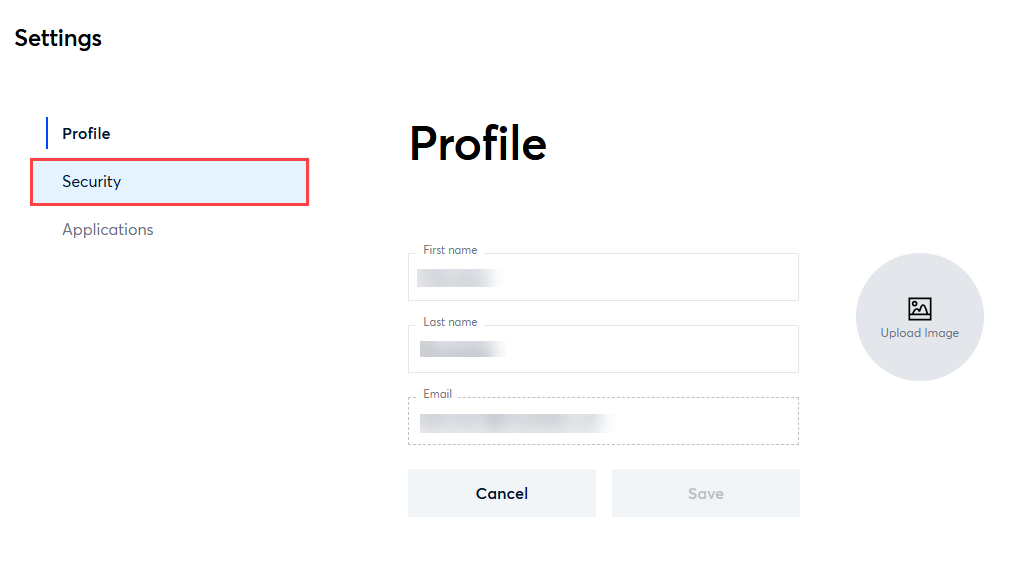
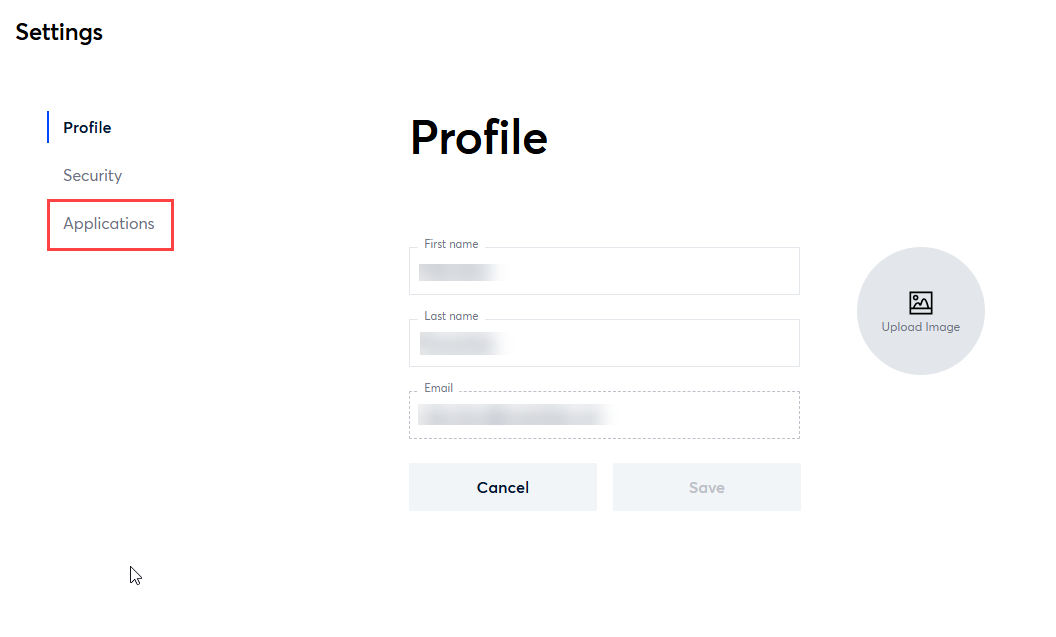
The Profile page will open. Here you can enter or update:
A. First and Last Name
B. Email Address
C. Profile picture

When updates are complete, click the Save button.
How to Update Security Settings
All users have an option to enable (or disable) 2-Step Verification for their personal user account. To do so, follow the steps below:
Navigate to your user profile menu and select Settings.
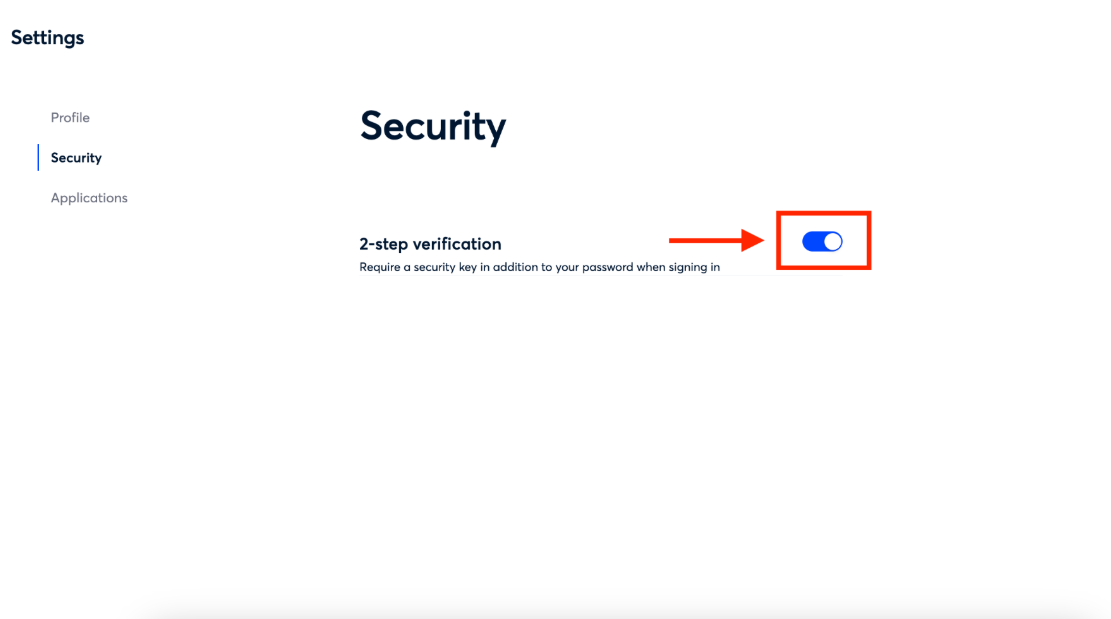
From the menu on the left side of your screen select Security.
On the Security page, 2-step verification will be toggled off by default. To change this, toggle to the right to turn on 2-step verification for your account.
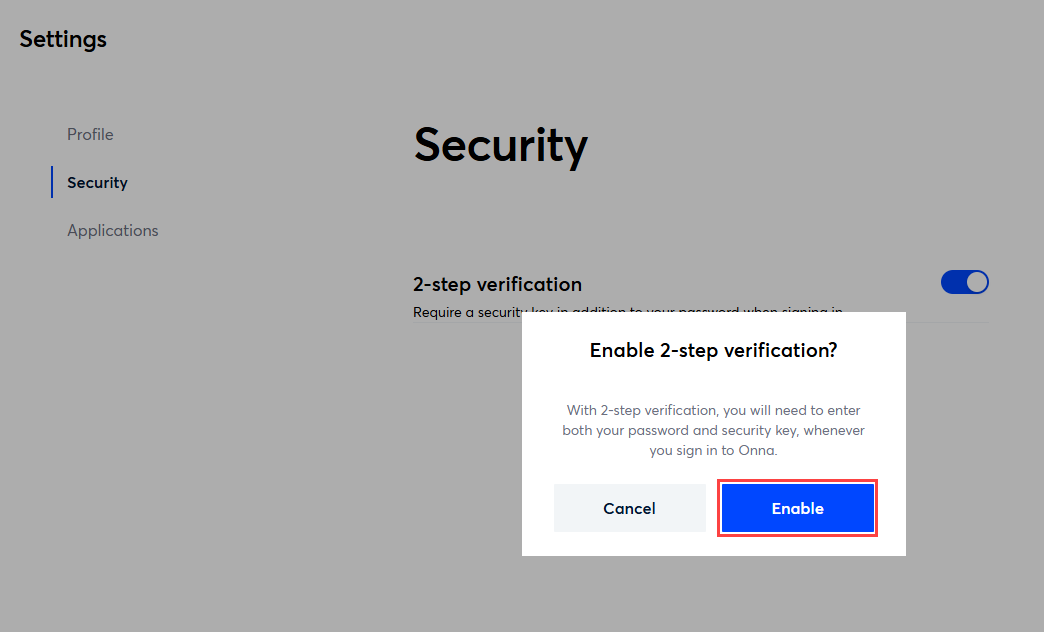
A pop-up appears asking you to confirm that you want to enable 2-step verification for your account. To do so, click on the blue Enable button.
How to Update Application Settings
Onna offers different options for users to view their search results inside the eDiscovery application. To customize your search view follow the steps below:
Navigate to your user profile menu and select Settings.
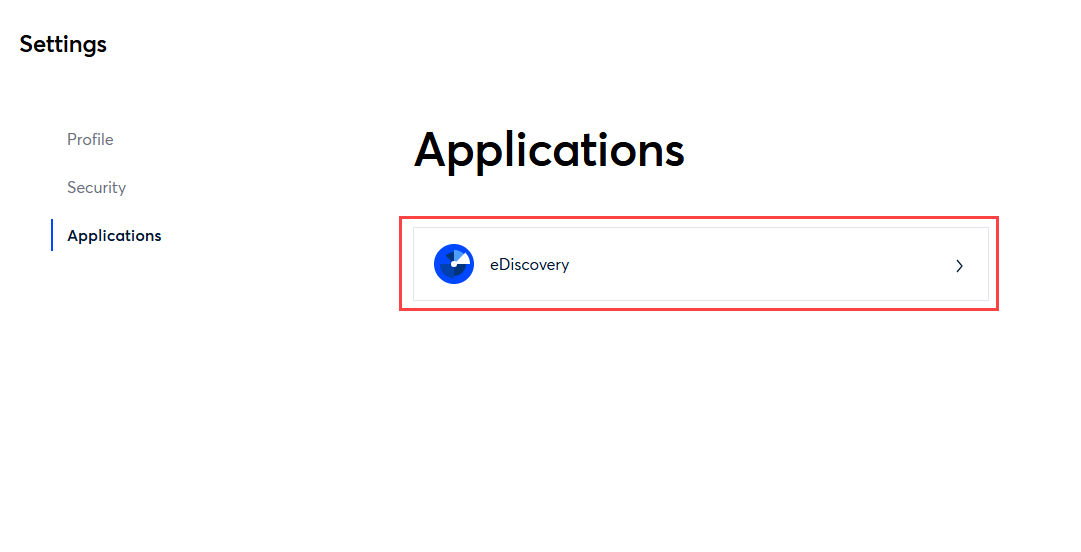
From the menu on the left side of your screen select Applications.
From the Applications page select eDiscovery.
On the eDiscovery page, you will see a list of display options. By default, these options are not checked. To select an option, toggle to the right.
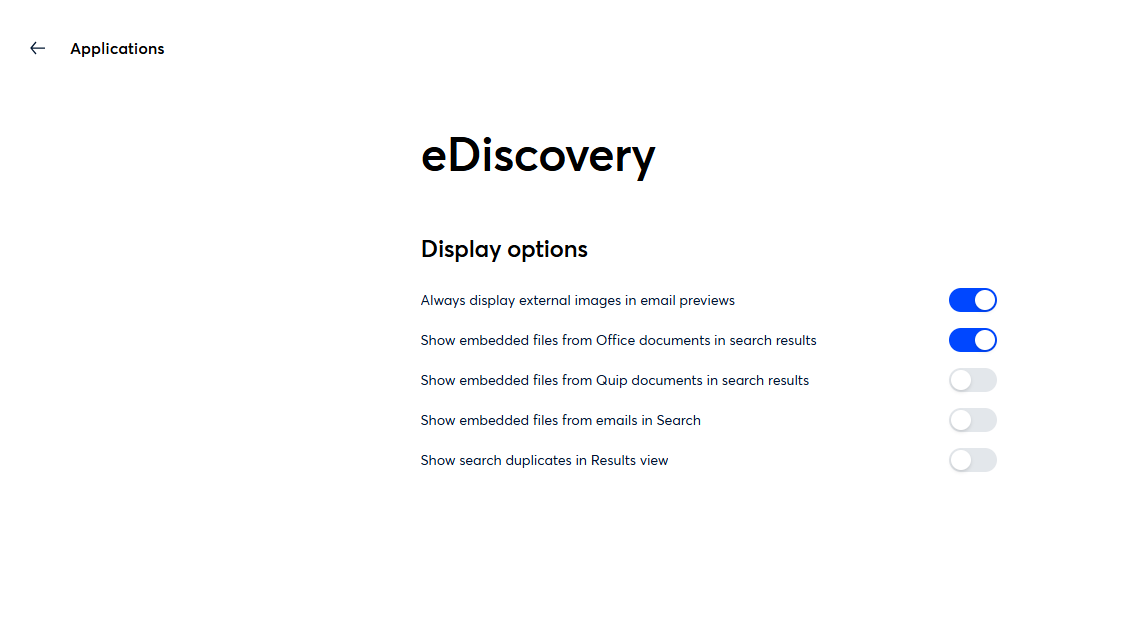
Below you will find a description of all eDiscovery display options.
eDiscovery Display Options:
Always display external images in emails: This option, if checked, will show external images for all Emails. By default external images are not displayed within Emails, you will have the option to display images for each individual Email.
Show all embedded files from Email documents: This option, if checked, shows embedded files from Email documents in the search results. These are still processed and available in export. Embedded files often include logos or images saved in Email documents.
Show all embedded files from Office documents: This option, if checked, shows embedded files from Office documents in the search results. These are processed and available in export. Embedded files often include logos or images saved in documents. These can increase the number of results that you have for a given source.
Show all embedded files from Quip documents: This option, if checked, shows embedded files from Quip documents in the search results. These are still processed and available in export. Embedded files often include logos or screenshots saved in Quip documents.
Show search duplicates in results view: This option, if checked, shows duplicates from search results. These are documents that have matching MD5 hash values.
FAQ
How are MD5 hash values determined in Onna?
Onna calculates and assigns MD5 hash values at processing. MD5 hash values can be thought of as a unique fingerprint based on a document's content. Any change to the file, other than the filename/path, will result in the byte-value of the file contents changing. This includes adding a title to the metadata, changing any text or font, and other changes to metadata.
Opening and closing a document, or even saving it with no changes does not change the document's fingerprint.