Adding Email to AWS SES
The customer provides the email address they want to use.
Open Amazon SES (Simple Email Service).
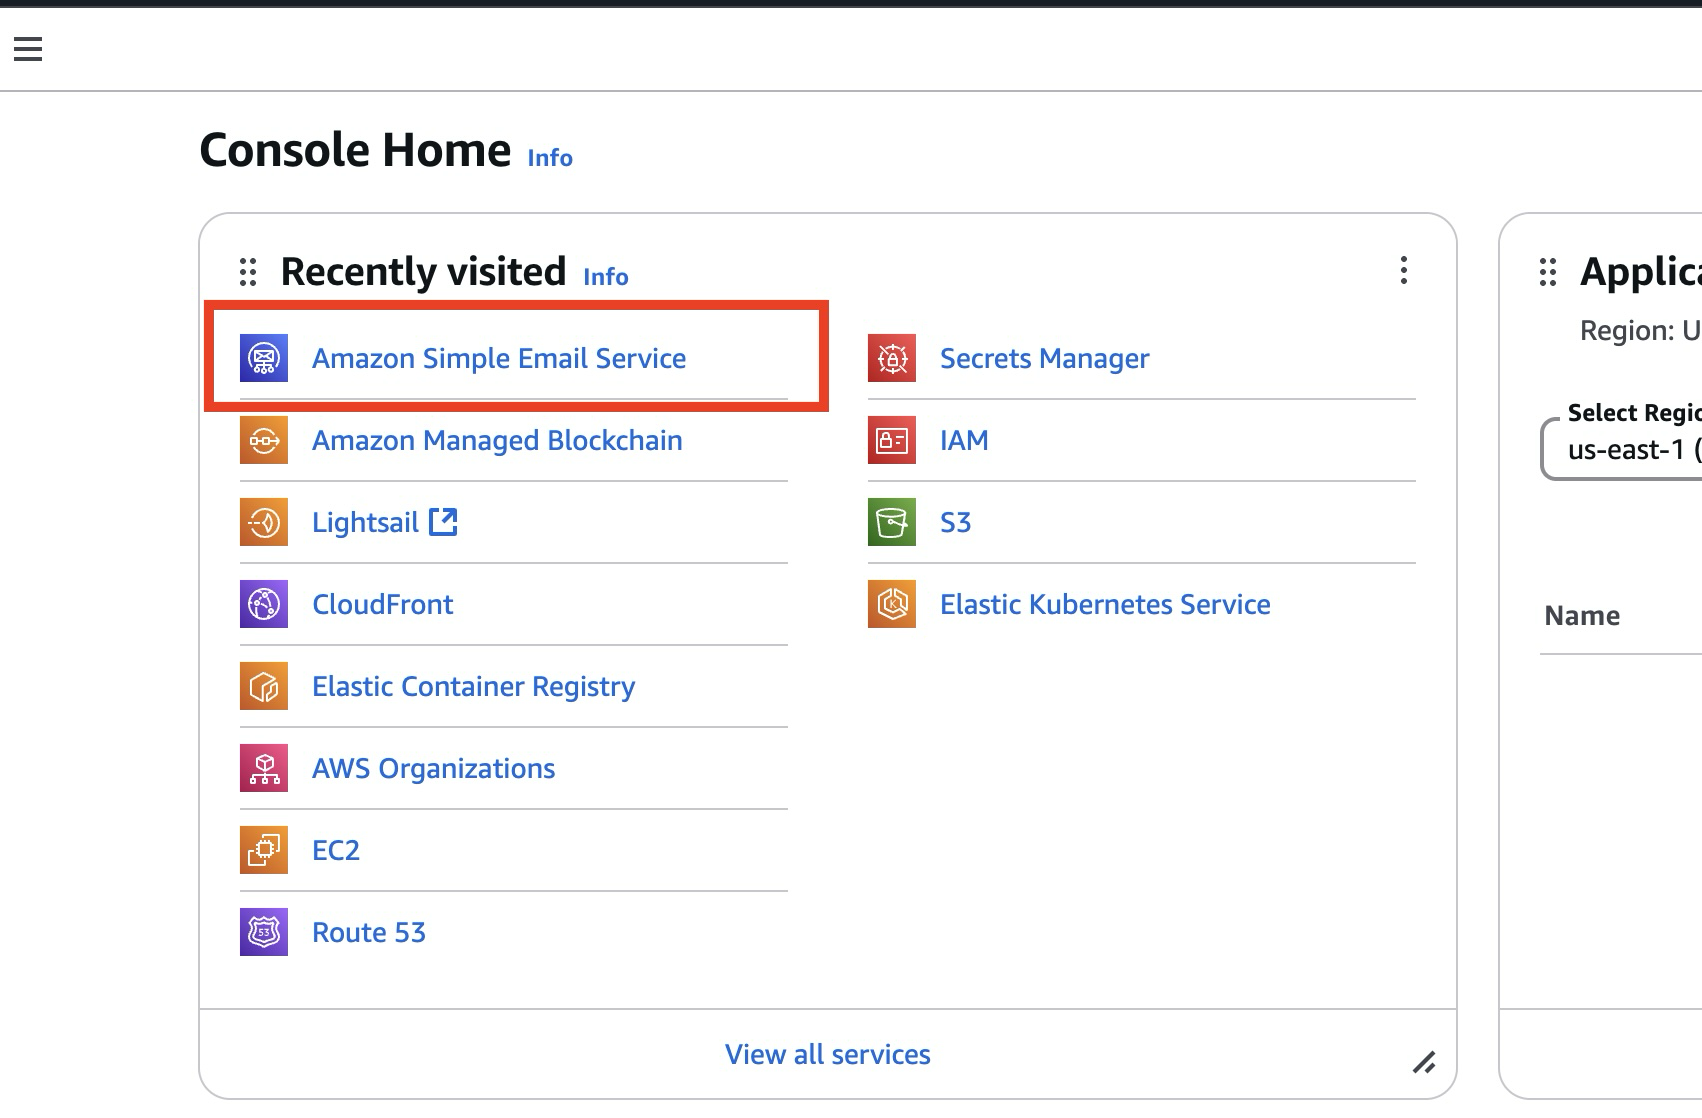
Click on Identities on the left side menu. This will display the list of existing identities.
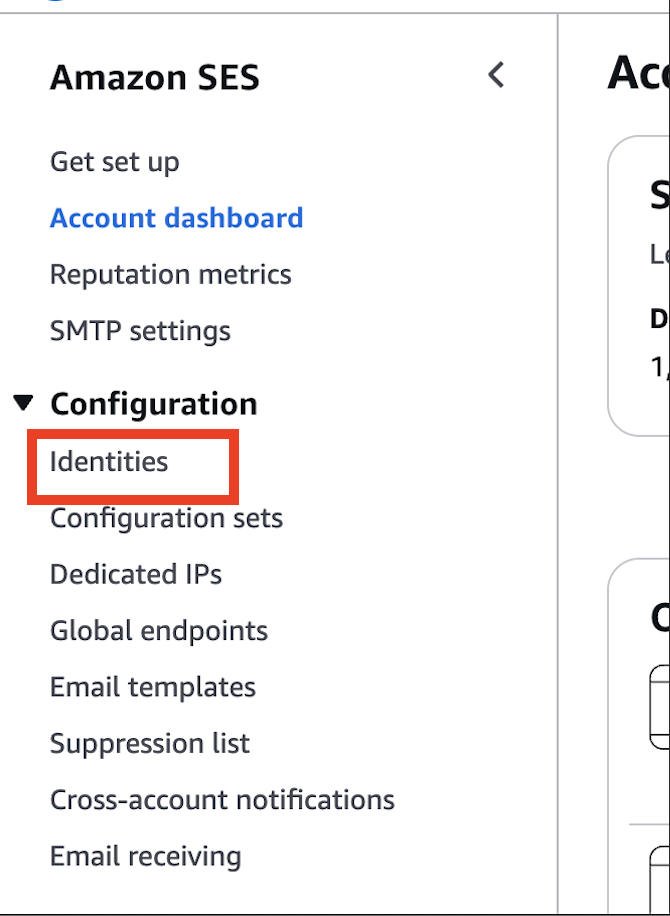
Click on Create identity.

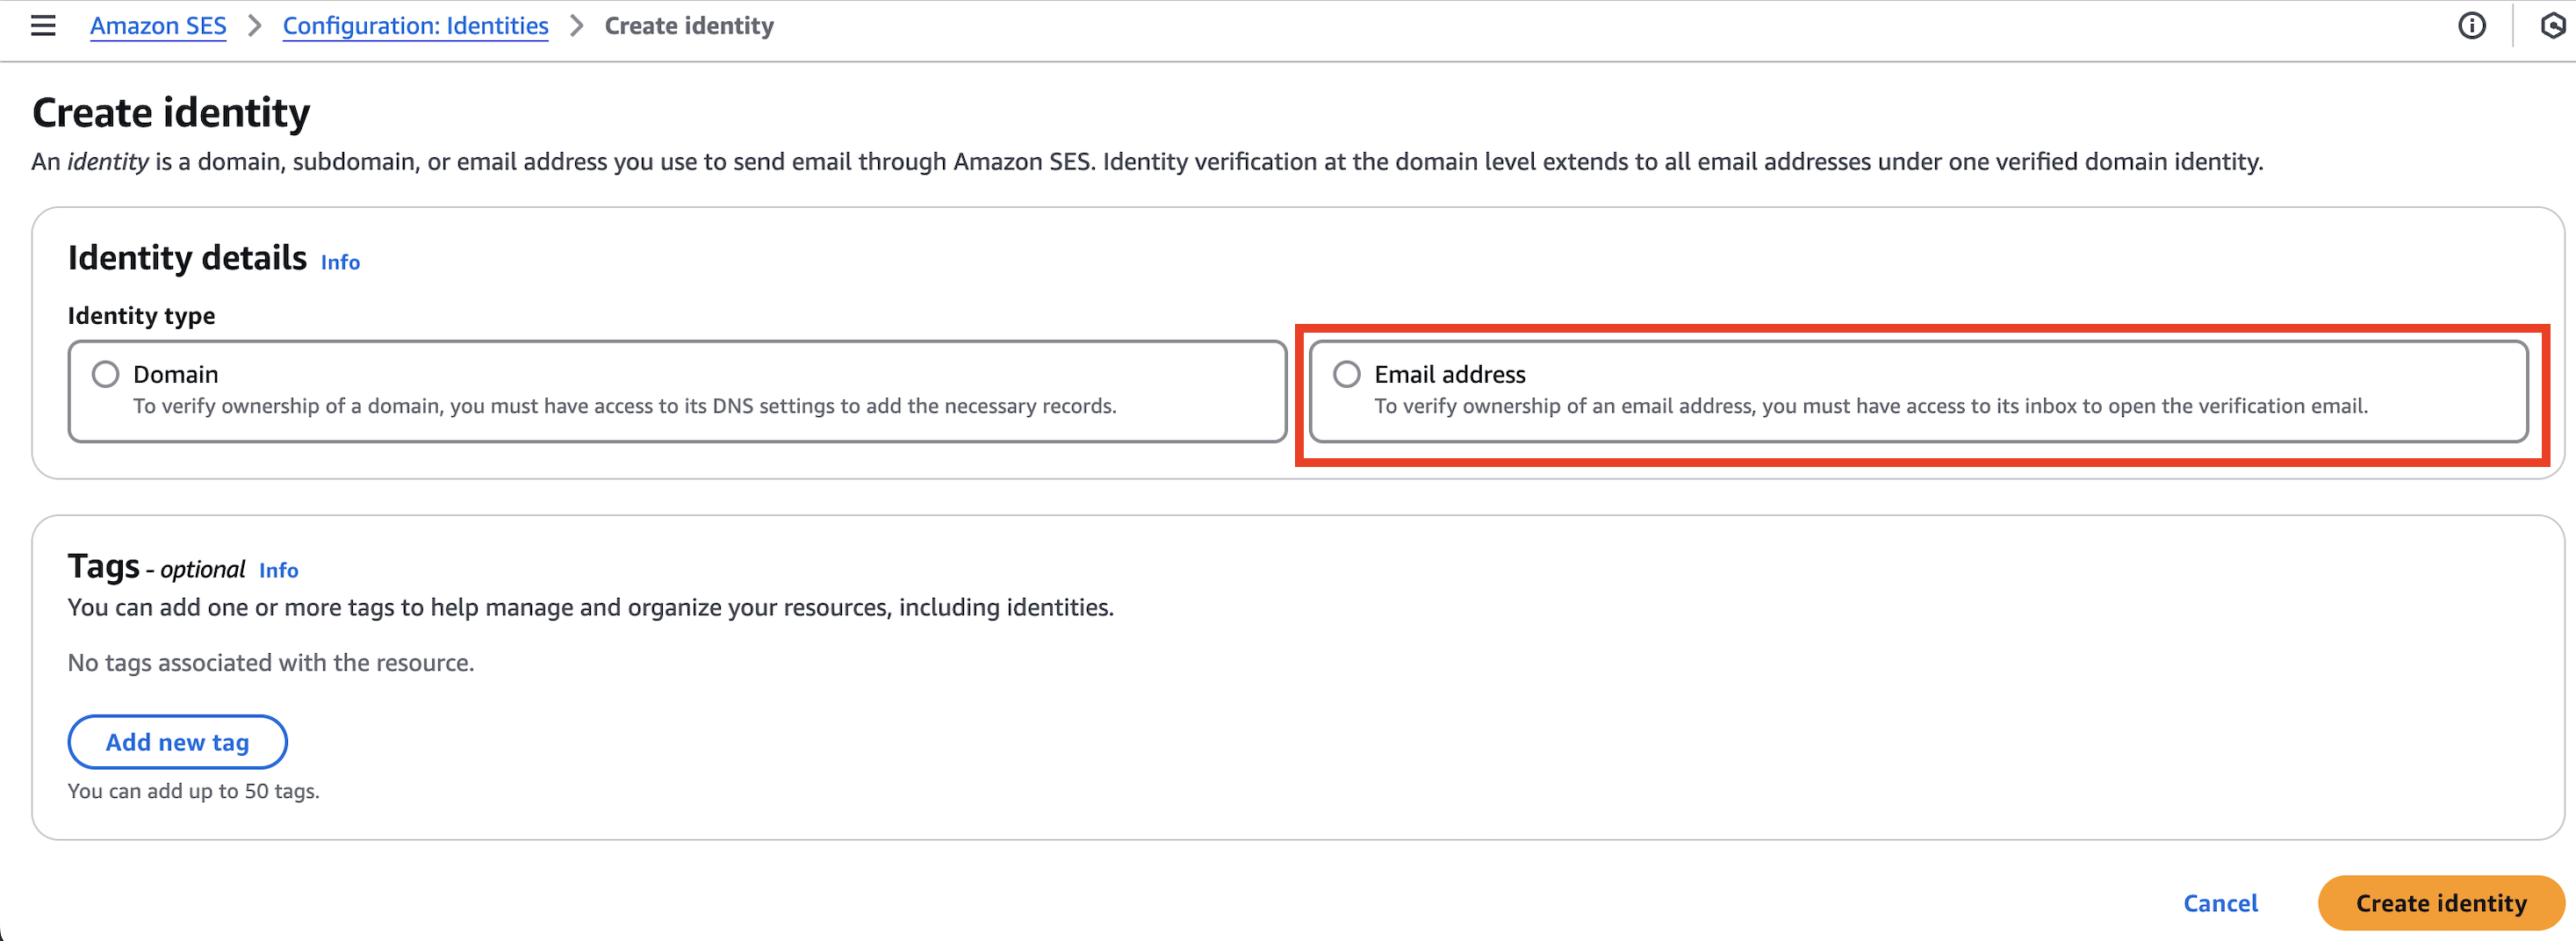
Select Email address as the Identity type and click Create identity.
Once the identity is created, it will appear under Identities with the status Unverified.

Amazon SES will send a verification email to the email address provided in Step 1.
The customer must open the email and click the verification link/button to confirm the request.
Once the customer clicks the verification link, the status will change to Verified in Amazon SES.

The email address is now verified and can be used in the Reveal Hold SMTP configuration.