How to set up, map, and import your Production Upload.
Walk-through video
What is a Production Upload?
Production Uploads allow you to bring data that's been processed outside of Logikcull into the application for search and review. Often, this will be data produced to you by another party, such as a legal document production or data processed by a vendor. With Database Imports, you can pull these already processed documents into Logikcull using special files called load files which contain metadata and file location information about the documents in the collection.
Before starting a production upload, make sure to read Logikcull Production Upload Requirements.
How to check your upload for Production Upload data
If data was sent to you for upload, check the contents for important clues – it might be a Production Upload!
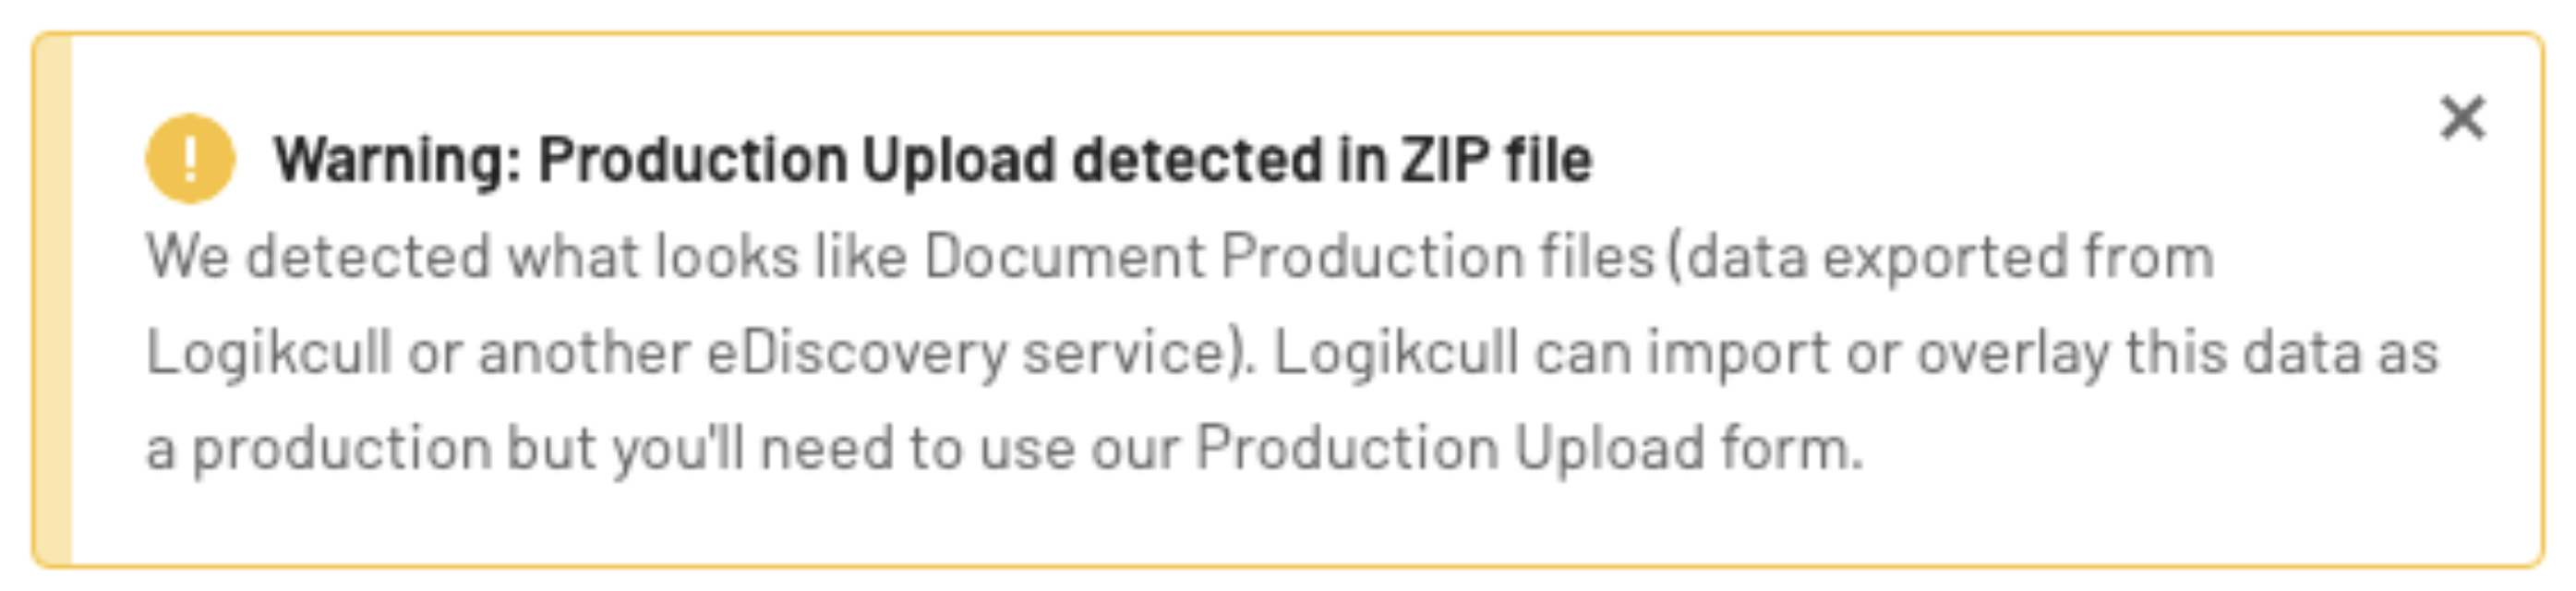
Another indicator you might see if you attempt to upload production upload data as a file upload is a warning message. This is likely a good indication you should re-start you upload as a production upload.
How to upload a production
I. Initialize upload
Go to the Uploads tab, click the “+Create a new” button, and select "Production Upload" from the drop-down list.
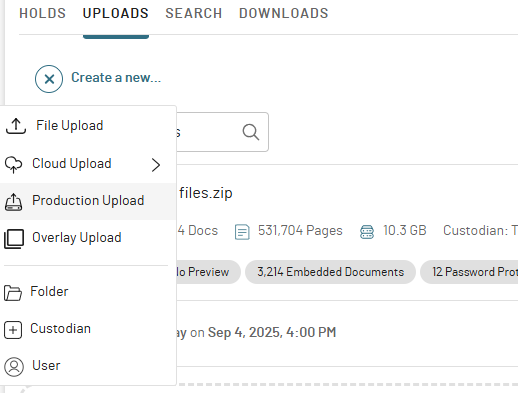
After selecting it, the Upload a production popup will appear.
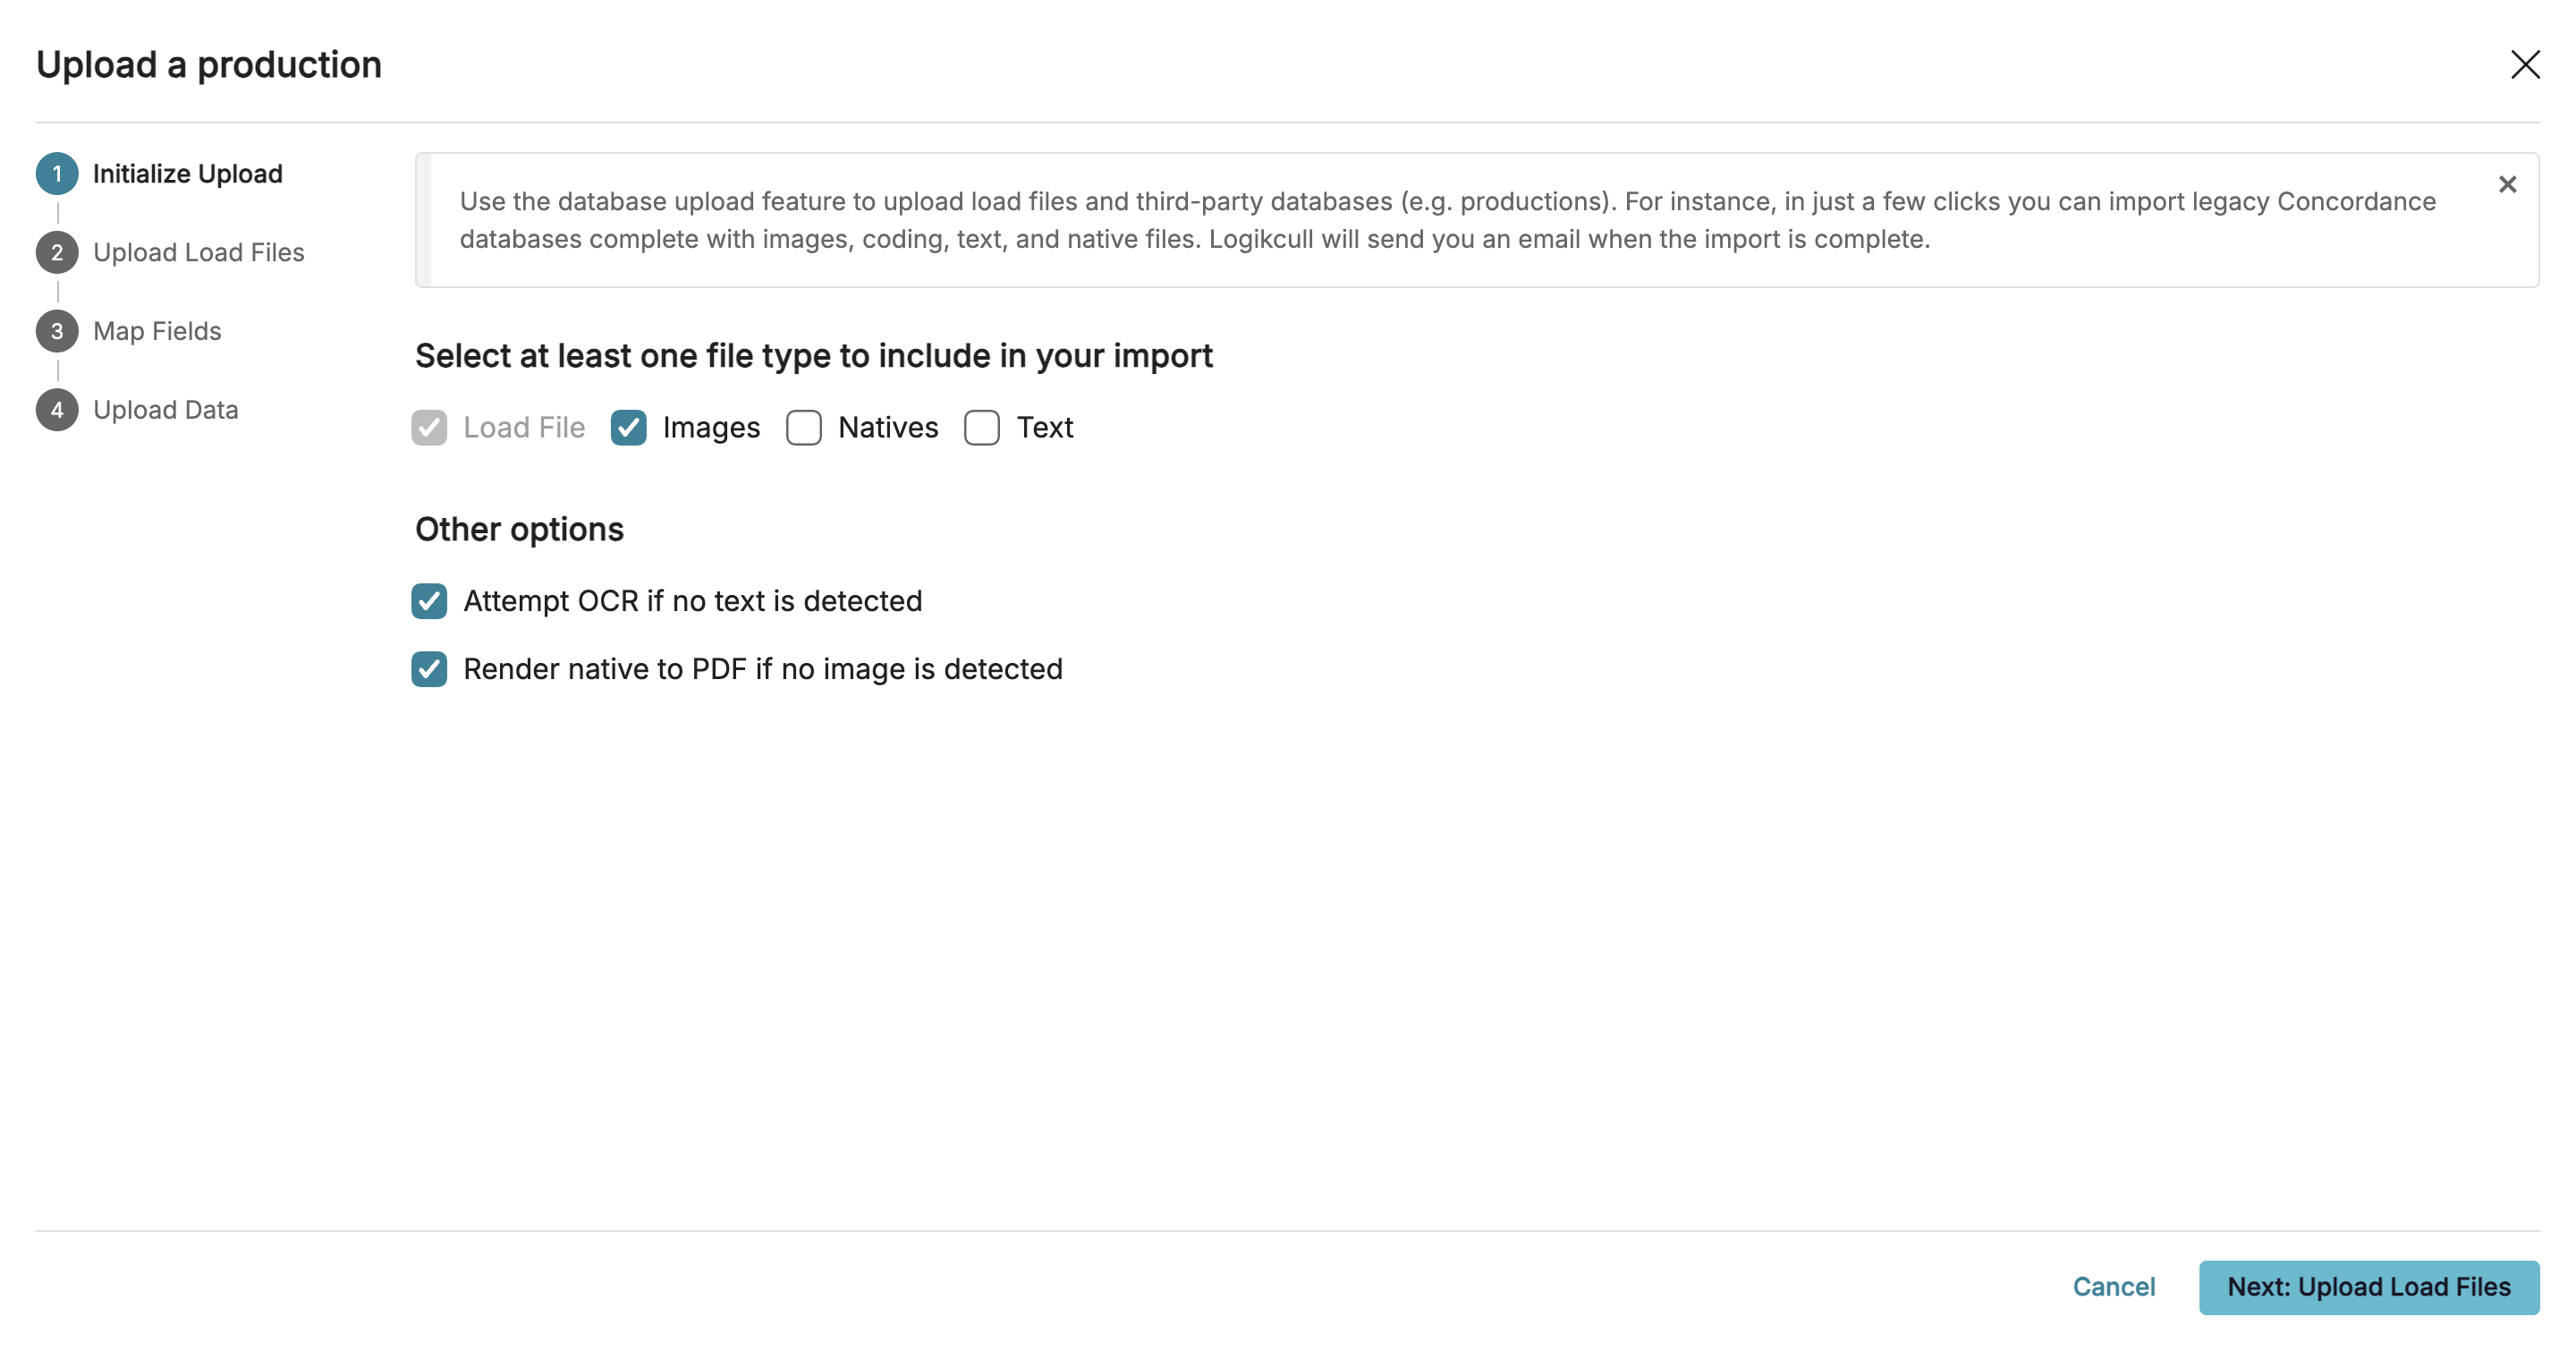
You can start the process by selecting at least one file type to include in their import—Load File, Images, Natives, or Text. The Load File option is preselected, while you can choose to include images or other file types as needed.
Under Other options, you can enable additional settings such as:
Attempt OCR if no text is detected – to automatically extract searchable text from image-based files.
Render native to PDF if no image is detected – to ensure a viewable PDF is generated when an image file is unavailable.
II. Upload load files
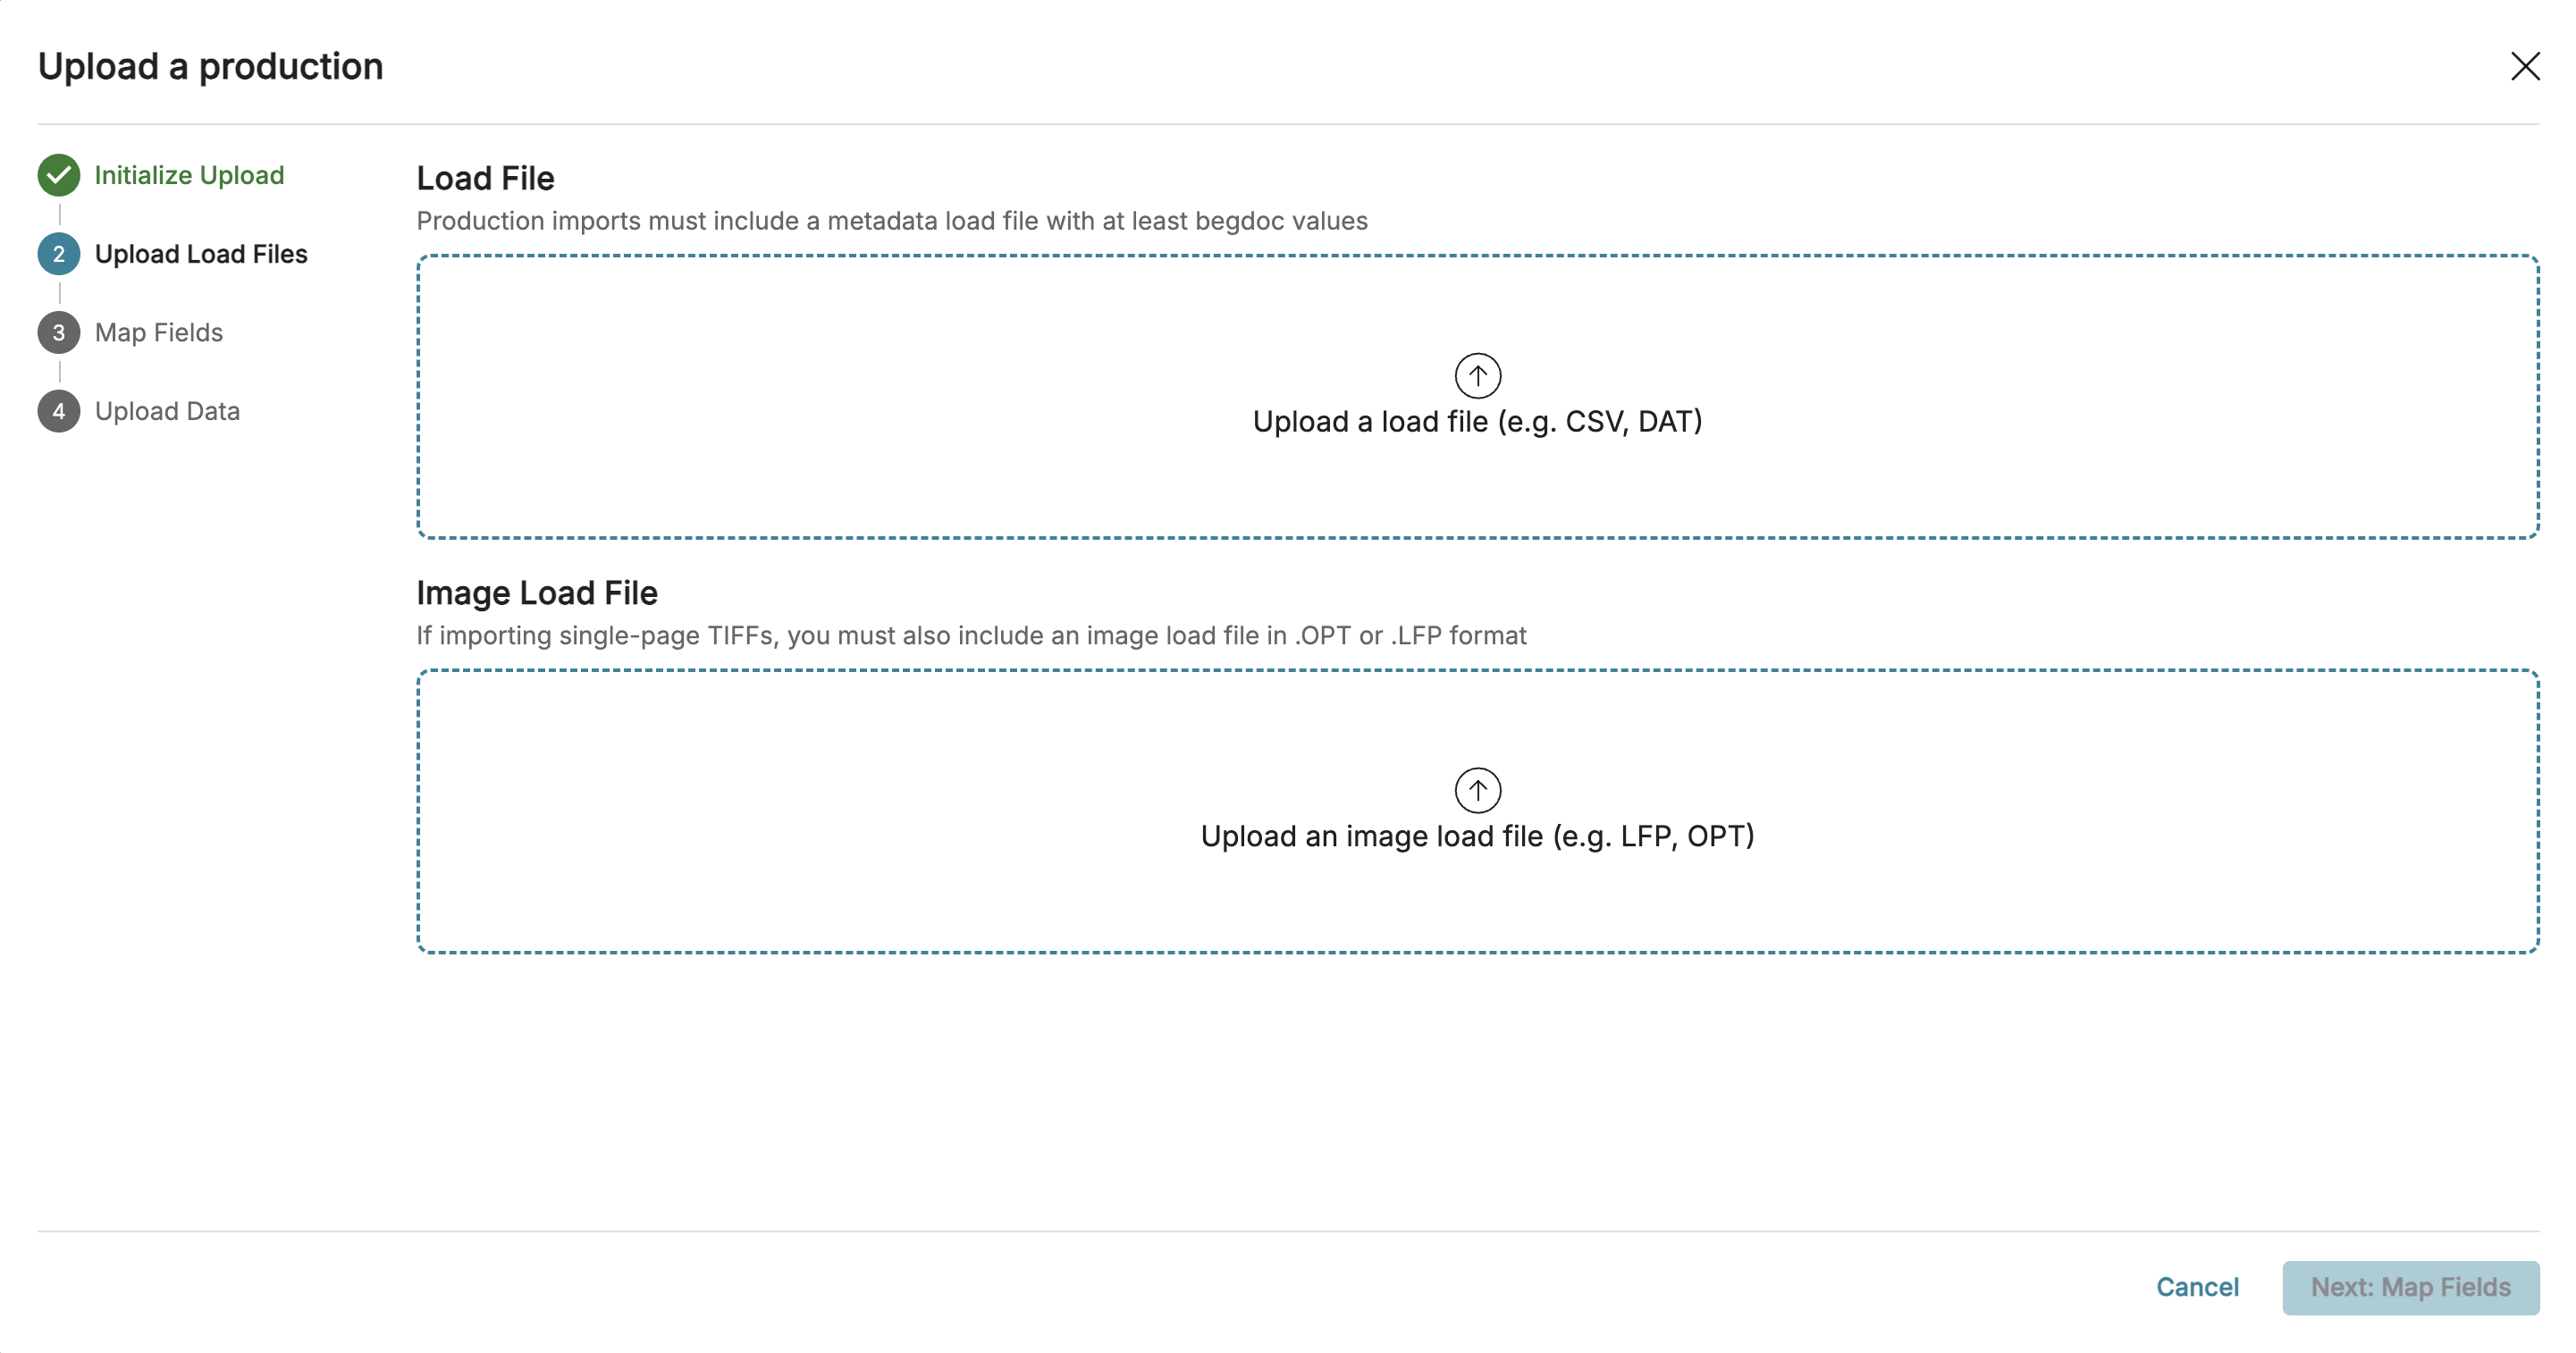
Prior to zipping up the volume, find the load files (usually contained in a folder named DATA). Drag and drop, or click to upload your load files. The top box is for .DAT or .CSV files; the bottom box is for .OPT or .LFP files.
Note
If the images are in multi-page PDF/TIFF format and the filenames are named by the bates number, attaching an image load file (i.e. OPT/LFP file) is optional.
Text file links
If you’d like search using text given by the producing party, you’ll want to make sure that you mapped a "text file link" during step 2. With this option, the searchable text may be more reliable, but searching on the actual image itself for keywords depends on if the document have a text layer prior to upload. If not, you will have to use the "text" view of the document to scroll through any text hits.
If you’d like to search for keywords on the actual image, don’t import a "text file link", and make sure you choose the option to "attempt OCR if no text detected". However, please note that this may cause the upload to take longer to complete, and the size of your upload may expand more than expected due to the processing needed to be done.
Text files can technically be loaded without a "text file link" in the metadata file, as long as the text files themselves are named with their corresponding bates (begin doc) number, e.g. BATES000001.txt. In addition, Logikcull will automatically locate and load searchable text in these cases.
III. Mapping and validation
After adding your load file, you’ll need to make sure each field is designated with one of the following mappings:
Imported into an existing Logikcull Document field.
Imported as a new custom field using the Import as new field option.
Important
If there is no corresponding Logikcull field for one of the imported fields, it may be helpful to choose the "import as a new field" option so the metadata is still searchable in Logikcull, as needed.
Not imported, using the Do not import option.
Logikcull will attempt mapping suggestions based on the import field name, but it isn't always accurate, so it’s best to double-check the mapping before proceeding. Mapped fields will display in the interface with a green check mark. See Mapping Load File Fields to Logikcull for a table of Logikcull’s fields, including definitions.
.png)
The Select Fields dropdown, shown below, lets you select all mapped or all unmapped fields for quick decision-making. Next to the dropdown, you can decide to import all selected fields as new fields, elect not to import them, or reset the dropdown.
You can also click and drag to rearrange columns, if needed.
Note
File uploads for productions that include threading information in the load file will recreate email threads within Logikcull.
Once you've mapped all of your fields, click "Next: Upload Data" to process the mappings.

Important
Any fields without a corresponding Logikcull field can be imported into Logikcull by selecting "Import as new" from the drop down menu or the bulk select tool.
Using and saving mapping templates
After you map custom fields from your load file into Logikcull, they will appear in the Logikcull Field drop-down on subsequent Database Uploads within the same Project.
Mapping templates can also be created and re-used when uploading productions from the same producing party, as the fields are expected to be consistent. If you already have one saved from a prior database upload that you'd like to use, you can load this from the dropdown at the top right. If not, it is recommended that you save a mapping template via the option at the bottom left.
.png)
Once you have mapped all your fields on the mapping step, you can save your selected mapping choices for future uploads.

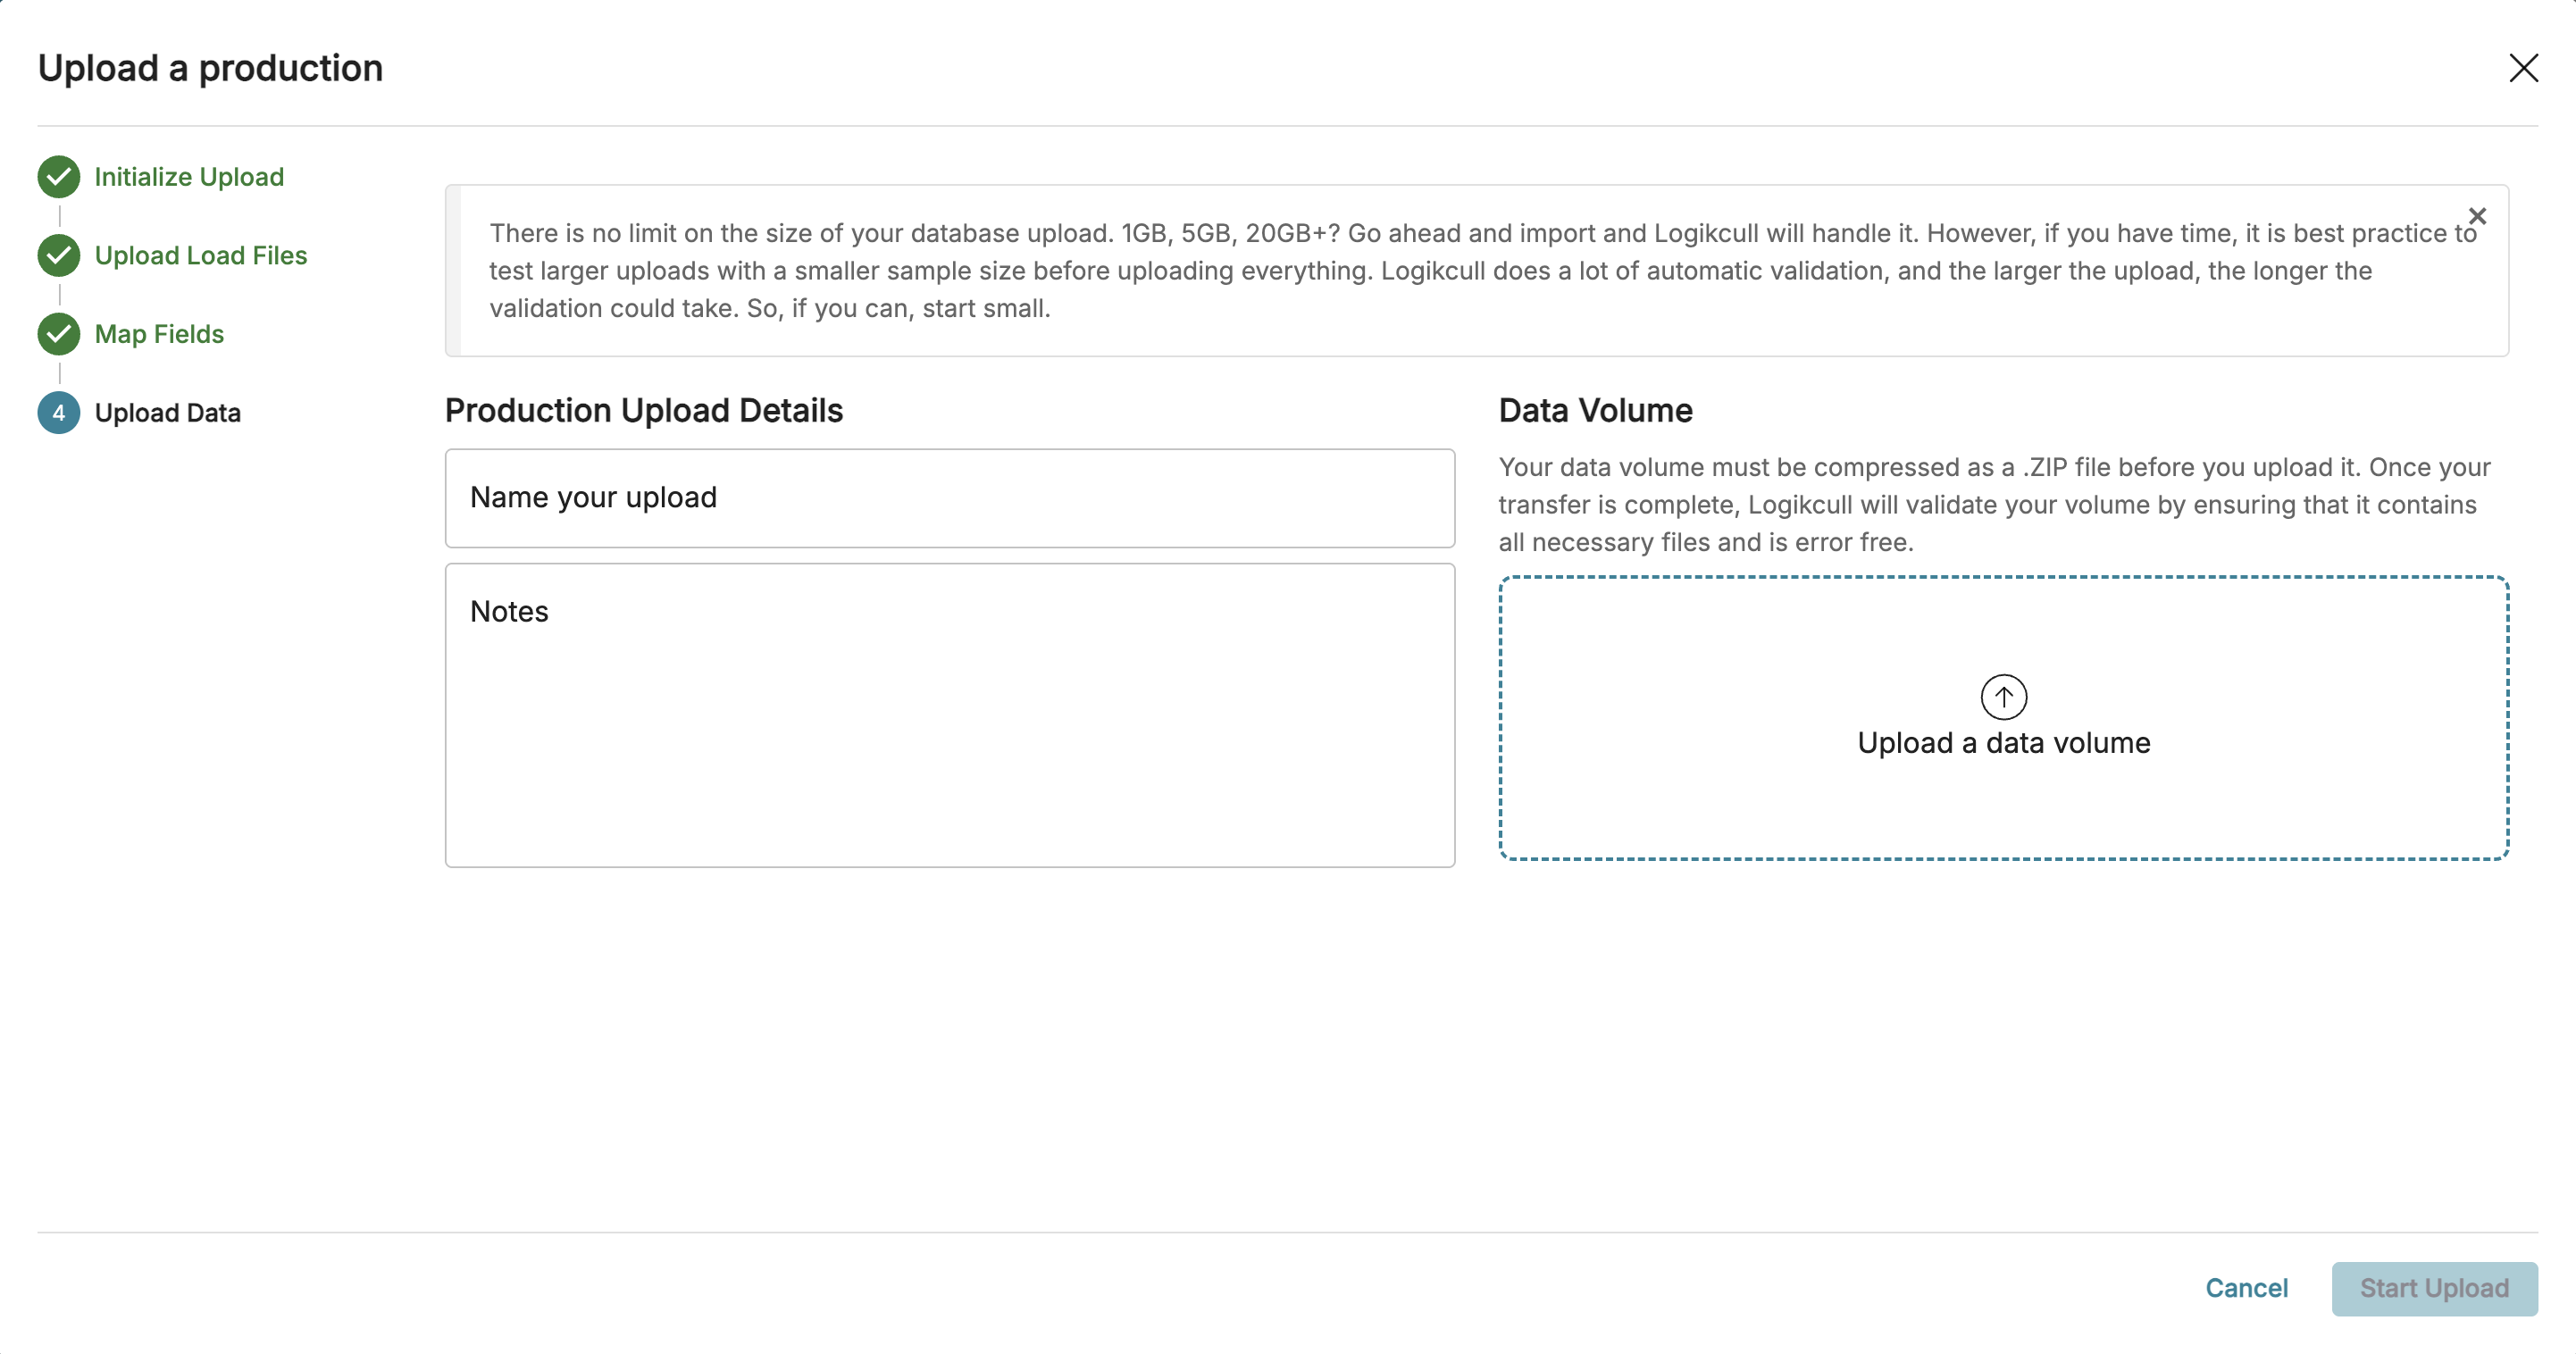
IV. Upload your data
Zip up the production volume (DATA, IMAGES, NATIVES, TEXT folders), making sure the folder structure is exactly as outlined in the load file. Upload the data volume. This should be the entire set of images/natives/text files provided as a compressed file with .zip extension.
Important
If the archive is password protected, you must remove the password prior to uploading into Logikcull, then re-zip so that you upload the unprotected version of the volume.
For productions that include data sets with multi-page images in PDF or TIFF that are each named by their corresponding bates (begin doc) number, e.g. BATES000001.pdf or BATES0000001.tiff, you can skip loading an image reference load file OPT or LFP. Logikcull will automatically locate the images and load accordingly (i.e. common with Relativity productions).