In this article, you’ll learn how to integrate Reveal Hold with Ping Identity.
Sign in to admin console in the Ping Identity portal.
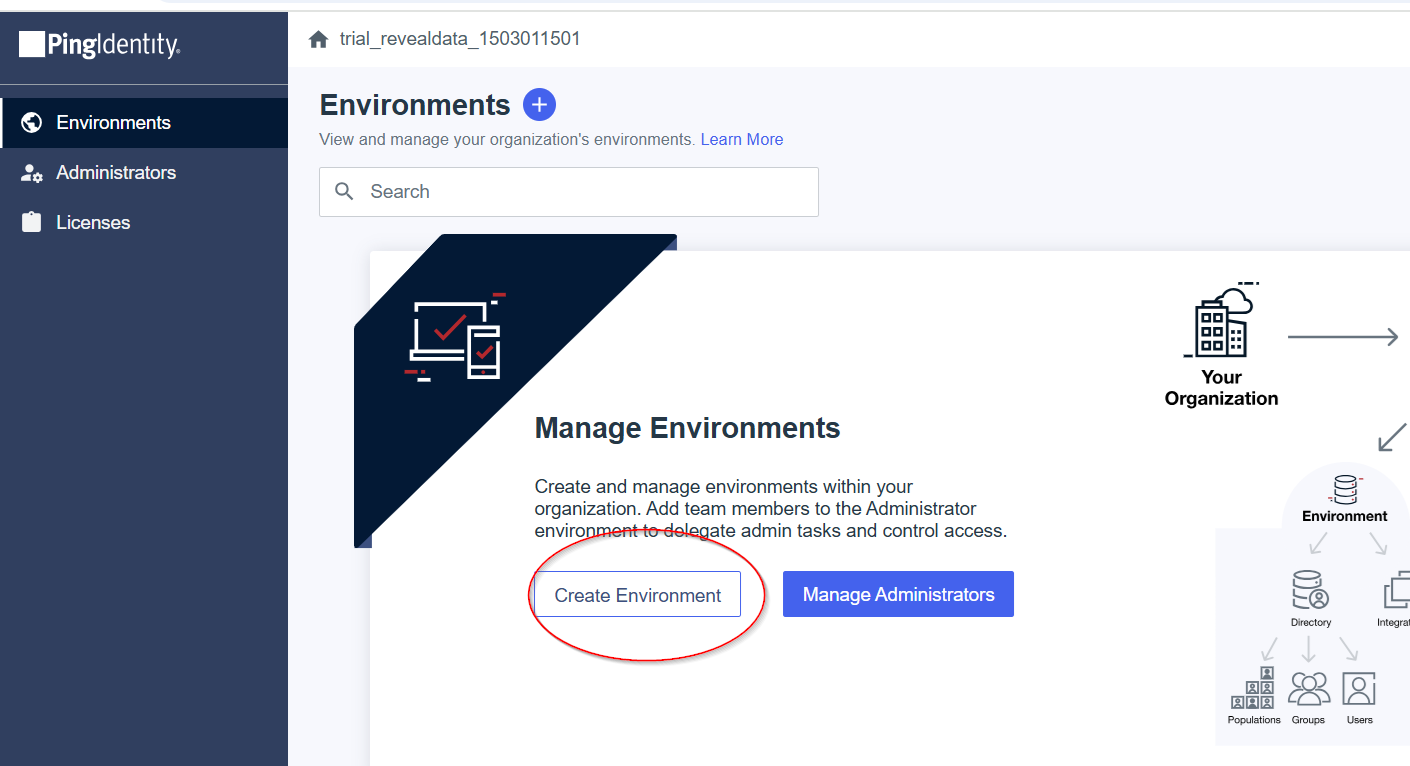
In the Environment page, click on Create Environment (or use the Search bar to use an existing one.)
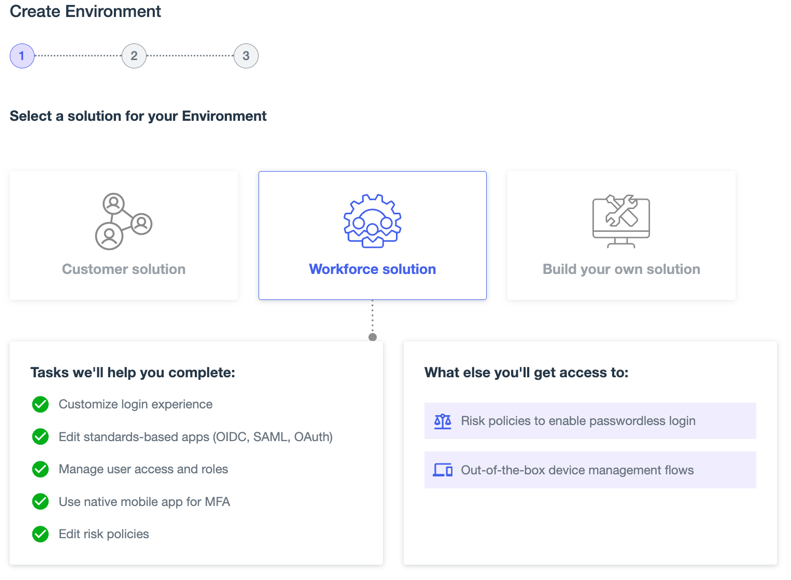
On the Create Environment page, select Workforce solution and fill out the services and fields you want to list.
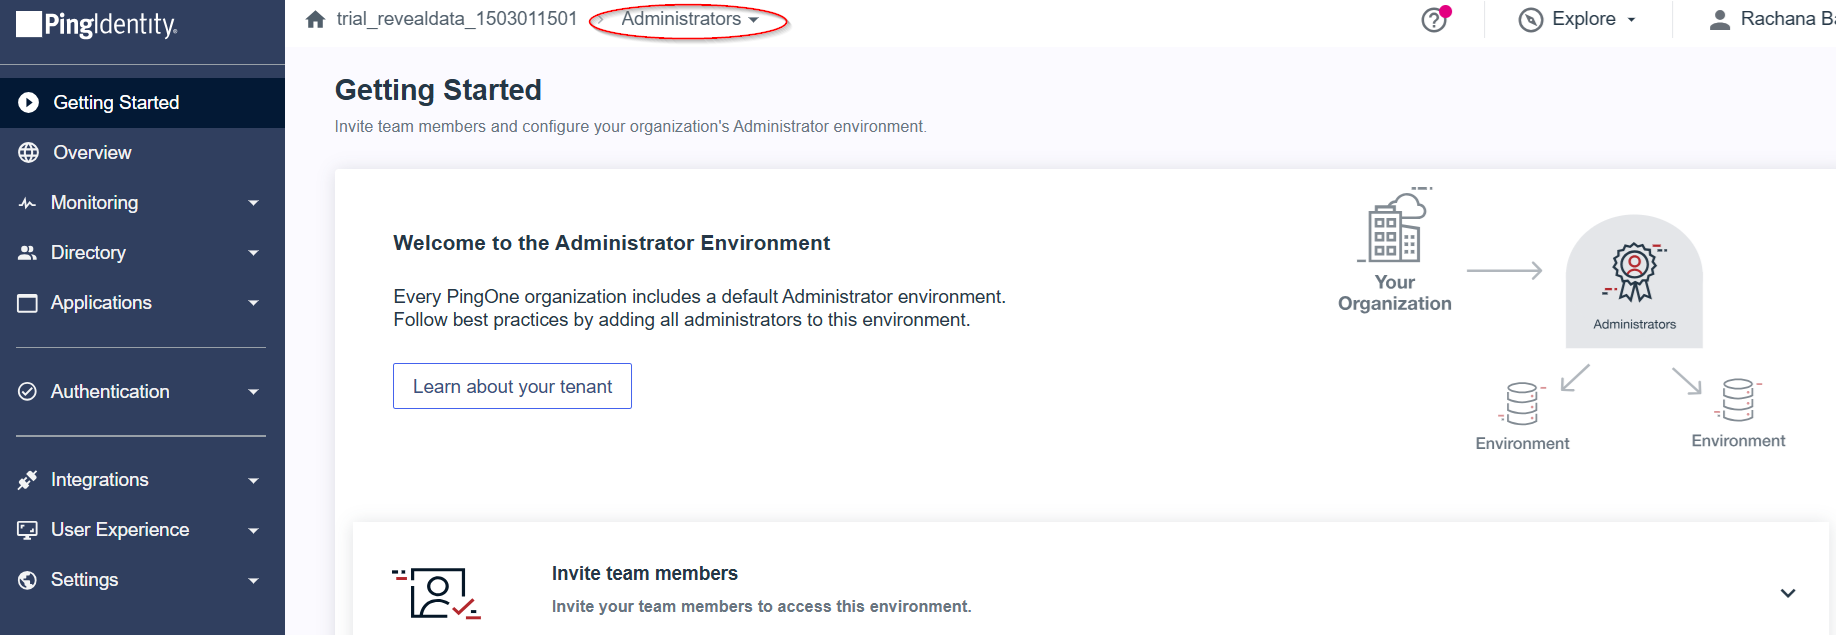
After clicking Finish, your new workforce environment will be created, and you’ll be redirected to the Getting Started page for your new environment.
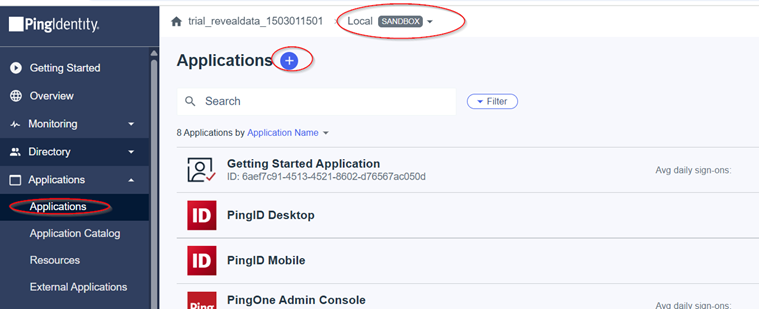
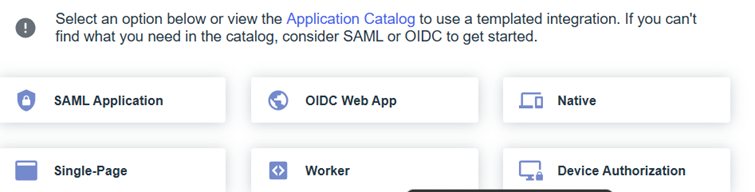
Next, go to Applications > Application and click the plus icon to create a new application profile.
Enter your application name, description, and icon (1MB in JPG, JPEG, GIF, or PNG format.)
Select Worker as an application type.
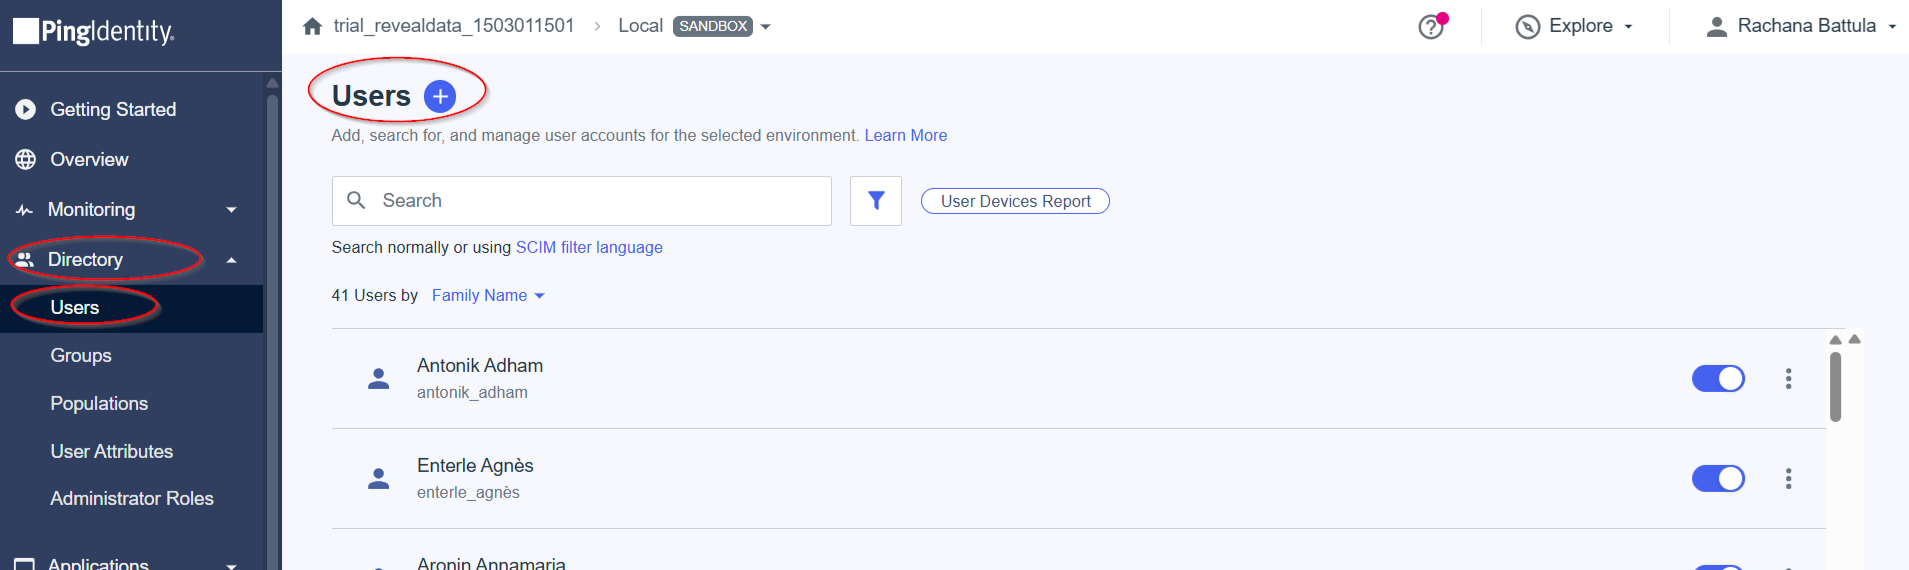
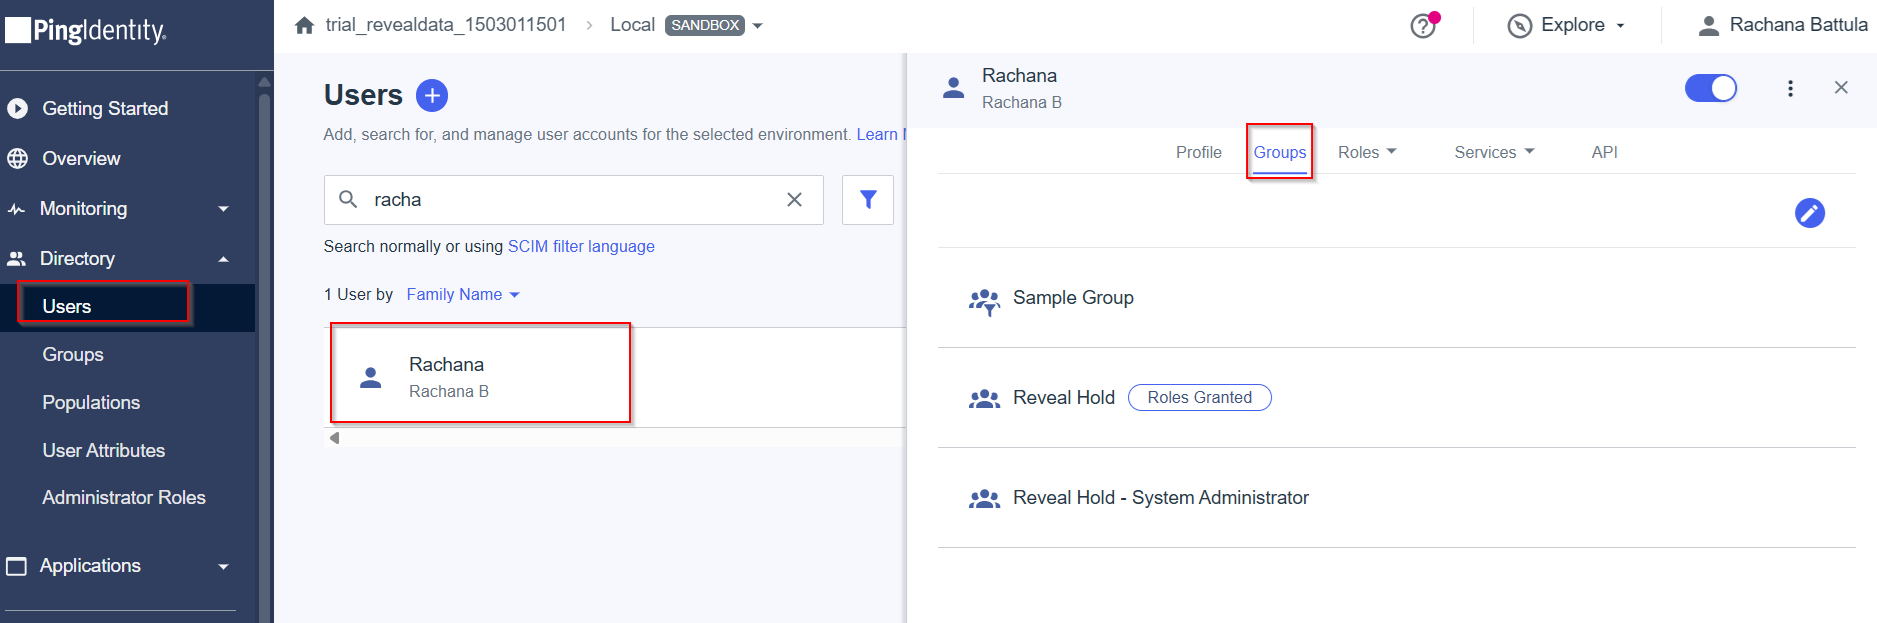
Next, go to Directory > Users and add new users by clicking the + icon.
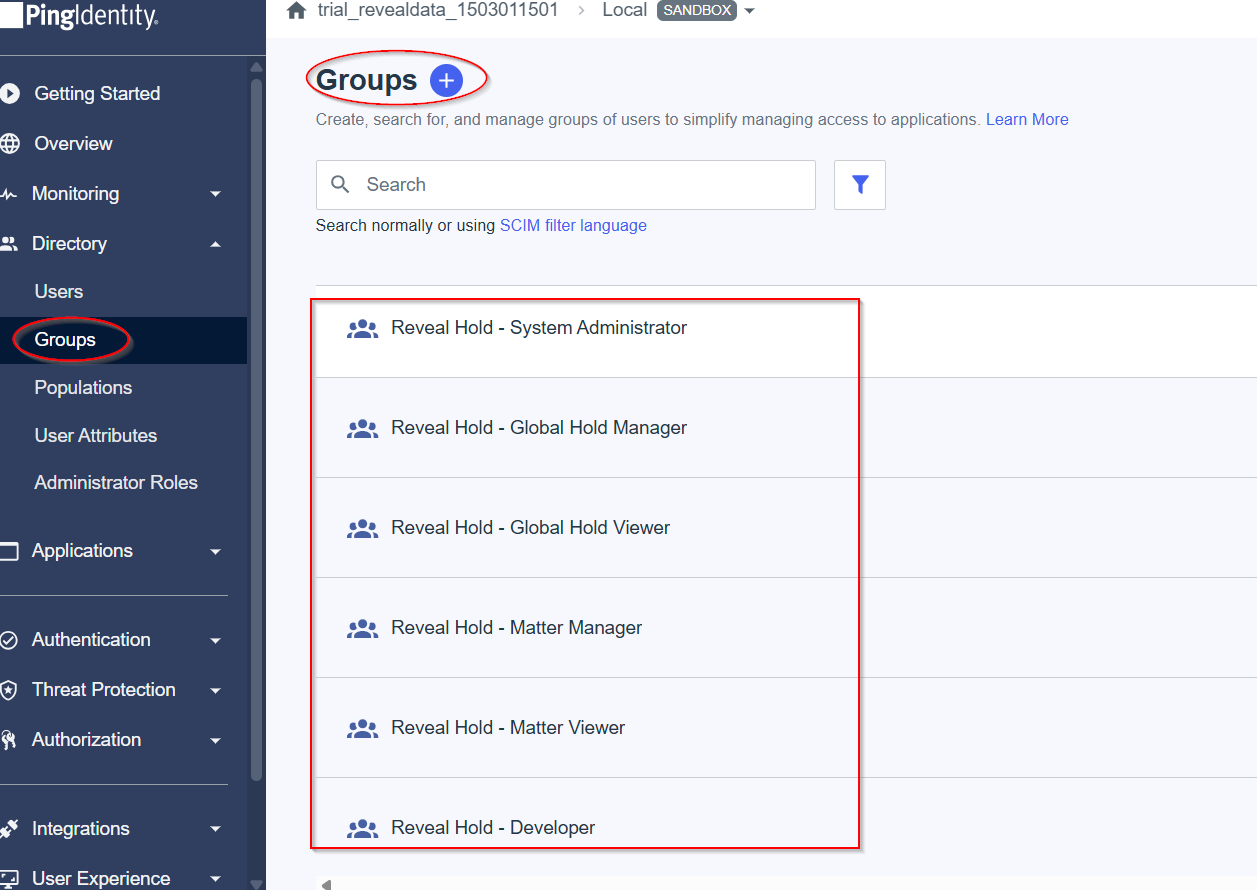
Go to Directory > Groups to add new groups by clicking the + icon. Make sure all the below Groups are added, as these will be linked to the application roles in Reveal Hold.
Once the groups and users are added, you can assign the users to groups.
Note
Assigning users to a group will give these users certain access rights.
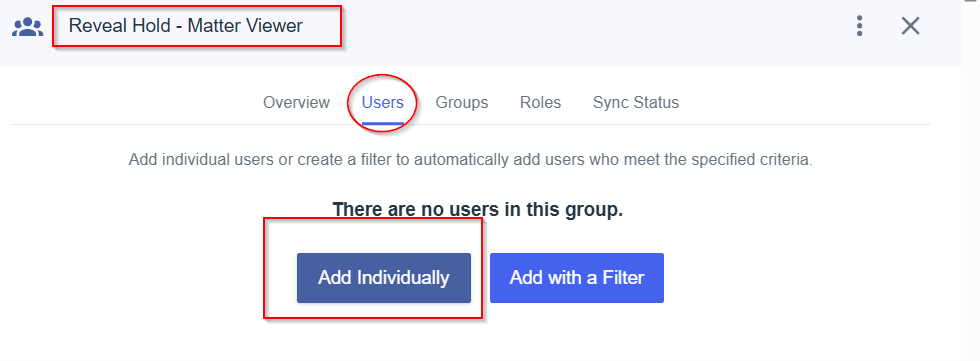
Or assign groups to the user.
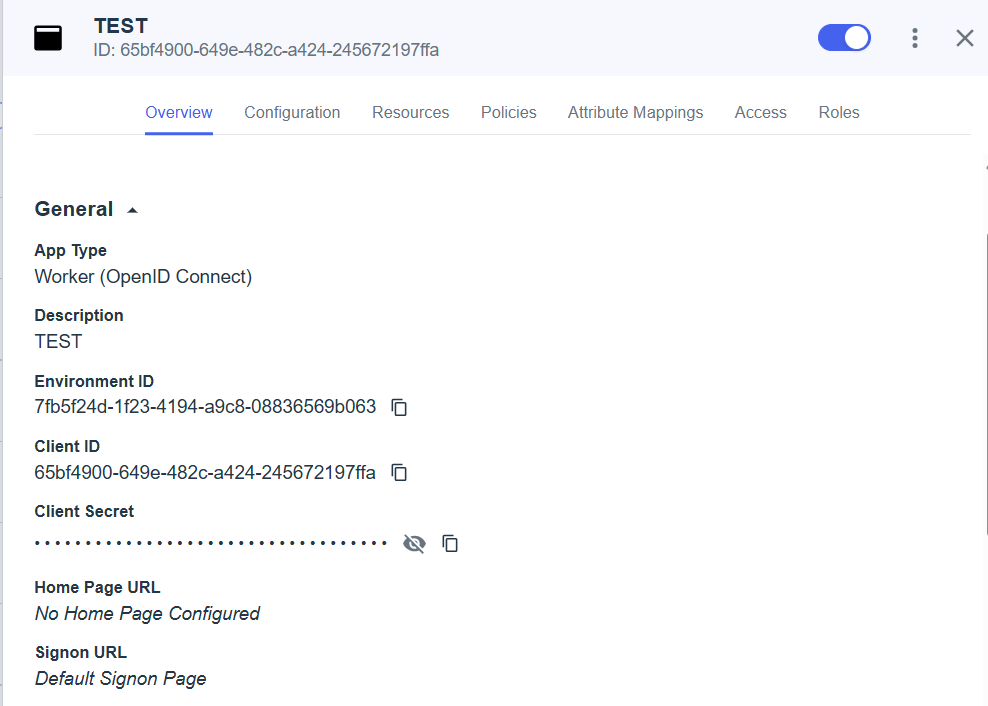
Application Overview
The following actions properties should be mapped by the Ping Administrator.
The Application Overview should be populated by the environment ID, Client ID, and Client Secret.
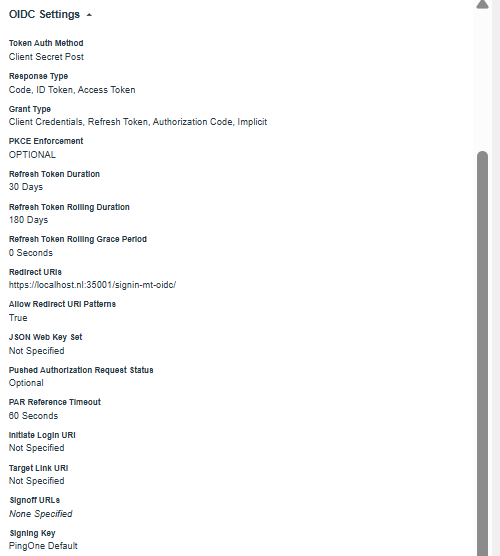
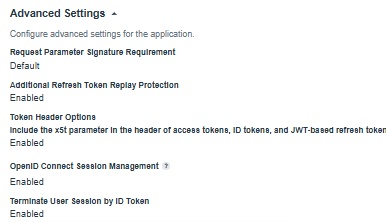
Ping App should match the following Application Configuration.
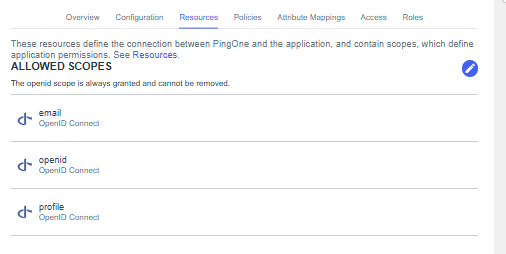
Application Resources should contain:
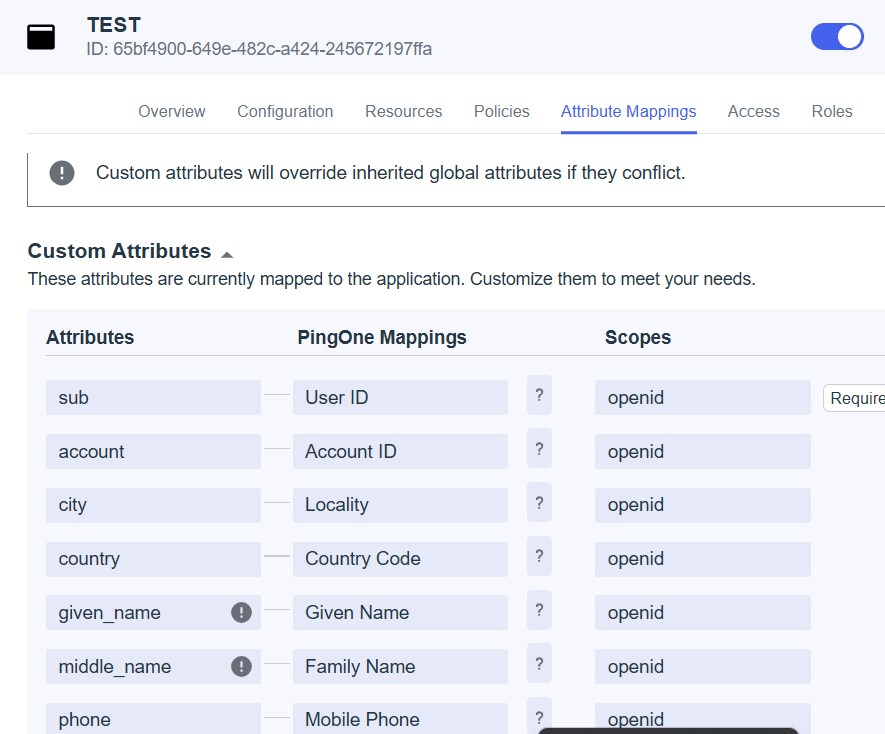
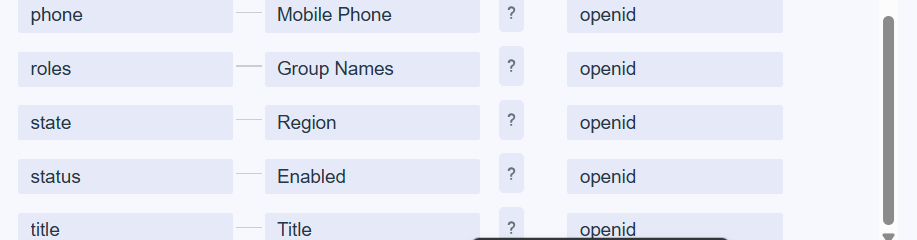
Application Attribute Mappings include the following:
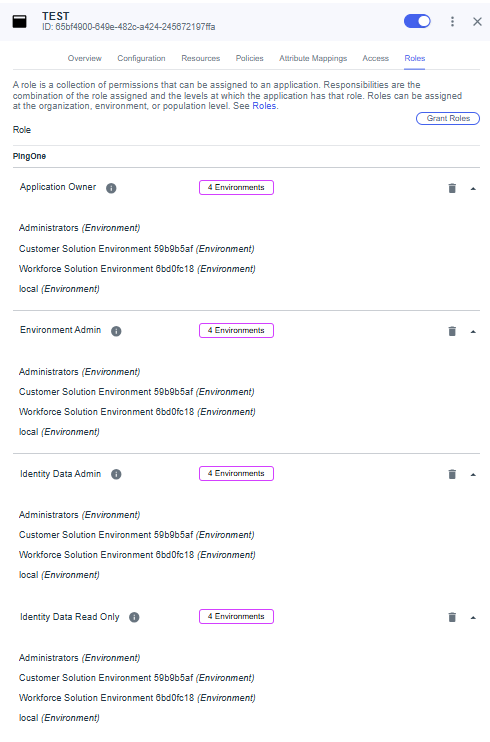
The Application Roles define which types of users can access the application. Any user assigned a role listed in the application is allowed to log in.
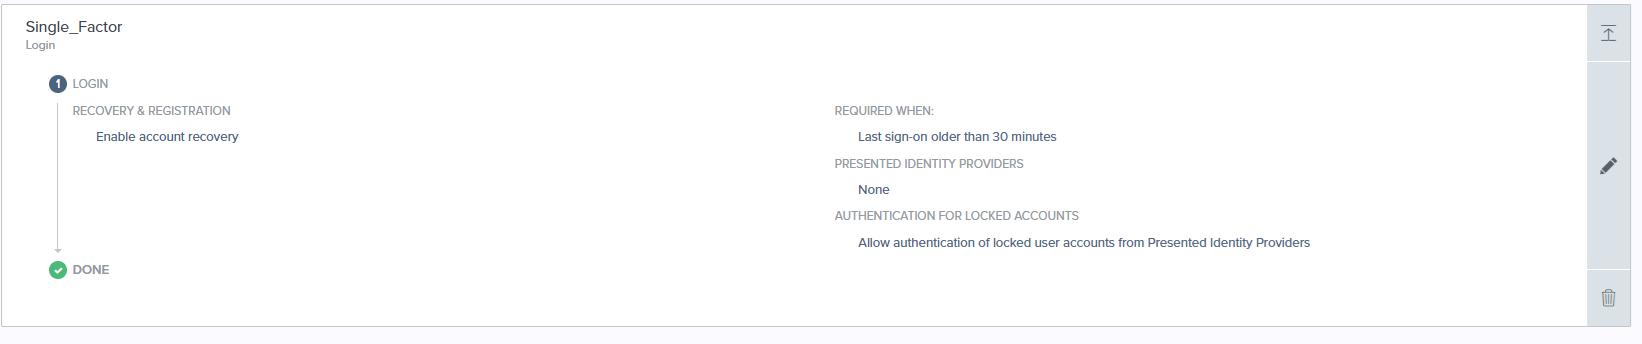
In the Application Policies section, add your application policy.

Additionally, provide Reveal with the following information to connect your Ping Identity application with your Reveal Hold subscription:
Application Name
Application Issuer ID
Application Client ID
Application Client secret
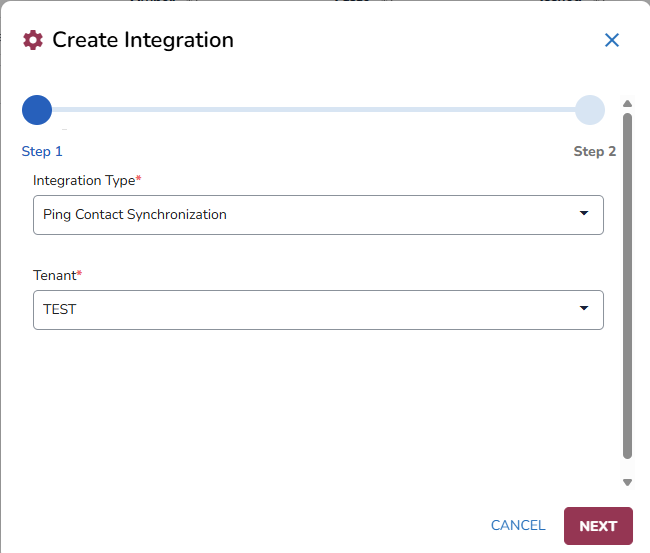
Create Integration in Reveal Hold for Address Book Synchronization
Go to Subscriptions > Integrations.
Click on + Create Integrations.
Step one:
Choose Ping Contact Synchronization for the Integration Type
Select Tenant of your choice.
Step two: Press Save.

For further detailed steps on how to synchronize addresses visit the Address Book Synchronization article.