The Address Book Synchronization page allows you to configure and manage the synchronization of contact data from the employee directory systems integrated with Reveal Hold. By synchronizing contacts with the company's employee directory, you will always work with an up-to-date list of potential custodians.
Contacts become custodians when added to a hold.
The Address Book Synchronization page contains an overview of all the integrated systems (Microsoft Entra ID, Okta, Workday, Ping Identity, and Google Workspace) from which contact details may be collected for an accurate record of employee data. By synchronizing contacts with the company's employee directory, you will always work with an up-to-date list of potential custodians.
Note:
Before you can synchronize contact details on this page, you must first configure an integration between Reveal Hold and the appropriate employee directory systems (Microsoft Entra ID, Okta, Workday, Ping Identity, and/or Google Workspace). See Integrations for more information.
Open Address Book Synchronization
To navigate to the Address Book Synchronization page:
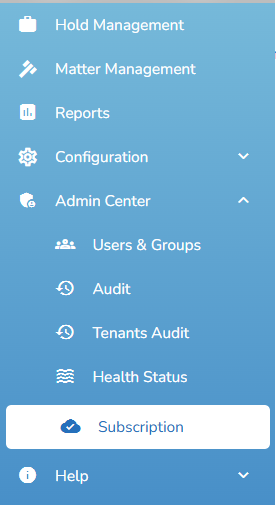
In the left navigation menu, select Subscription.
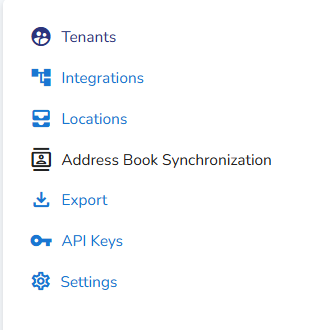
The Subscription page opens. Select Address Book Synchronization.
Manage Address Book Synchronization
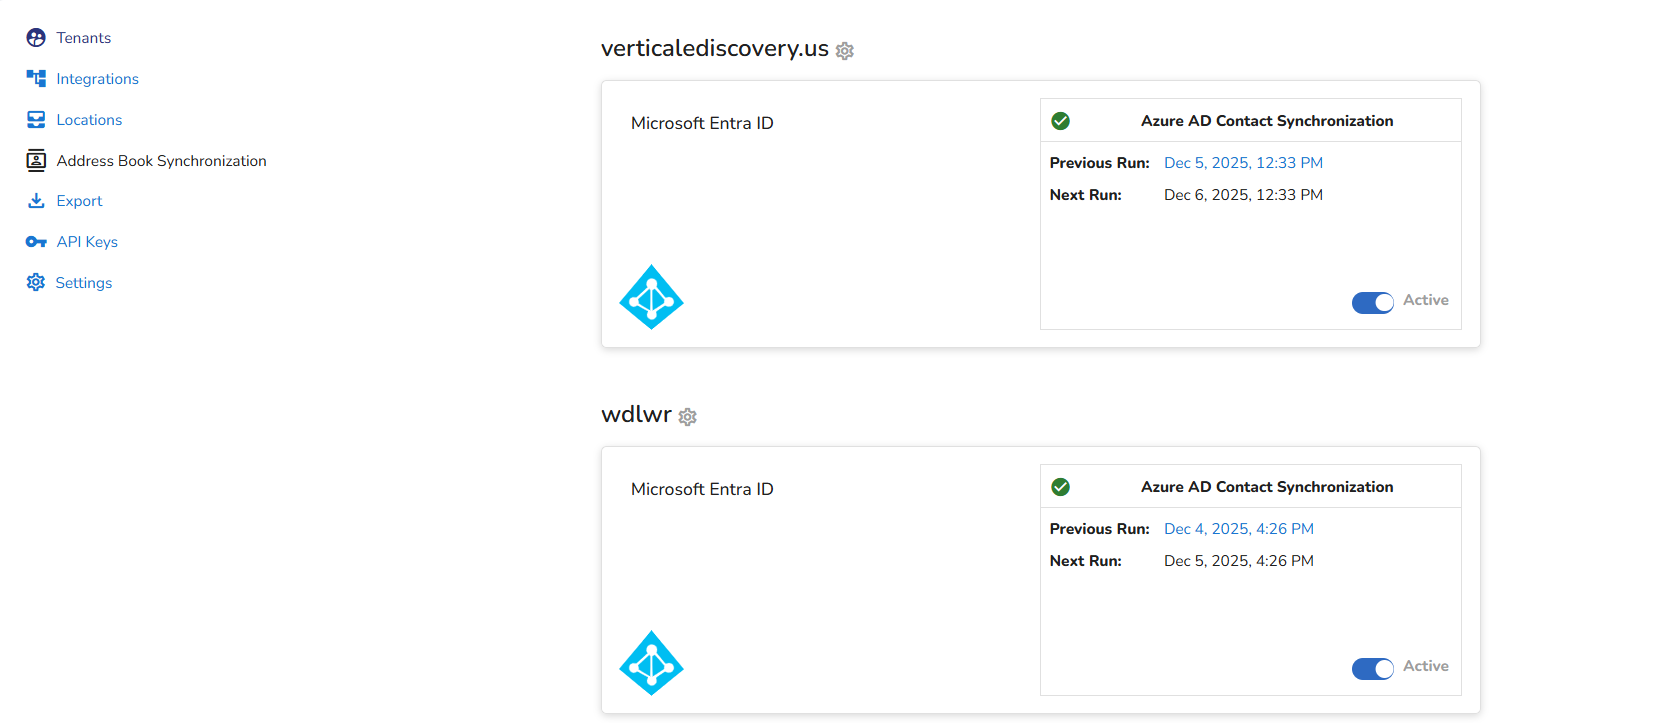
On the Address Book Synchronization page, you can configure synchronization settings and review synchronization status for your integrated systems.
Actions on this page include:
Map contact properties
Run synchronization now
Activate synchronization schedule
Review the status of your synchronization
Map Properties
To ensure contact details are accurately synchronized within the Reveal Hold application, you must map the properties for which you would like to collect data.
Navigate to the Address Book Synchronization page.
Select the gear icon next to your tenant ID.

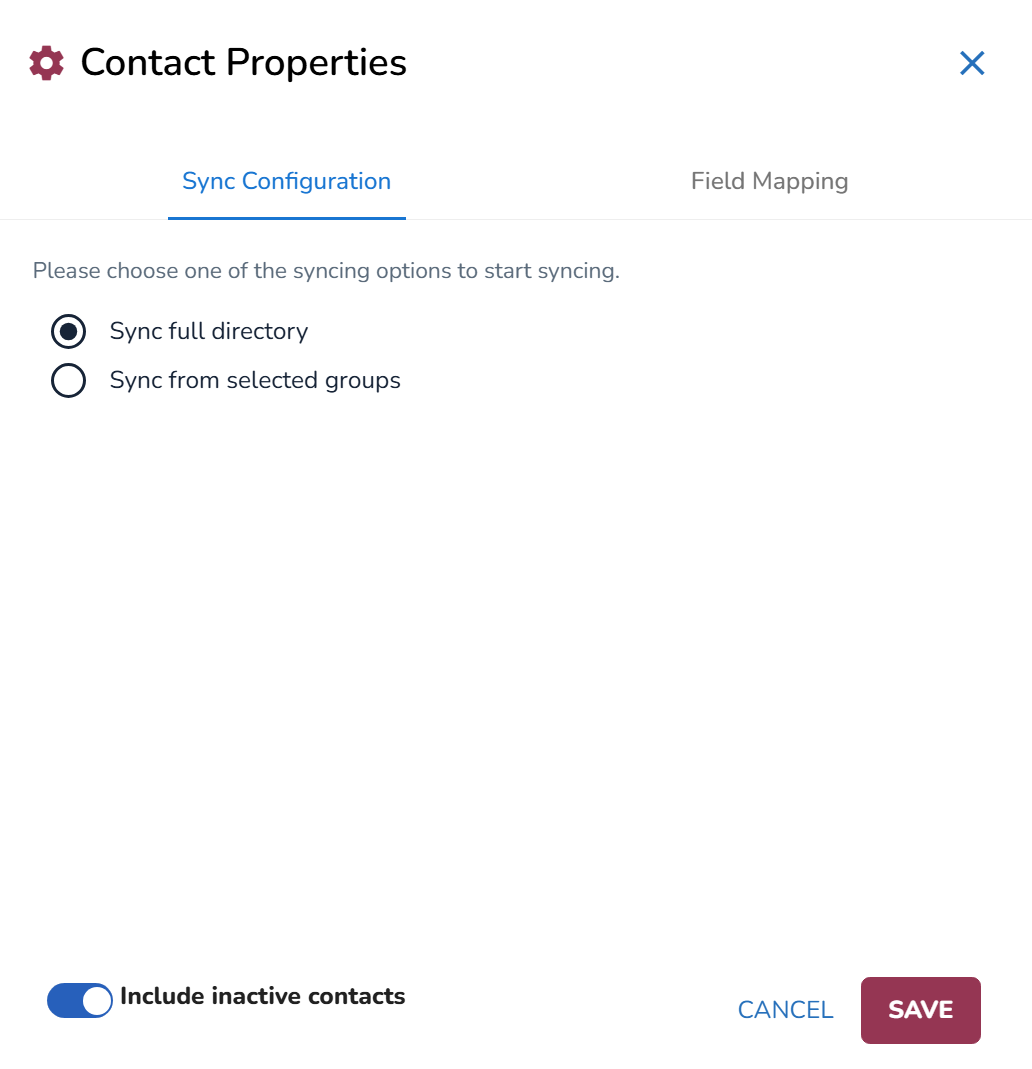
The Contact Properties modal opens.
In the Sync Configuration tab, choose if you want to Sync full directory or Sync from selected groups.
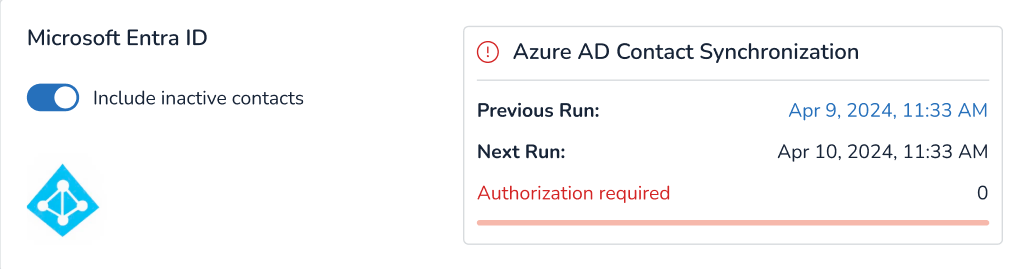
Turn on the toggle if you want to Include inactive contacts.
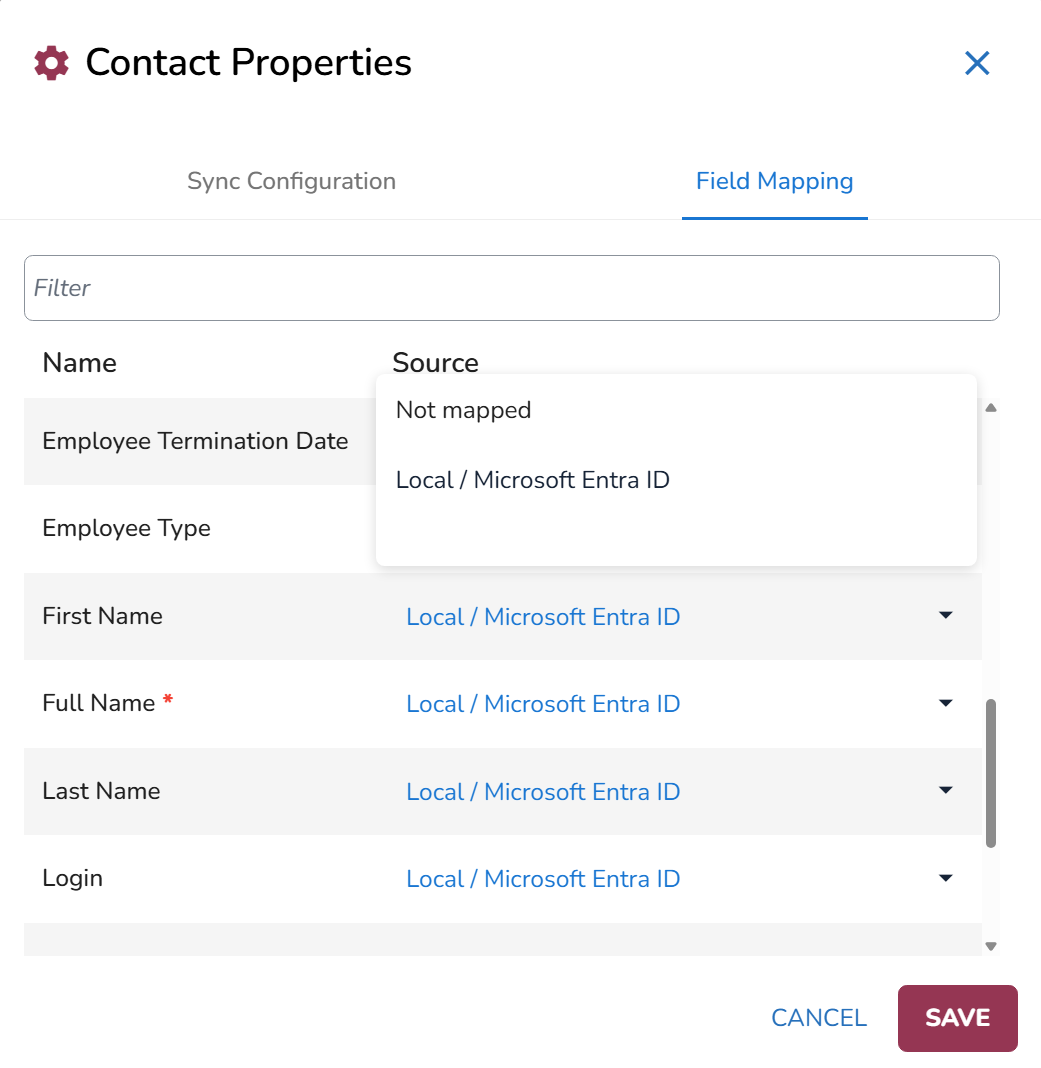
In the Field Mapping tab, configure mapping as needed. For each property you need to map, select the dropdown option in the Source column and select the needed source. When synchronizing contact details, data for the associated property will be retrieved from the source specified. If you prefer not to pull contact data for certain properties, you can select Not mapped from the dropdown to prevent that data from entering the system.
Note
Certain properties require mapping. These properties are marked with a red asterisk.
If using Workday for contact synchronization, you must select a Matching Property to ensure it properly syncs with your IDP. There are two options available when configuring a Matching Property: Email Address or Employee Number. Choose one option as your Matching Property and ensure the other is set to use your standard IDP.
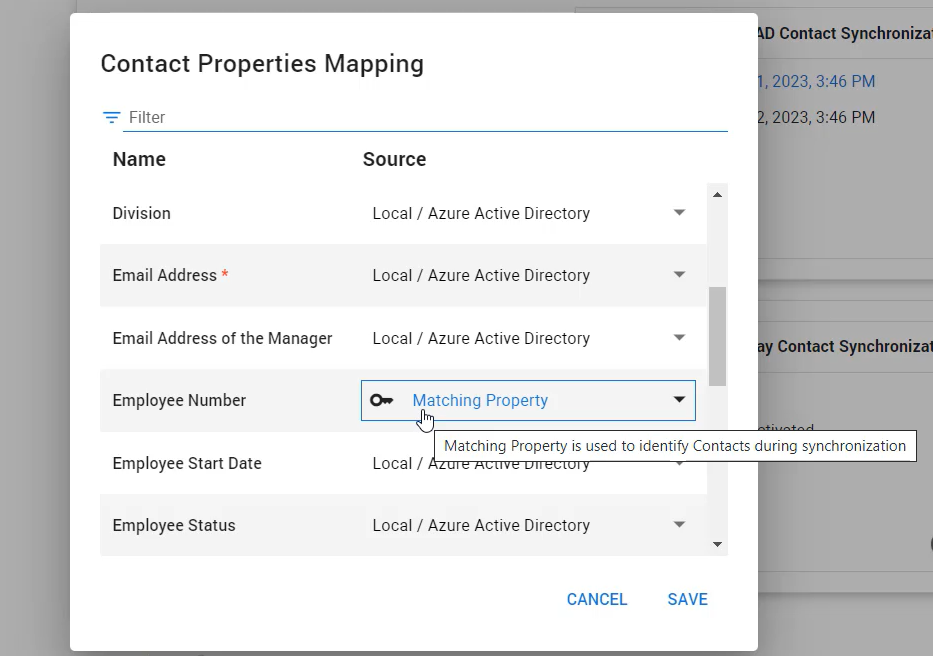
Filter the list for a specific property by typing its name in the Filter search bar.
Run Synchronization
There are two options for how to run synchronization:
Select the Run Synchronization button to initiate synchronization now.
Activate the Synchronization Schedule to automatically synchronize every 24 hours.
If you would like to run the synchronization now, you can manually select the Run Synchronization button.
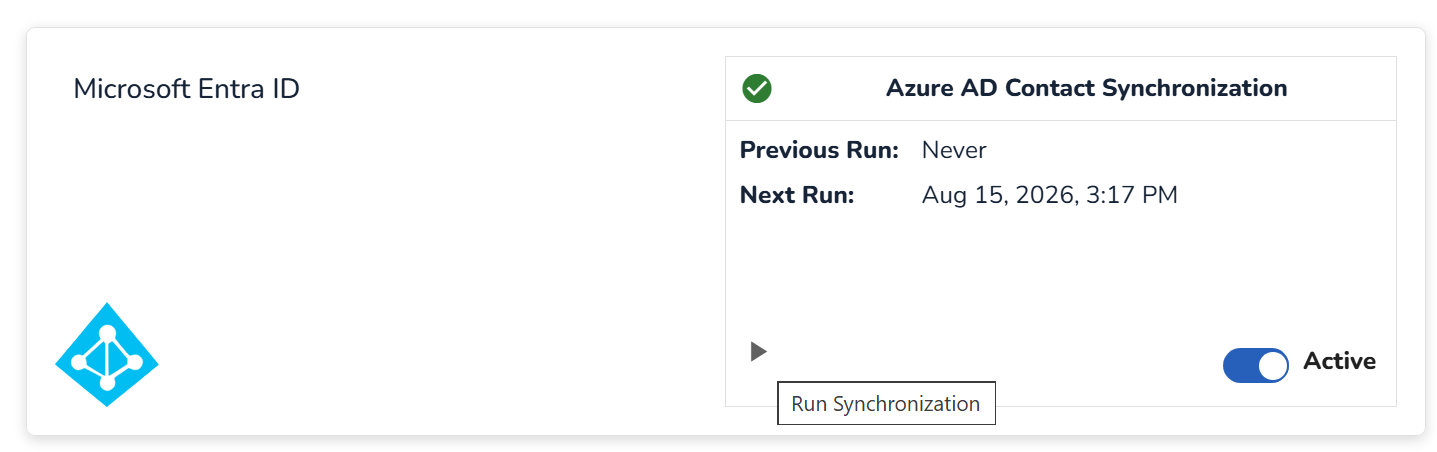
Select Yes on the confirmation message. The synchronization process begins immediately. Once synchronization finishes, contacts in the Address Book are updated with information from the integrated employee directory system.
Activate Synchronization Schedule
You can enable Reveal Hold to automatically initiate contact synchronization every 24 hours. This ensures that changes to the company's employee directory are updated in Reveal Hold without needing to manually run the synchronization every time.
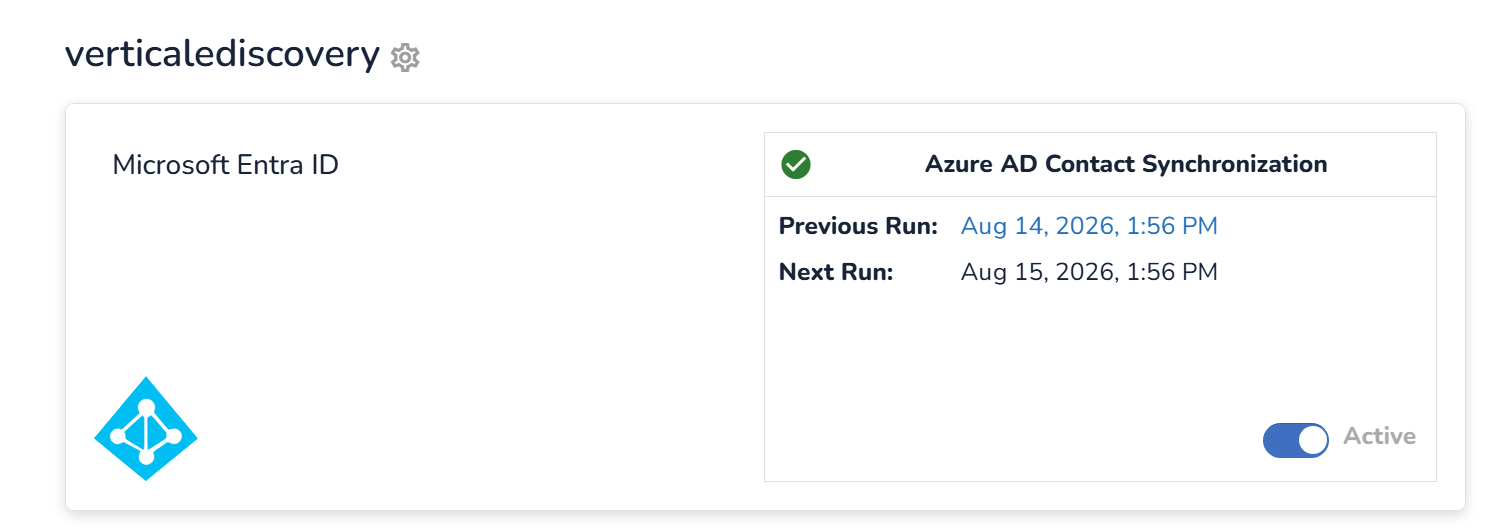
To activate the Synchronization Schedule, select the Inactive switch so that it turns blue and shows as Active.
Include inactive contacts
When synchronizing contacts, only active accounts are included by default, so former employees, who are inactive/deactivated in the identity provider, are left out and cannot be added to a hold.
Switching on Include inactive contacts tells the synchronization to bring in inactive accounts as well, so departed employees become selectable as custodians alongside current staff. The setting applies to one provider connection at a time and takes effect from the next synchronization run.
Inactive contacts must still exist in the identity provider as inactive/deactivated accounts. Accounts that have been fully deleted from the identity provider cannot be synchronized.
If the toggle does not appear on the identity provider card, select the settings icon , such as in Map properties.
Note
Where the connection is scoped to selected groups, inactive contacts are still limited to those groups. Where the connection shows Authorization required, the synchronization will not run until the connection is re-authorized.
Once the synchronization has run, accounts your identity provider reports as inactive appear in the address book alongside active accounts, and can be selected as custodians when a hold is created or edited. Field mapping applies to them exactly as it does to active contacts.
Review Synchronization Status
The Address Book Synchronization page shows when a contact synchronization was last run, as well as when it is scheduled to run next.
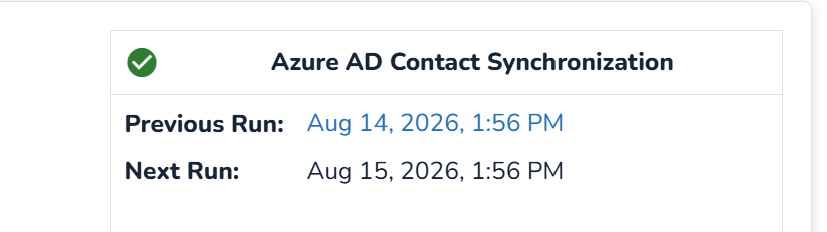
The Previous Run property is hyperlinked. When selected, it opens the Tenants Audit log where you can further investigate details about the synchronization event, such as the number of contacts that changed.
The Next Run property is tied to the Synchronization Schedule. If auto update is set to Inactive, no date will display here.