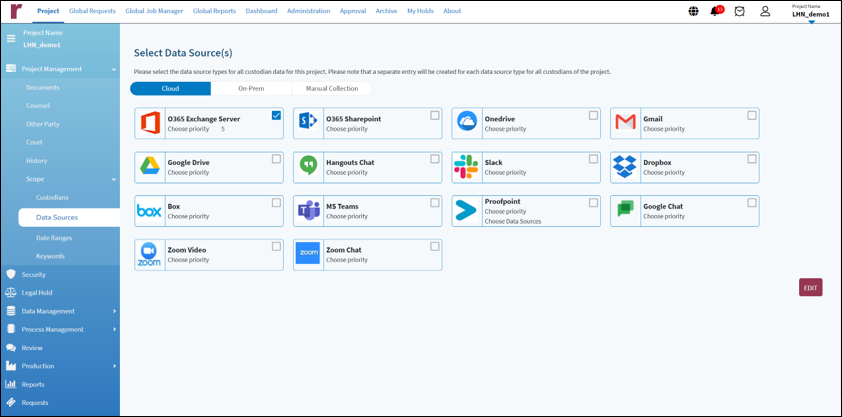
The Data Sources page displays the different locations where data of an enterprise or individual may be stored. This feature of Reveal Hold helps in data mapping and extracts data from potential sources of electronically stored information (ESI) as well as the location of those sources.
Data sources are segregated as Cloud and On-Prem and can be in a file, a database, or even in a live data feed.
The Cloud data sources are those that are hosted in a cloud environment such as OneDrive, Gmail, and MS Teams.
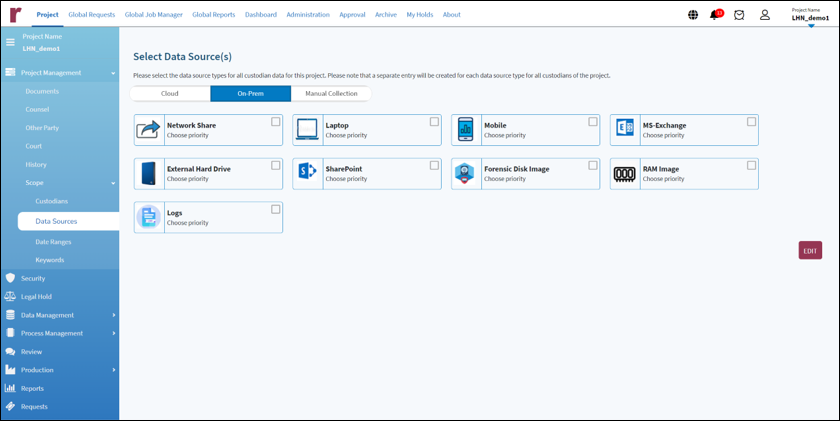
The On-Prem data sources are those that are stored locally on servers or individual systems such as mobile phones or tablets, external hard drives, and laptops.
In certain instances, there may be an exclusive data source (apart from those listed in the application) from which data must be extracted.
The Cloud Data Sources are displayed by default.
The On-Prem data sources can be accessed by clicking on On-Prem next to the Cloud tab.
The user can perform the following actions from the Data Sources page:
Assign Data Sources to the Project
These are the steps to assign data sources to the project:
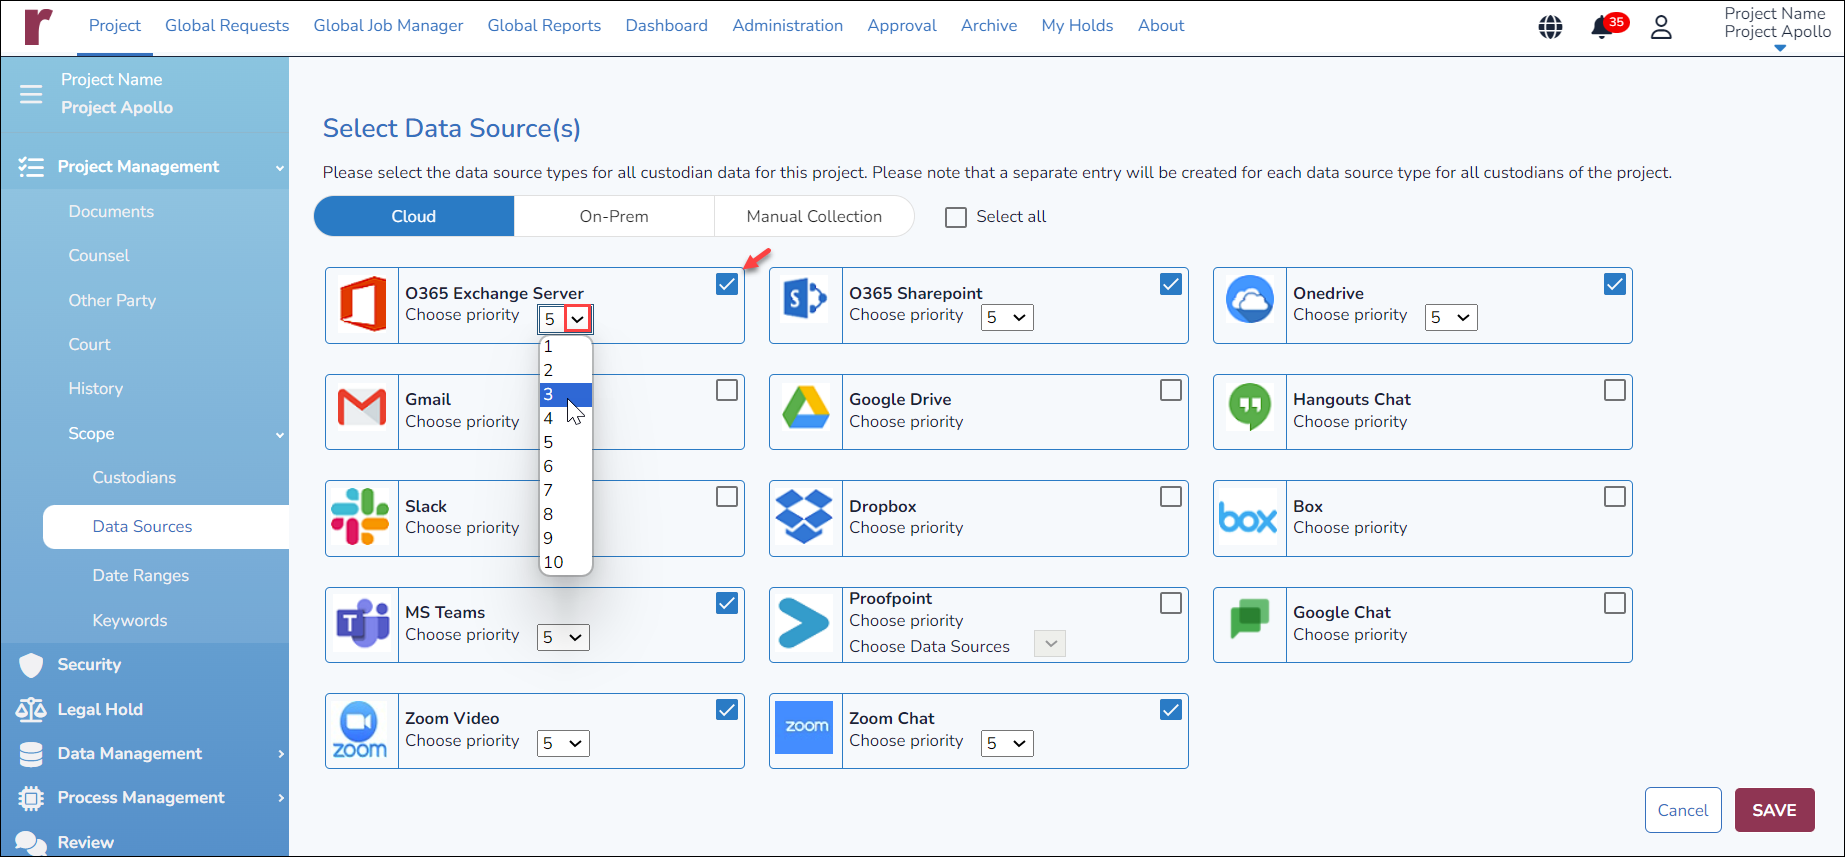
Click on the Edit button on the bottom right of the page. The selection option is now enabled and buttons to Save or Cancel are also available.
Click the checkbox in the data sources to be selected. Select Priority for each item using the numeric dropdown list that appears upon selection; this defaults to ‘5’ on a scale of 1 to 10, with ‘1’ being the highest priority.
For Proofpoint, by default, all the data sources listed in the Choose Data Sources dropdown will be selected.
To select one or more required data sources, untick the Select All checkbox to clear the default selection of all data sources. Then select only the data sources that are required.
Click on Save to add data sources to the project. A “Saved successfully” notification appears and the selected data sources are displayed with a tick mark.
To select all the data sources, click on Select All on top left of the list and click Save. Clicking on the Cancel button exits the screen without saving changes.