Feature Flag
The Collection feature is under feature flag. It will not appear in your environment unless it’s manually enabled by Reveal Hold. Contact your Customer Success Manager if you’d like to learn more or request access.
Reveal Hold now integrates with Box Collection via Onna. Through this integration, users can create and manage collections directly within the platform. From the Reveal Hold interface, users can define collection parameters such as date ranges, target locations, and collection locations, while the system leverages Onna to automatically create the necessary workspaces and collections, apply relevant filters, initiate data synchronization, and update collection statuses in Reveal Hold.
To enable Collection, you first need to have an integration with Box Collection. See this article Integrate with Box Enterprise on how to do that. After Integration, go to Locations, and ensure the Box Enterprise is enabled. See the Location article for more information.
To start collecting, follow the steps below.
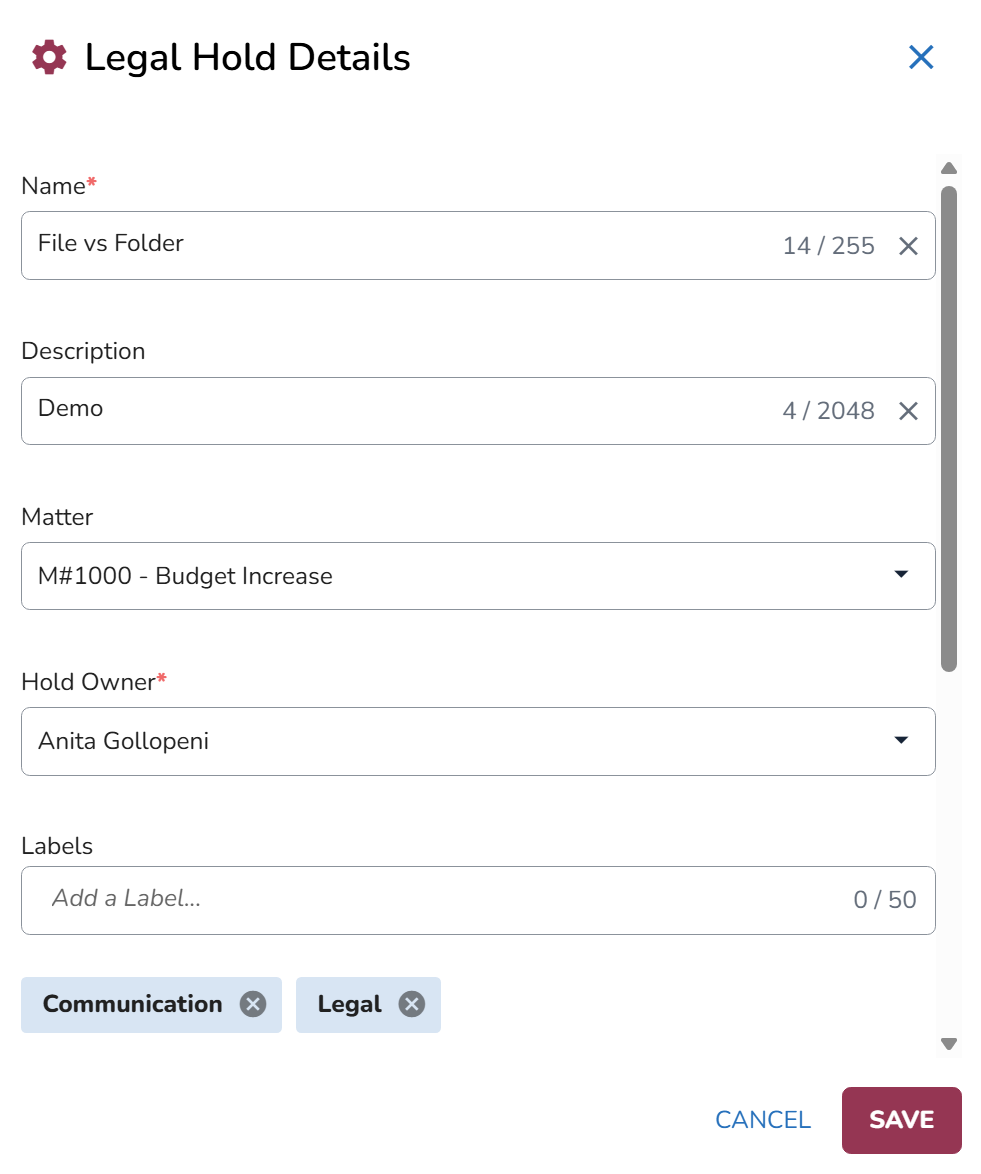
Start by creating a Hold in the Hold Management page.
After filling out the following fields, click Save.
Next, the Draft Hold screen will open up.
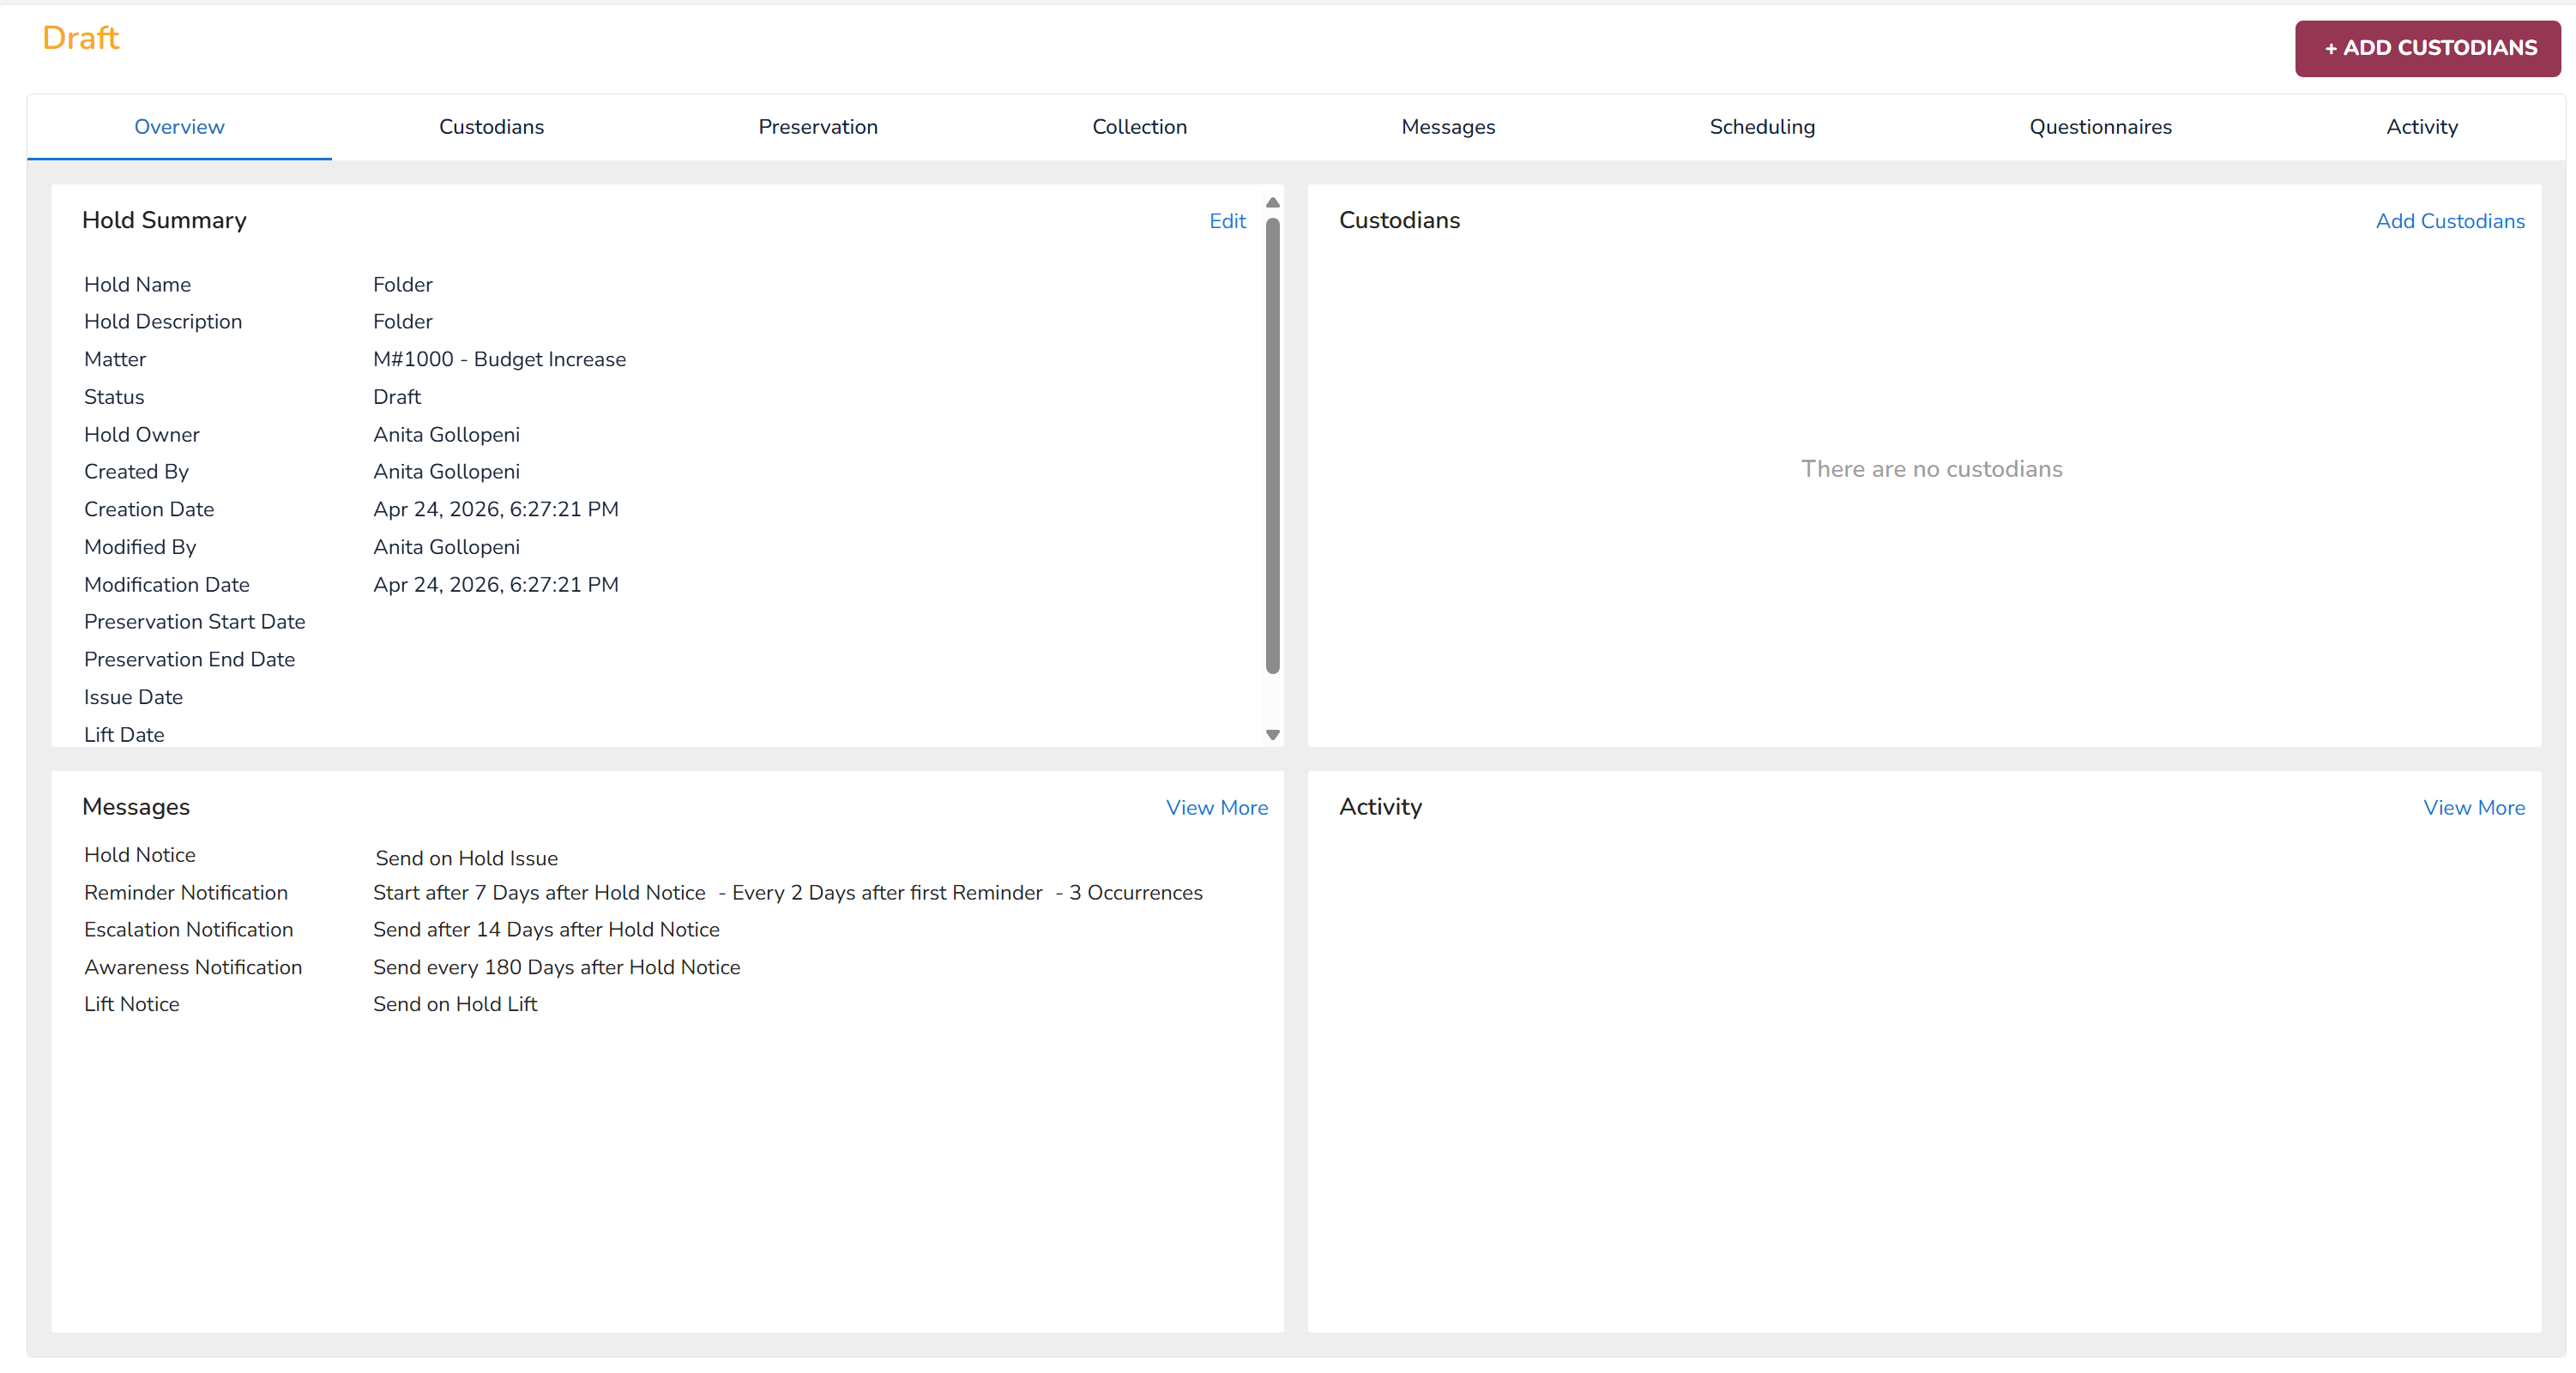
Go to the Custodians tab to add your custodians.
Next, edit your Preservation settings as you would in Preservation.
In the Collection tab, select Edit Collection Settings.
The Hold Collection Settings modal will appear.
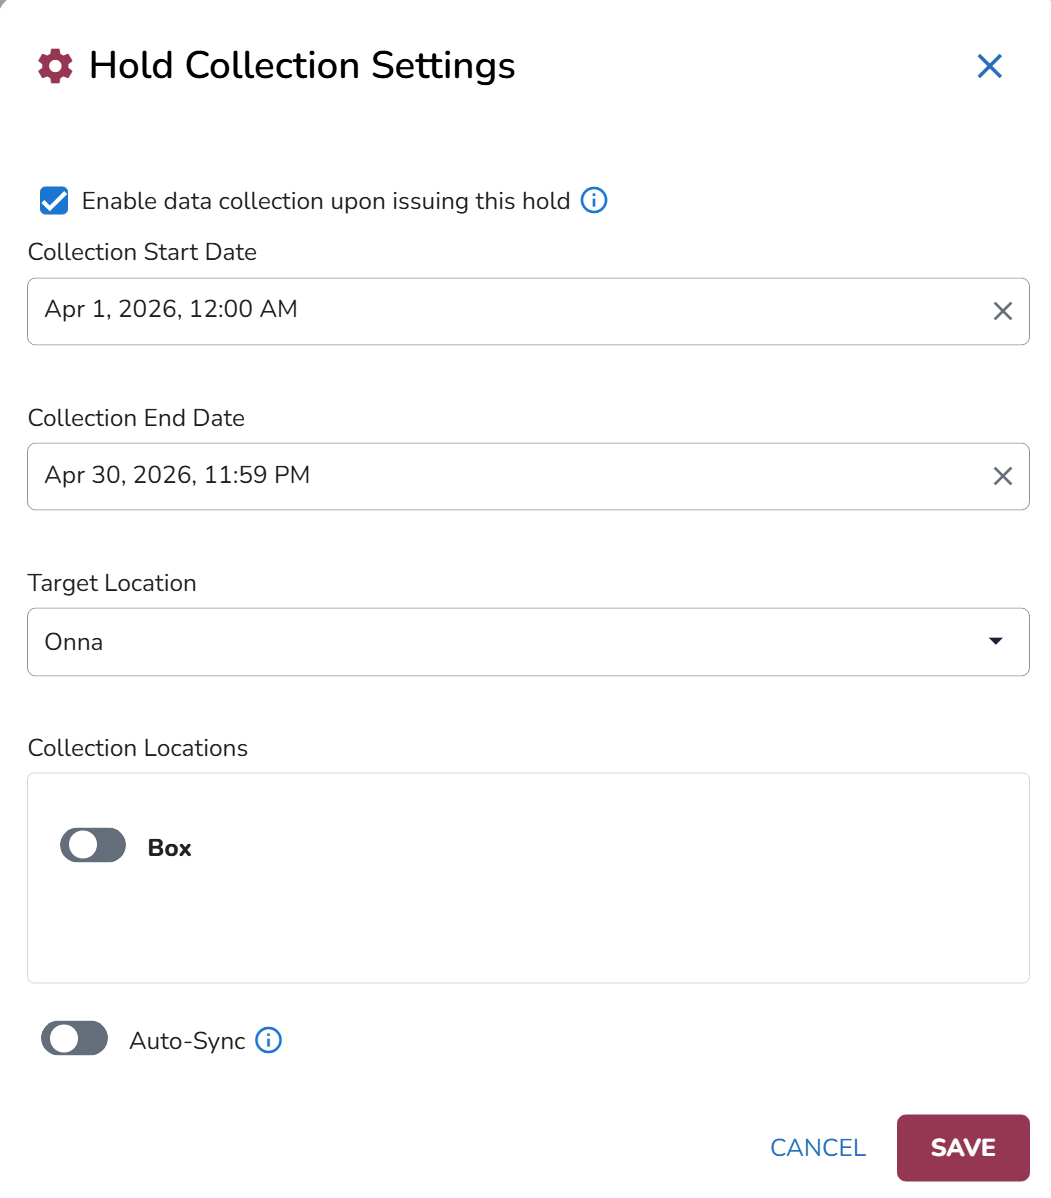
Check the Enable data collection issuing this hold checkbox. When this is enabled, the collection starts when issuing the hold. If unchecked, you need to click Start Collection button.
Choose a Collection Start Date and Collection End Date.
Target Location will have Onna selected by default. This is the only option.
In the Collection Locations you can switch on the toggle to enable the Box location.
Enable the Auto-Sync toggle to keep data up to date automatically. The data refresh will sync the latest data without requiring a new collection each time. To perform a one-time collection instead, simply turn Auto-Sync off.
Click Save.
Next, the Collection tab will be updated as below.
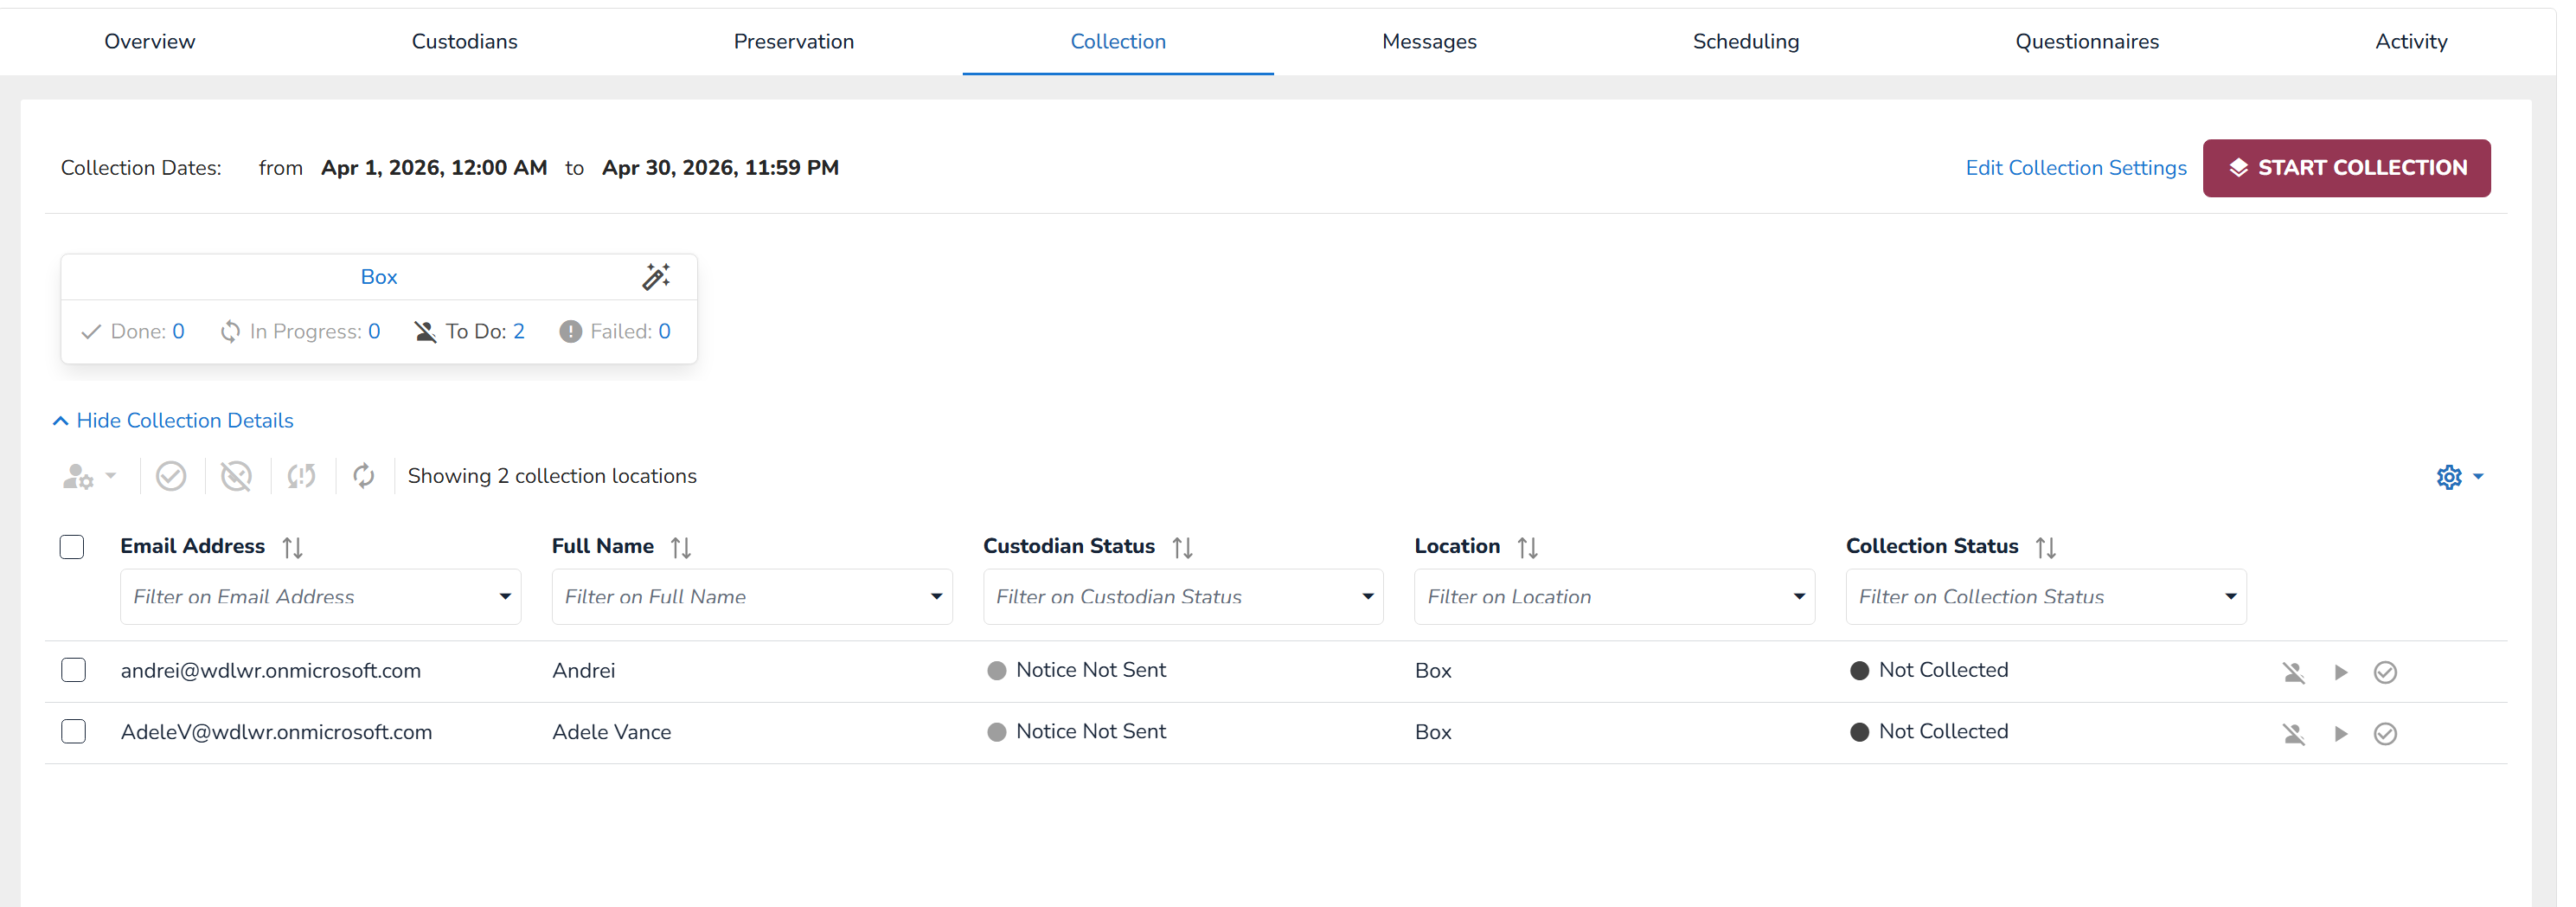
Click on
 . This starts collection for all custodians in the list at any time.
 To start collection for individual custodians, navigate to the far right and click on the Start collection
 icon.
icon. To exclude certain custodians from the collection, select the Exclude from data collection
 icon.
icon.If the custodian has finished collection, click on the Set Custodian Location status to Collected
 icon.
icon.
Confirm your collection.
You can track the Collection Status in the Activity tab.
If needed, click on the Edit Collection Settings to update any settings of the Collection.