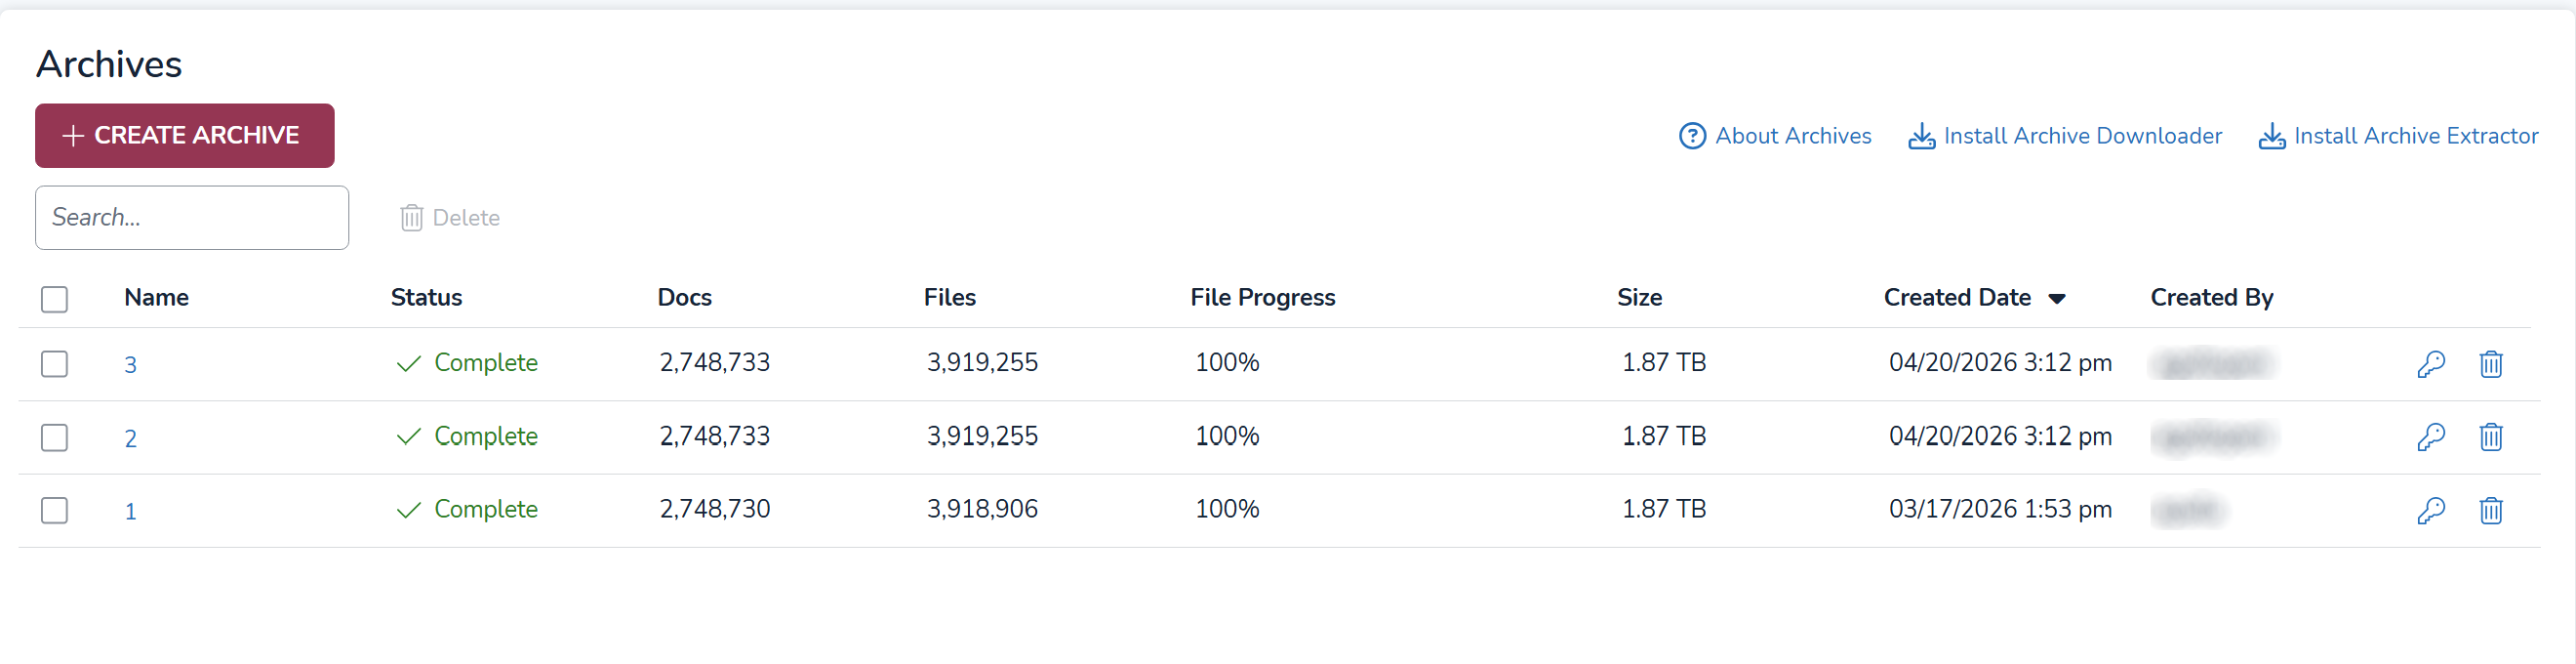
Archives screen
The Archives tab can be found in Project Admin > Archives.
View Archived Project
Clicking a name in the Archives grid will let you view details about your archive, shown below. This page provides a short step-by-step process to downloading an archive. More detailed instructions can be found in our Download Archives – Download Manager article.
.png)
Here, you can also install Archive Downloader and Archive Extractor, as well as accessing the token needed to download your archive by pressing Copy. The access token, in bold, will auto-generate every time you open or refresh this page, but tokens still remain valid for 7 days even if they re-generate.
A ![]() Delete button lets you delete your zipped archive from storage.
Delete button lets you delete your zipped archive from storage.
Warning
Deleting your project must be done within 30 days of creating your archive, or else you will be billed for its total size. See Archives Billing for more information.
Create an Archive
Archives can be created in the Archives screen.
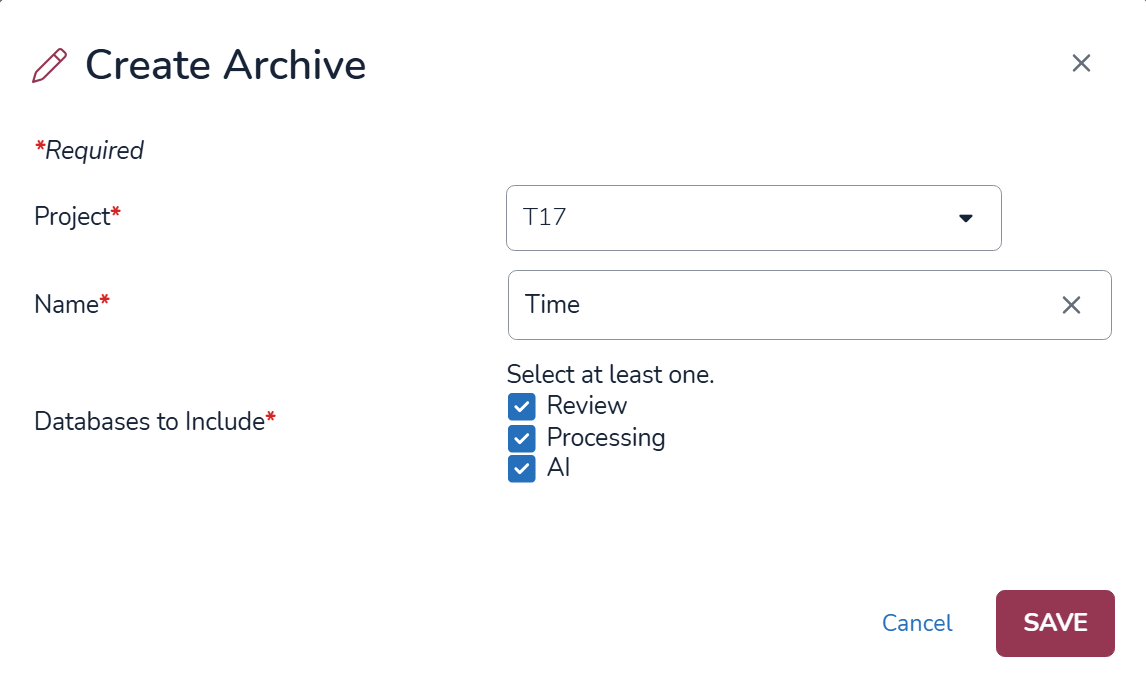
Click the +Create Archive button to open the Create Archive modal.
Name your archive.
Select at lease one of the following Databases to Include in the archive:
Review
Processing
AI
Click SAVE.
The archive will show up at the top of the list with a rotating icon and Submitted status. Reveal may take a couple minutes to process this request, after which the job status changes to In Progress and a blue progression bar with “0% (0 of 0)” appears under the File Progress column.
Once the archive finishes compressing, the blue bar will be replaced by an 100 (100% compressed) and the status will change to “Complete.” The Size column will show the compressed size of the archive.
If you want, you can perform a quality control check on your newly created archive by following the steps in our Archives Quality Control Checks article.
Note
If the progress bar doesn’t seem to be changing, or content doesn’t seem to be updating, try refreshing the page.
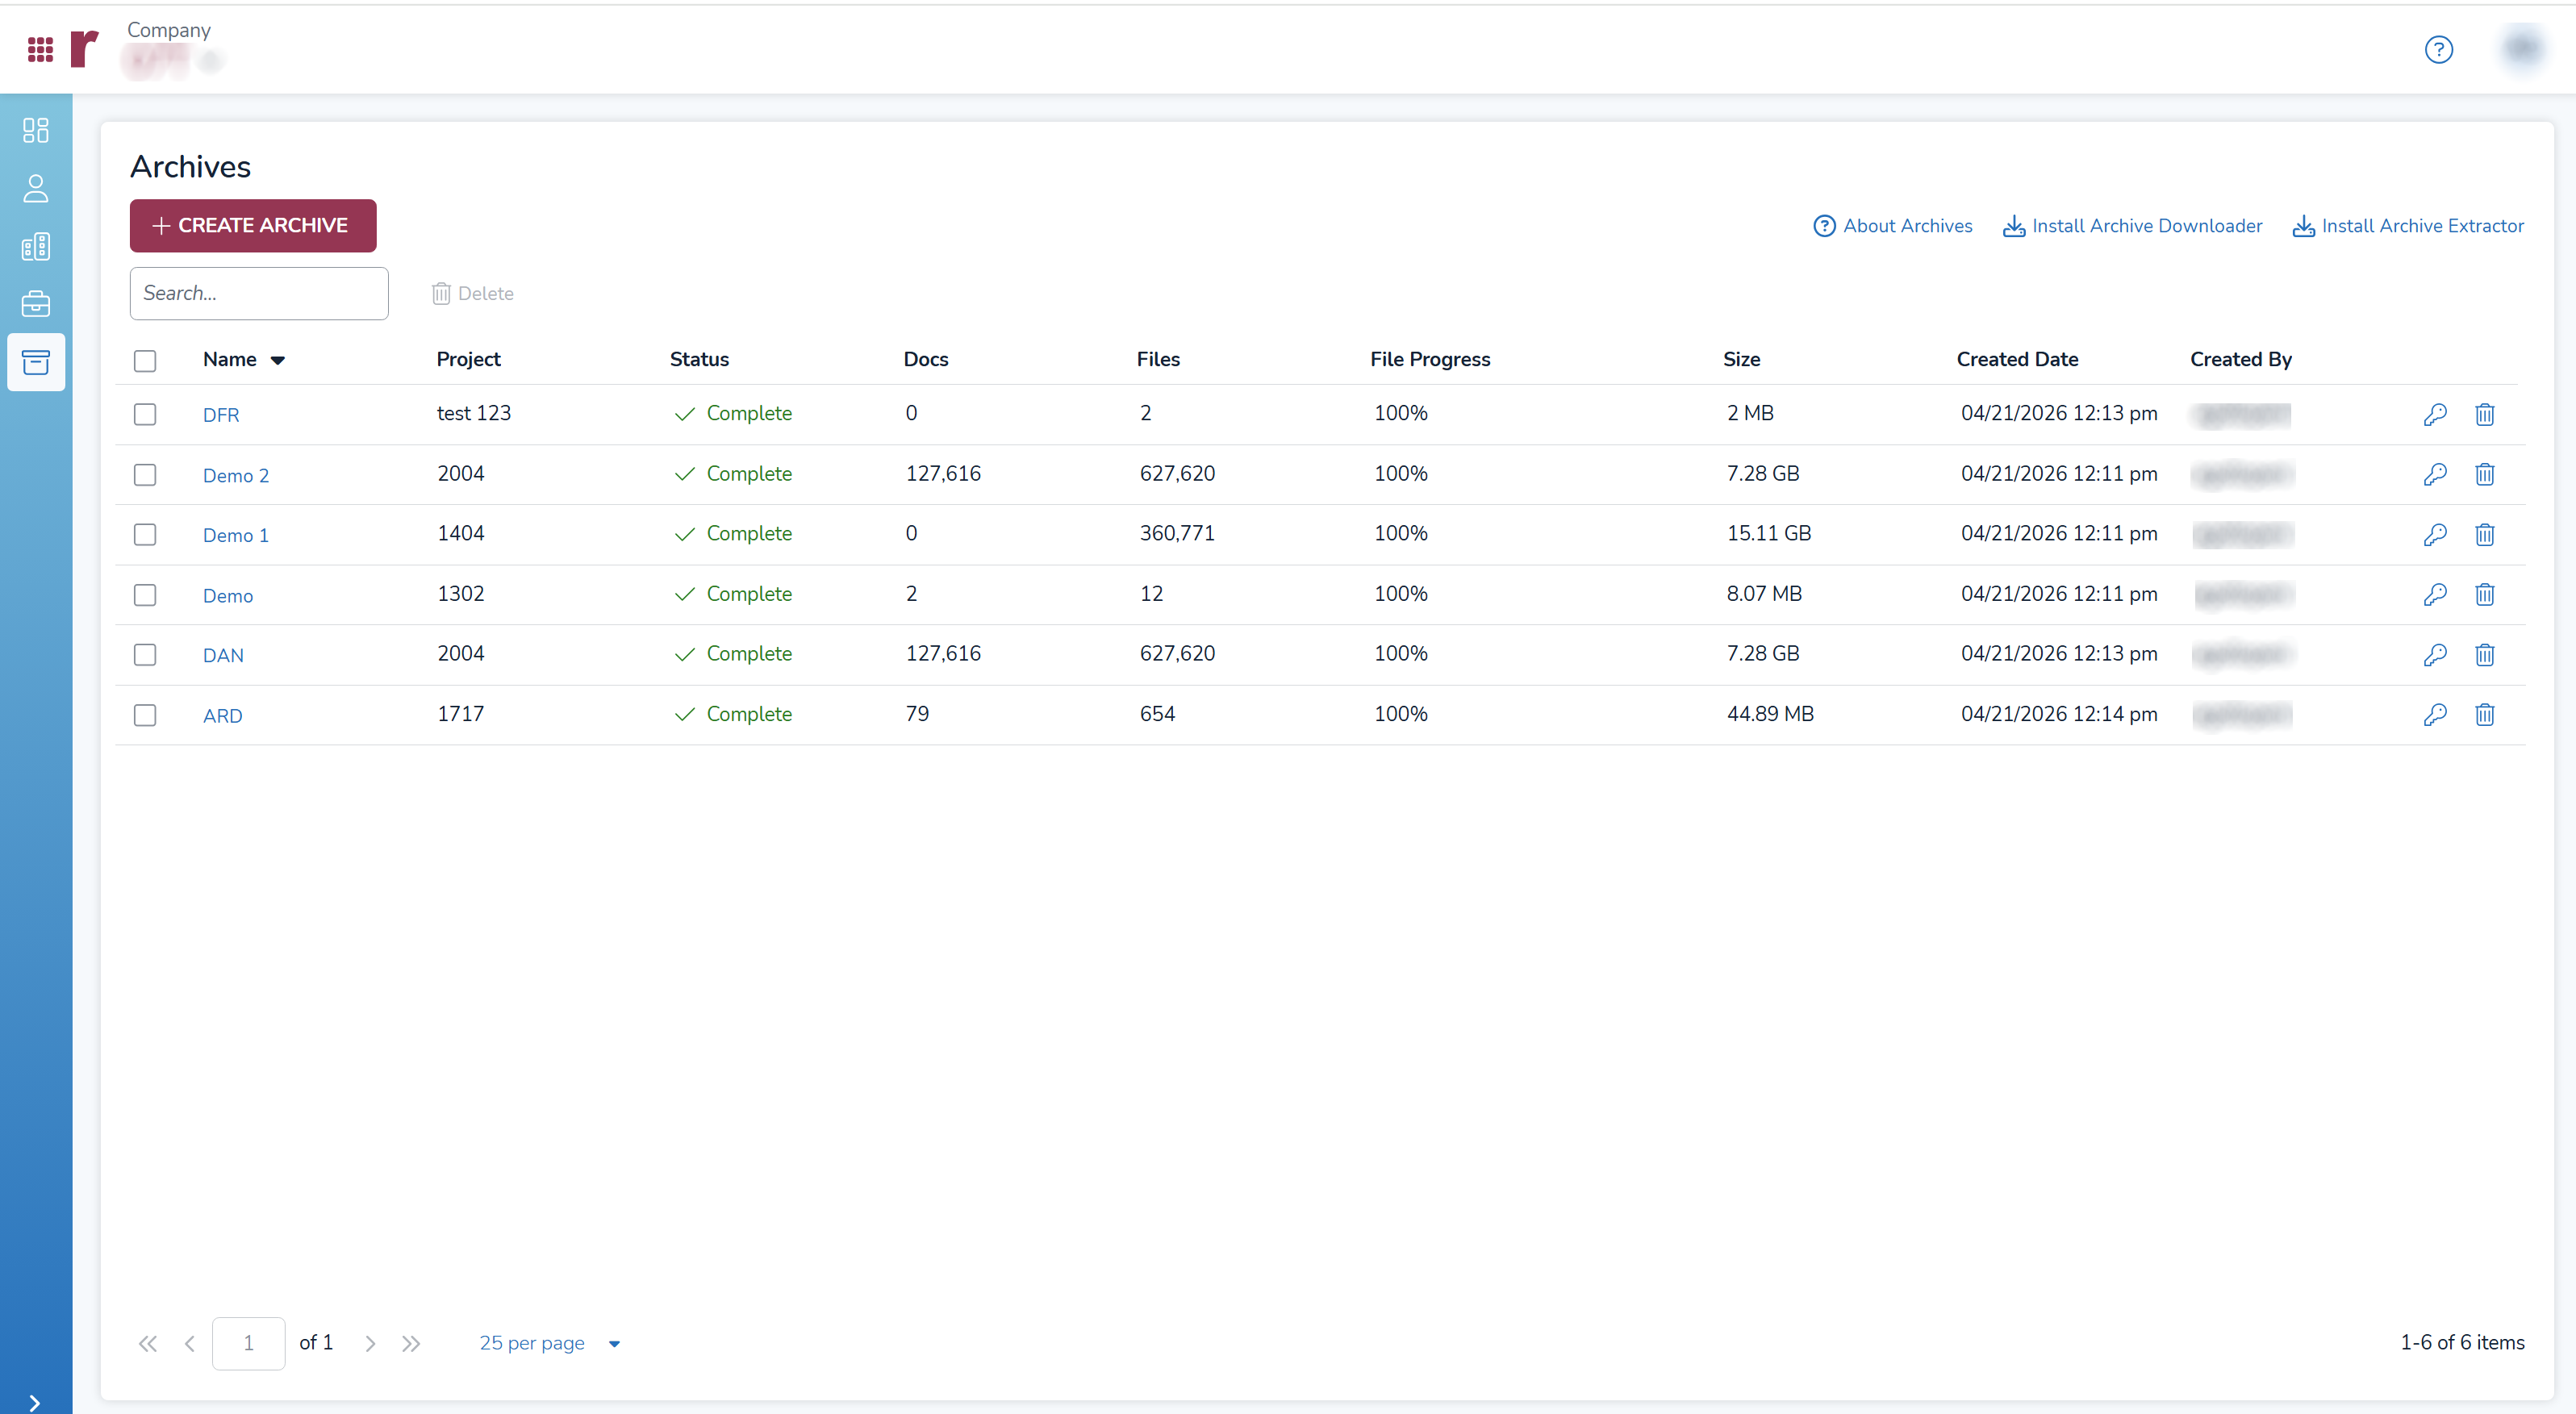
Company Archives tab
A second archives tab is available in the Companies screen, where Instance and Company Admins can view and create archives on a company level. The below table has an additional Project column to identify where each archives project originated from.
To create a new archive from this page:
Click the +Create Archive button to open the Create Archive modal.
Select the Project you want to archive from the dropdown.
Name your archive.
Select at lease one of the following Databases to Include in the archive:
Review
Processing
AI
Click Save.
Important
When AI Database is not included in an archive, the classifier and all associated components are not preserved. This includes the classifier’s definition, configuration, training history, and scoring data, all of which reside in the AI database. As a result, a Review-only restore will retain tags and predictive scores written back to the Review database, but the underlying classifier itself will be lost and cannot be resumed—you would need to rebuild and retrain it from scratch.
Additionally, even when the AI database is rerun, the classifier depends on separate vector files stored in the AI storage layer to function properly. Both the AI database and these vector files must be present to restore and operate the classifier successfully.
If you want, you can perform a quality control check on your newly created archive by following the steps in our Archives Quality Control Checks article.