Redactions can be applied both the Image and PDF View of the Document Review window, which opens in a separate browser tab. When the Image View is selected, the Image View toolbar appears below the Document Review toolbar. It is used for navigating image pages, adjusting the size and fit of the image, and making annotations and redactions on the image.

The newer PDF Viewer also allows redactions to be applied to PDF native documents. When using this view, click the Redact button to open an additional toolbar for applying redactions to PDF natives. See the Applying Redactions (PDF Viewer) section for further instruction there.

Applying Redactions (Image View)
Note
By design, redactions can only be applied to the Original Image Set. Images loaded to other image sets cannot be redacted.
To apply redactions (which may only be added to the Original Image Set):
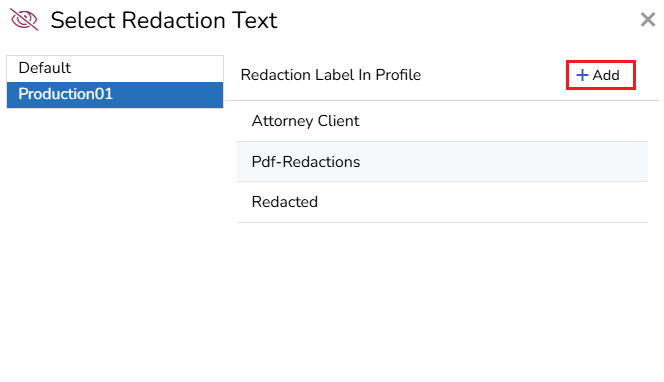
Choose the Select Text button to choose which text appears on the redaction.
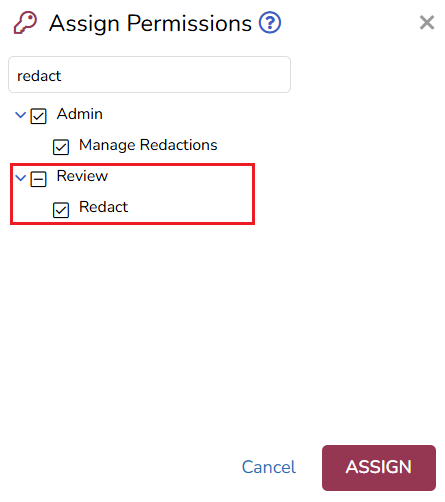
Multiple redaction options can be created, depending on the needs of the reviewers. Users with the appropriate permissions can add new redaction text to a redaction profile. A new redaction label can be added by utilizing the +Add button in the Select Redaction Text window if the Default or selected Redaction Profile is flagged as Updatable by the project administrator (see How to Manage Redactions for an explanation of Redaction Profile settings).
Select the Create Redaction button next to the Select Text button, then click and drag over the sensitive parts of the image to apply the redaction.

When the redaction has been set, click Stop Annotation (highlighted in yellow on Image toolbar) to continue with review.
The redaction appears on the text with a translucent box that can be sized or adjusted as needed. The redaction can be deleted by right-clicking on it and choose Delete.
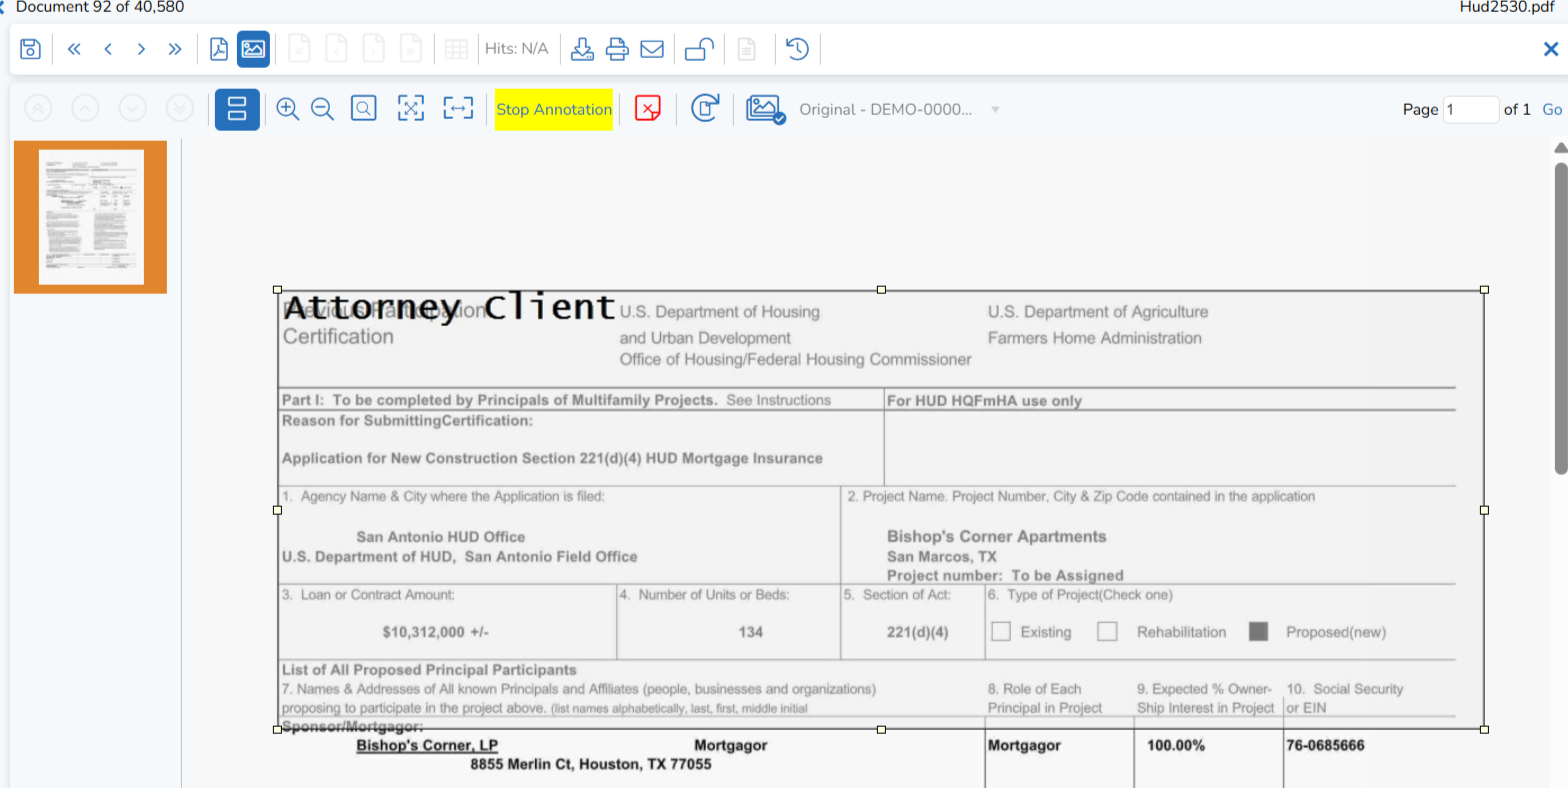
If you want to add multiple redactions of the same type, hit the Enter button after each redaction to apply additional redactions, as long as the Stop Annotation button is highlighted in the Image View toolbar.
Redaction Profiles
Among other use cases, Redaction Profiles may be used for specific productions. In this way, preparing a redaction profile that is specific to the current production allows users to select and apply a different set of document redaction labels to documents that may be produced in multiple productions. In the below example, a Production01 Redaction Profile has been prepared, and the new labels PII, PSI and SSI have been added in anticipation of a production addressing privacy and security issues.Note
Redaction Profiles enable users to apply predefined redaction labels tailored to specific productions. By creating a redaction profile for a particular production, users can efficiently select and apply the appropriate redaction labels across multiple document sets.
For example, a Production01 Redaction Profile may include labels such as Attorney Client, Pdf-Redactions, and Redacted.
.png)
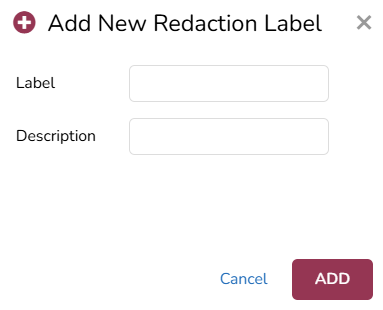
Additionally, users with the appropriate permissions can add new redaction labels during the review process by using the +Add button in the Select Redaction Text window, provided the selected Redaction Profile is marked as updateable.
When adding a new label, users must enter both a Label and a Description to define the purpose of the redaction clearly.
Applying Highlights, Freehand, Text, Sticky Note Annotations

Highlights can be applied by clicking the Highlighter Annotations button. When selected, the icon changes to a plus sign, allowing you to click and drag to highlight content. The highlight can be resized or moved as needed.
Freehand Annotations can be added using the FreeHand Annotation button. Once selected, the icon changes to a plus sign, enabling you to freely draw on the document image.
Text Annotations and Sticky Notes can be used to add contextual information for the review team. These annotations help clarify important details and provide additional insights within the document.
All applied annotations can be selected, moved, resized or deleted as required.
Applying Redactions (PDF Viewer)
Redactions can be applied within the Native View using the annotation toolbar. This allows users to mark up documents efficiently.
Pre-Requisites to Redacting
Before applying redactions, ensure the necessary permissions and document settings are enabled.
Locked vs. Unlocked Document
Unlocked Documents: The annotation toolbar is available only when the document is unlocked.

Locked Documents: Annotations cannot be applied to locked documents until they are unlocked.

Redaction Permission
Users must have the appropriate role permissions enabled to access the annotation toolbar.
Review → Redact: The redaction toolbar is enabled through role permissions for users who need to apply redactions.
Redaction Functions
Redaction Profiles: As with previous versions, users must have access to redaction profile(s) to utilize the Native View redact functionality.
.png)
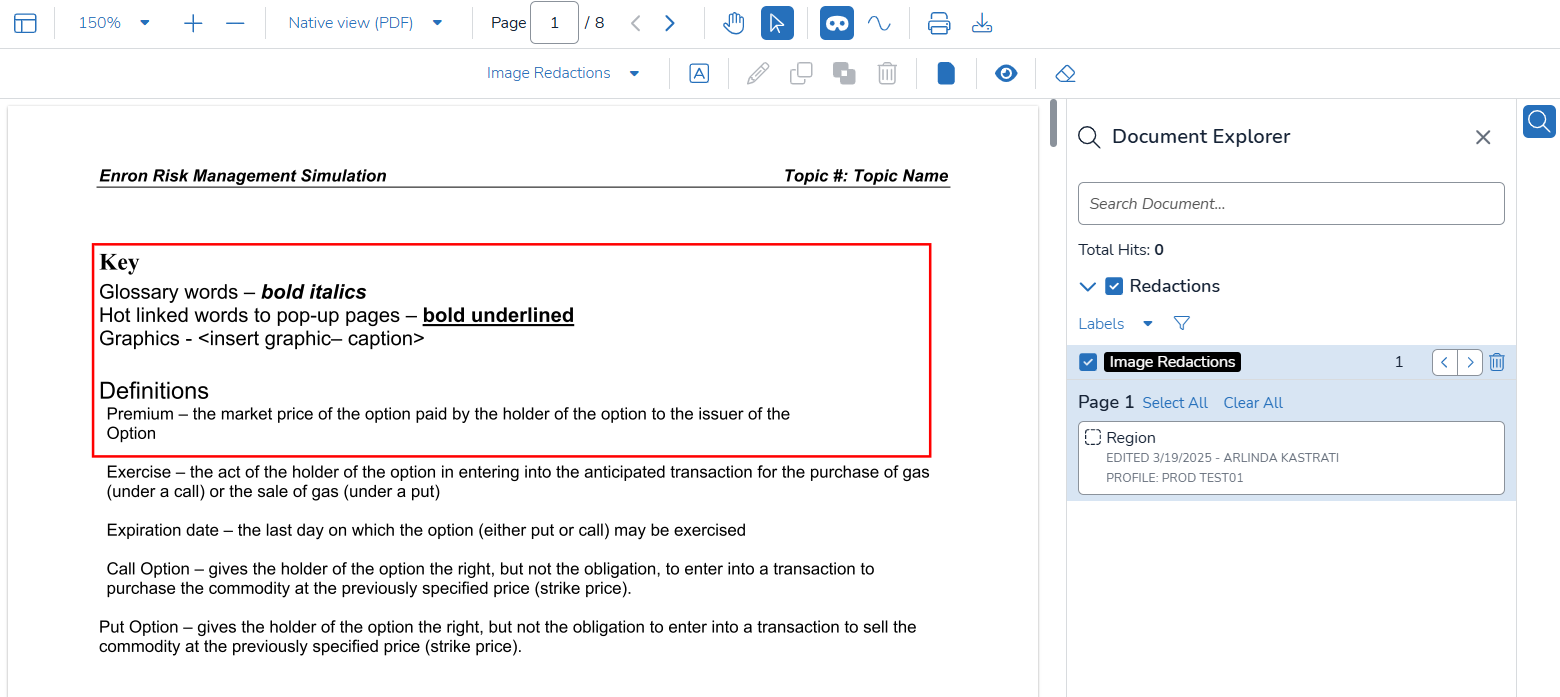
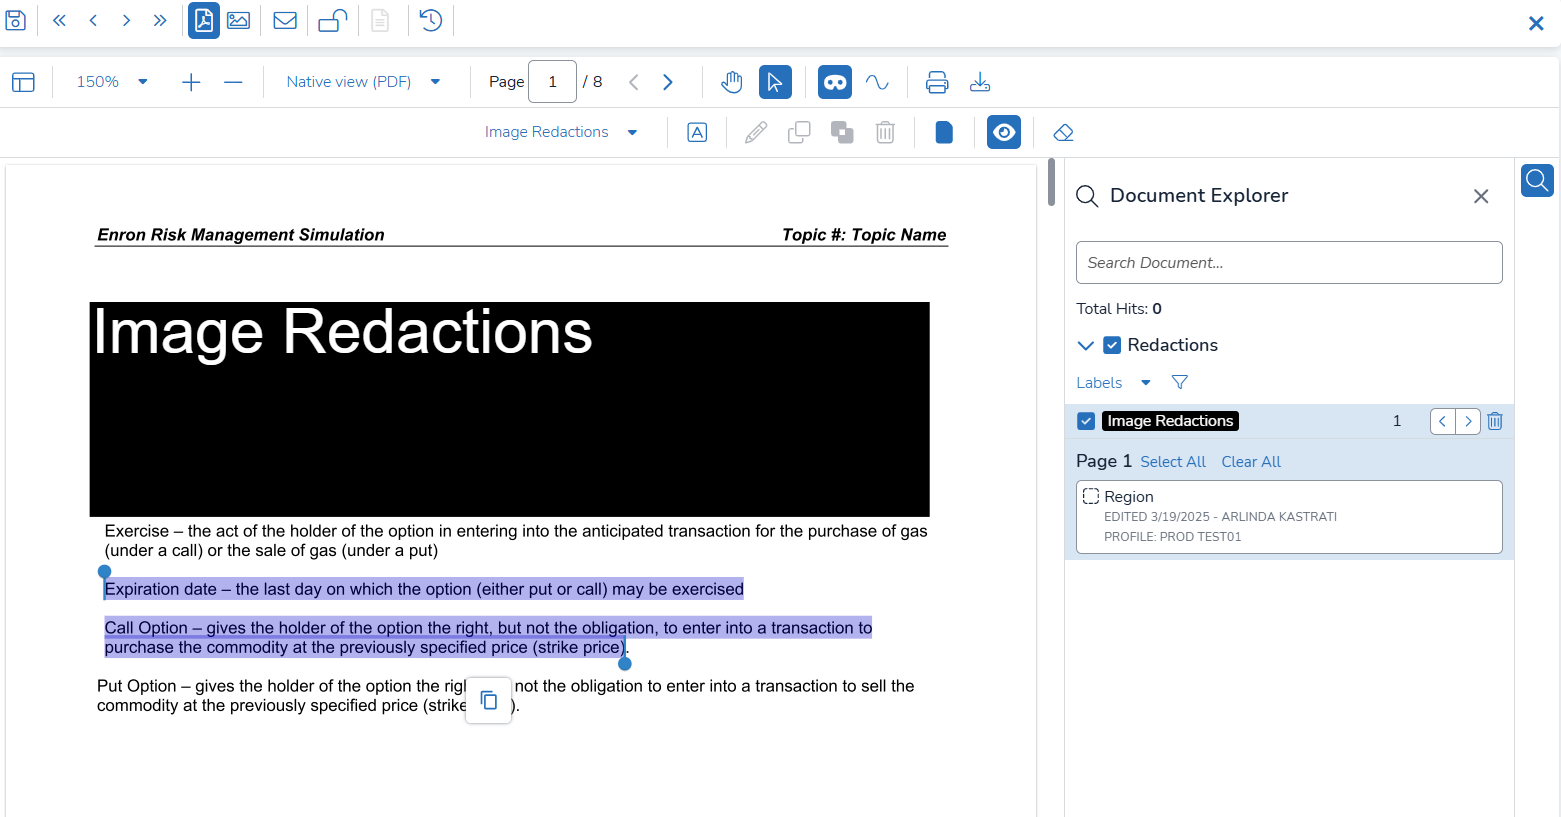
Draw Redactions: After selecting the appropriate redaction profile, users can apply redactions by highlighting the desired content. Each redaction, along with its associated redaction profile, is recorded in the Document Explorer for tracking and auditing purposes.
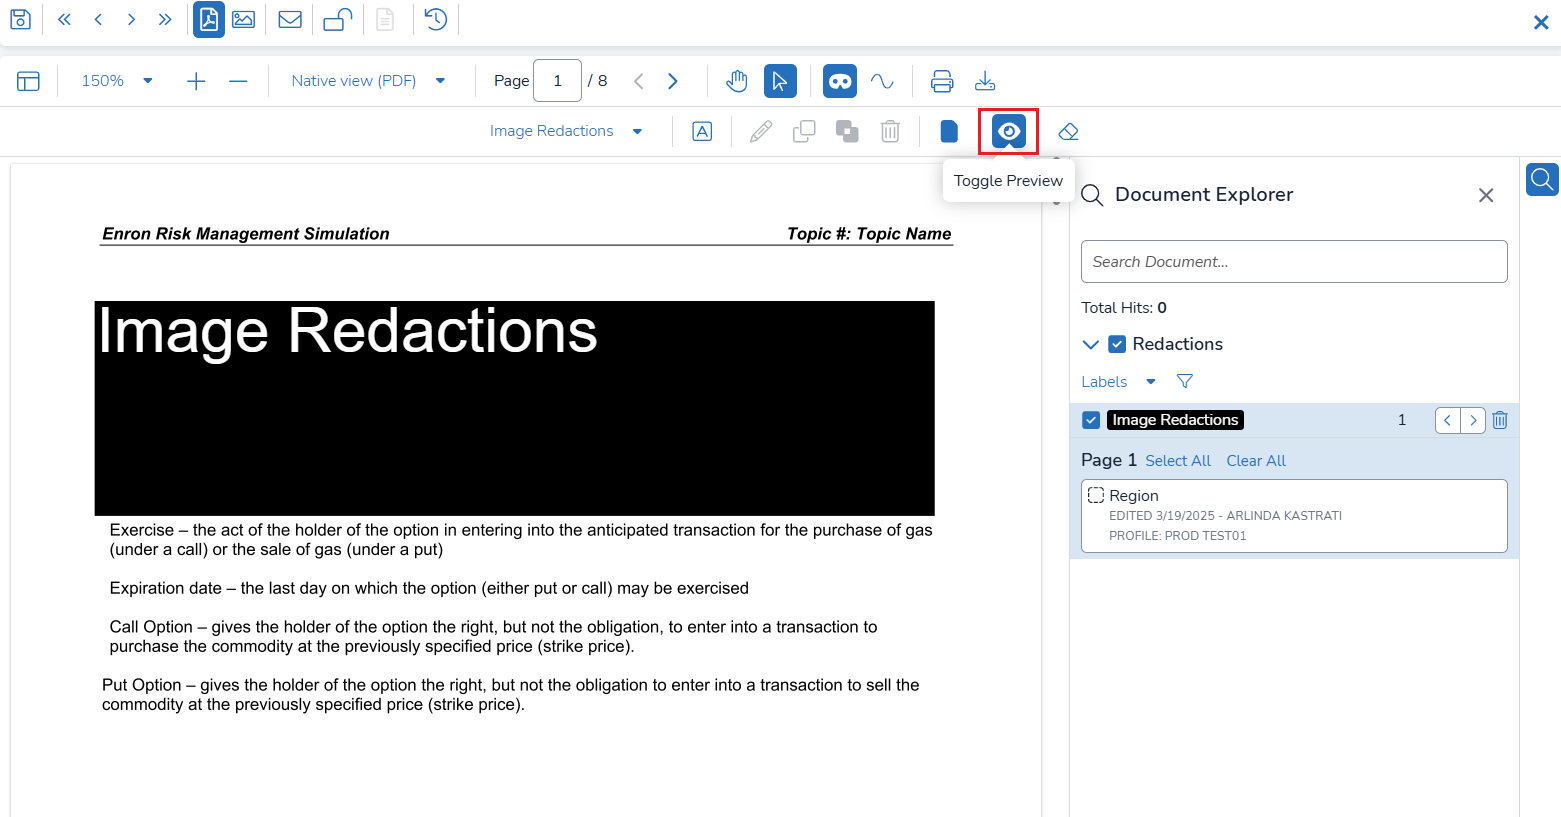
Toggle the Preview button to view the full effect of the redaction.
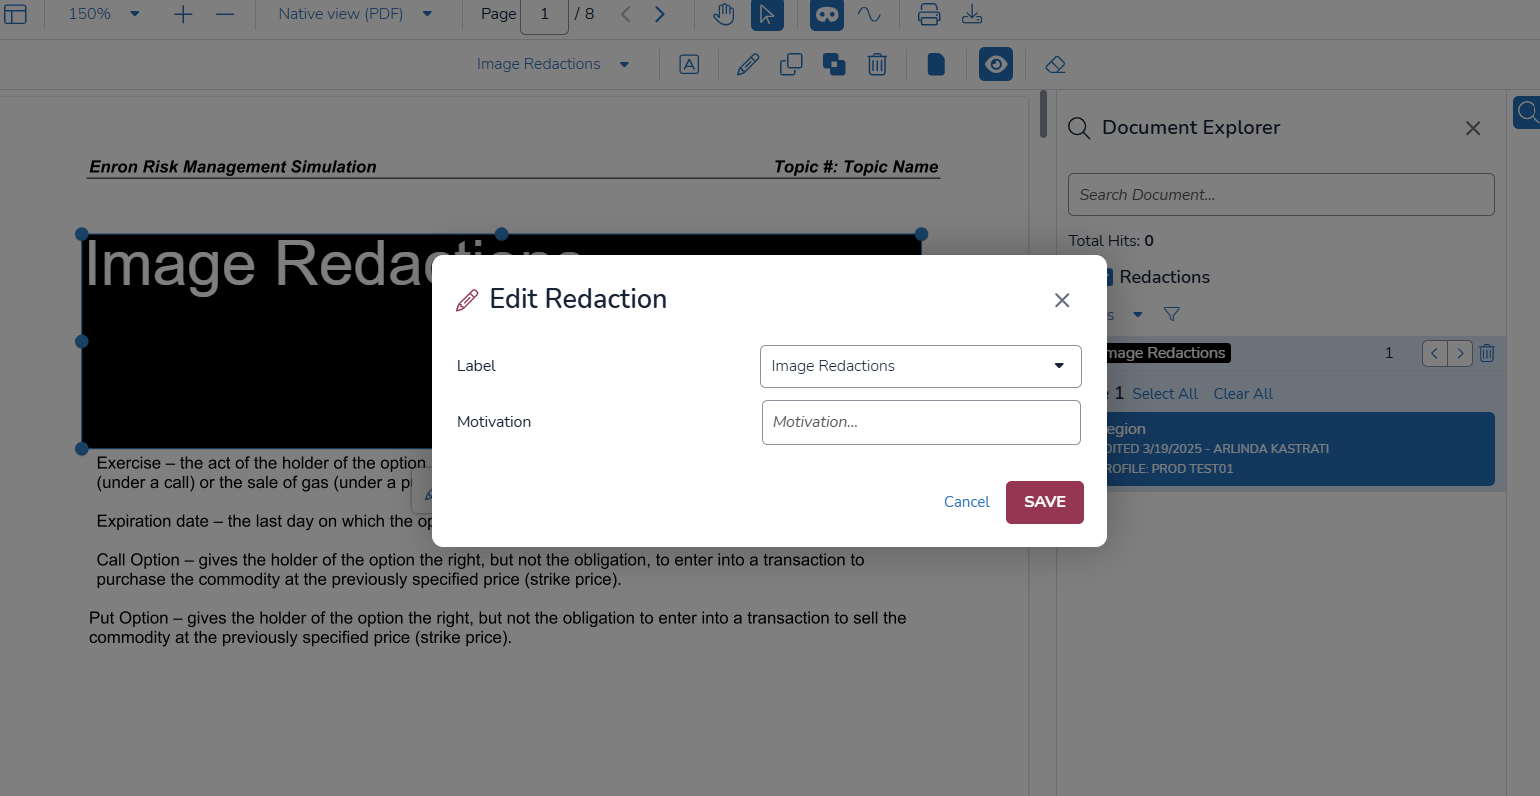
Edit: After applying a redaction, select it to make modifications. You can then adjust the redaction box to switch to a different profile, either from the toolbar or by directly selecting the redaction.
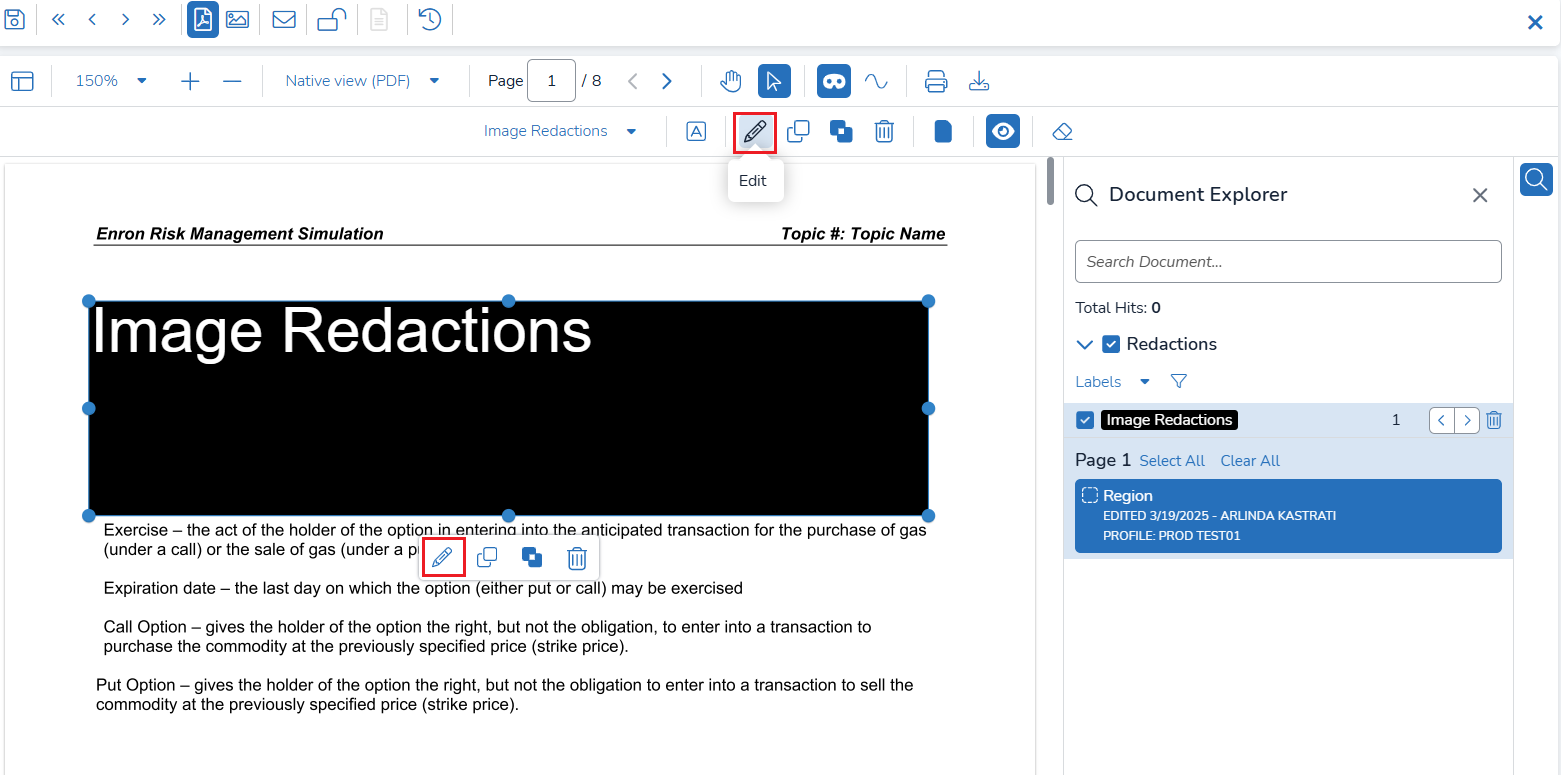
When editing a redaction, users must provide both a Label and a Motivation to specify the purpose of the redaction.
Duplicate: You can duplicate the redaction across all pages of the document or on custom pages, either from the toolbar or by selecting the redaction.
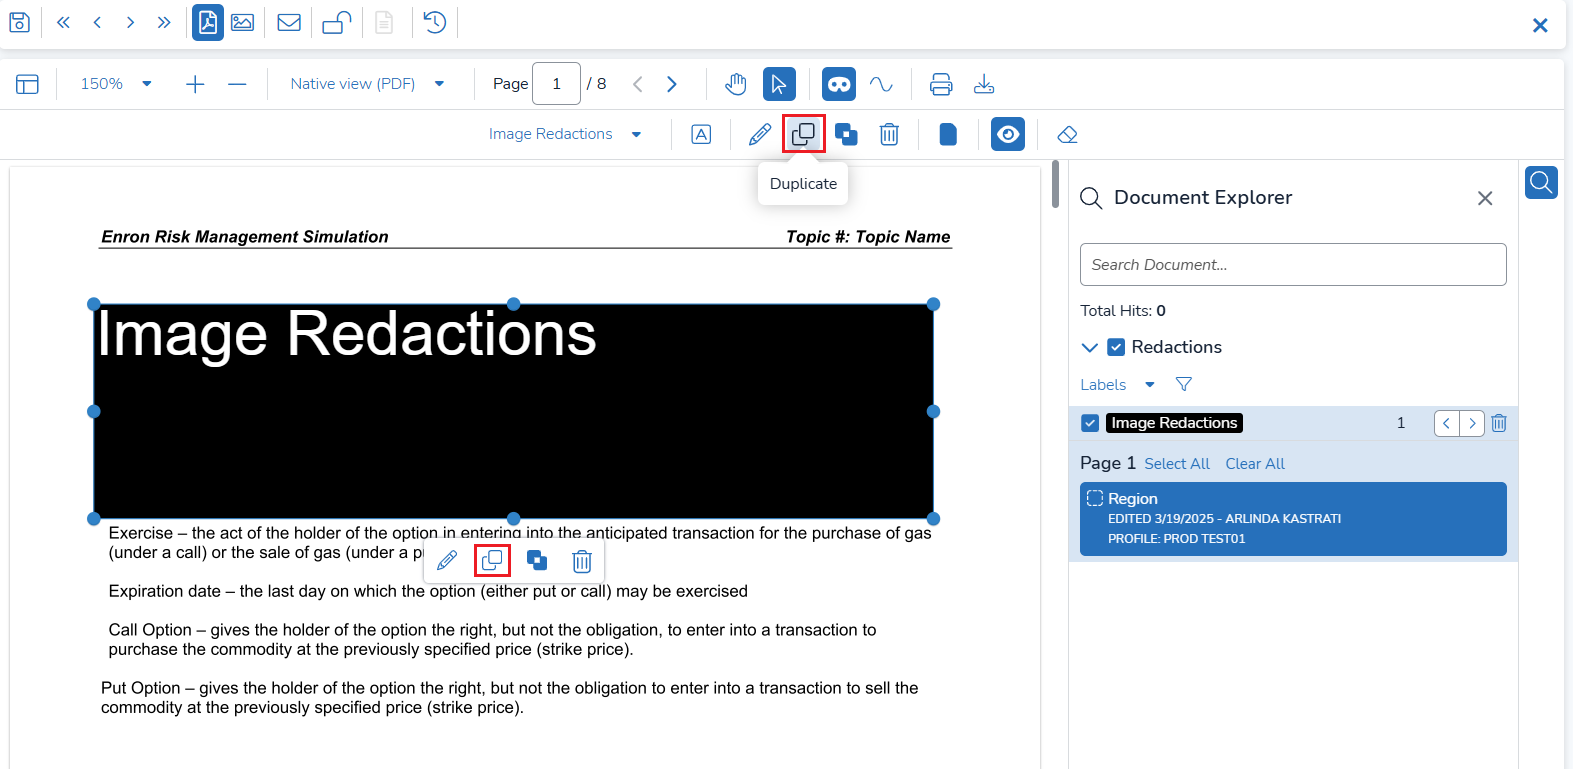
When duplicating a redaction, users must specify a Label, Motivation, and the Pages to include, such as All or Custom.

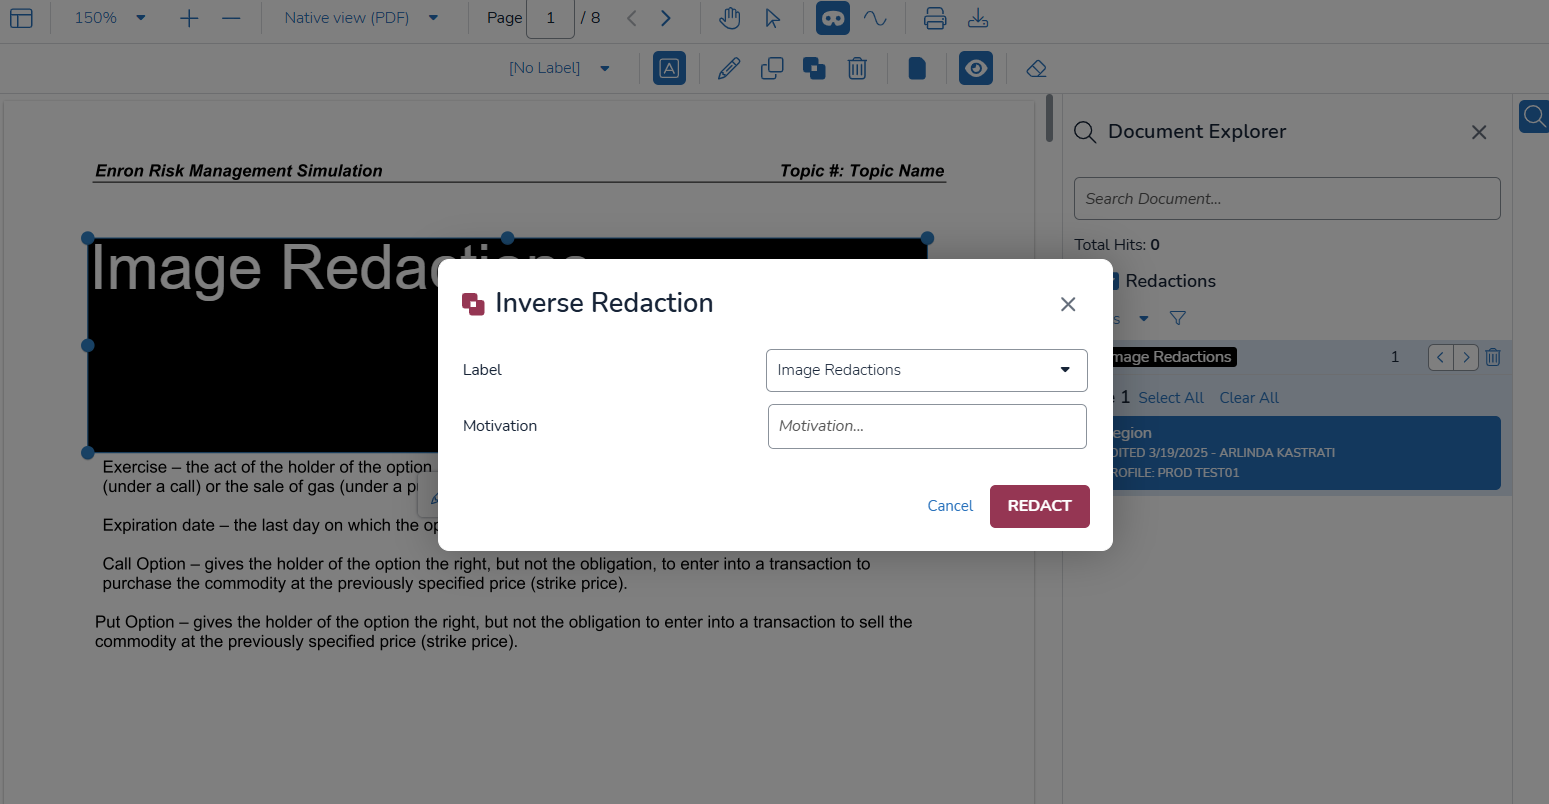
Inverse Redactions: Select the portion you want to keep unredacted, and the rest of the page will be redacted. This option can be found on the toolbar or by selecting the redaction.
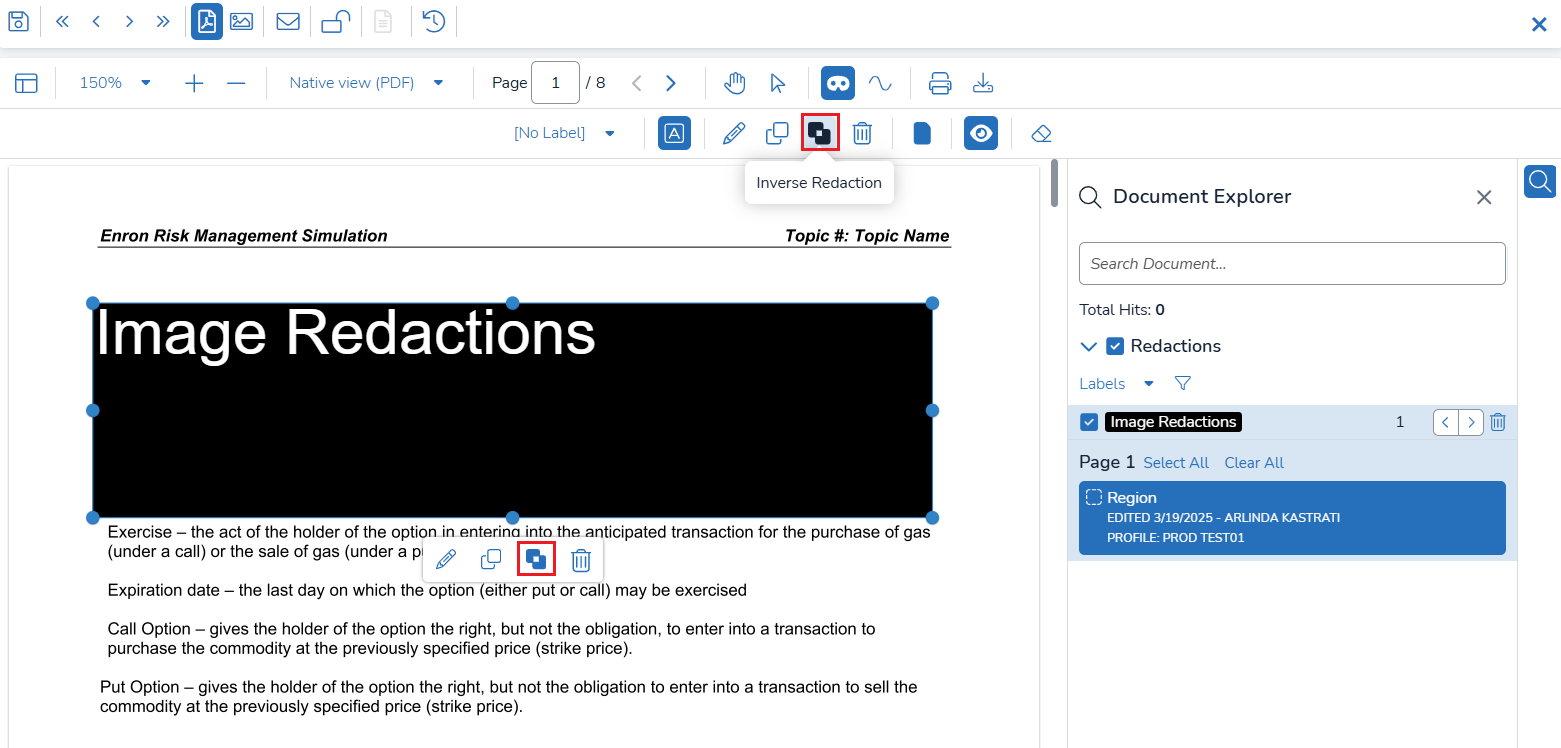
When inverting a redaction, users must provide a Label and Motivation to define the purpose of the inverse redaction.
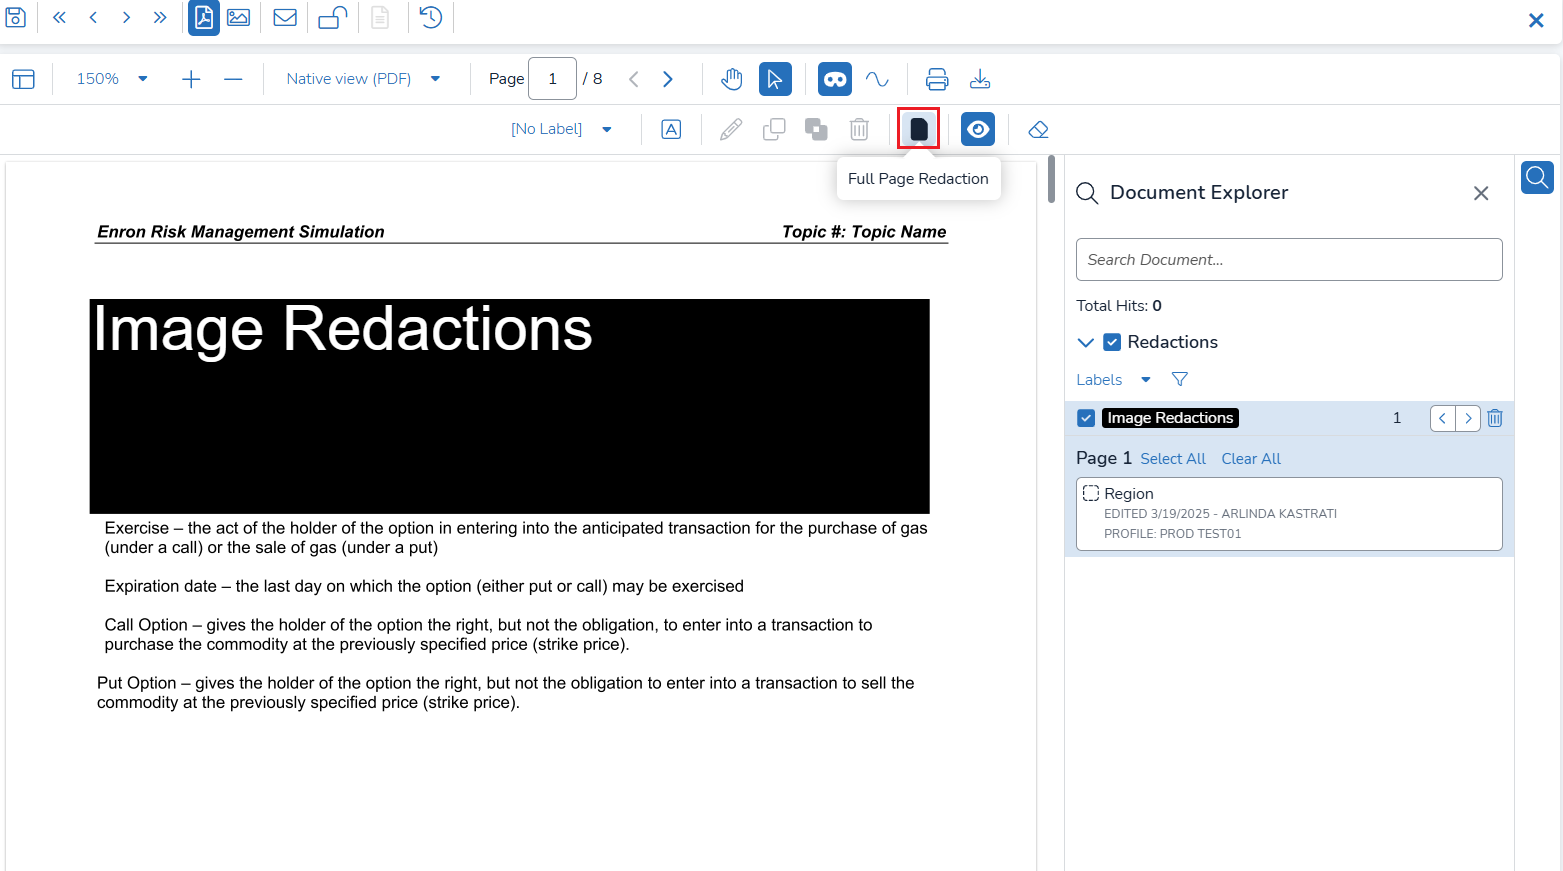
Full Page Redactions: Redact the entire current page or select custom pages for redaction.
Mark for Redaction: Select and mark text for redaction after highlighting the desired block of text.
.png)
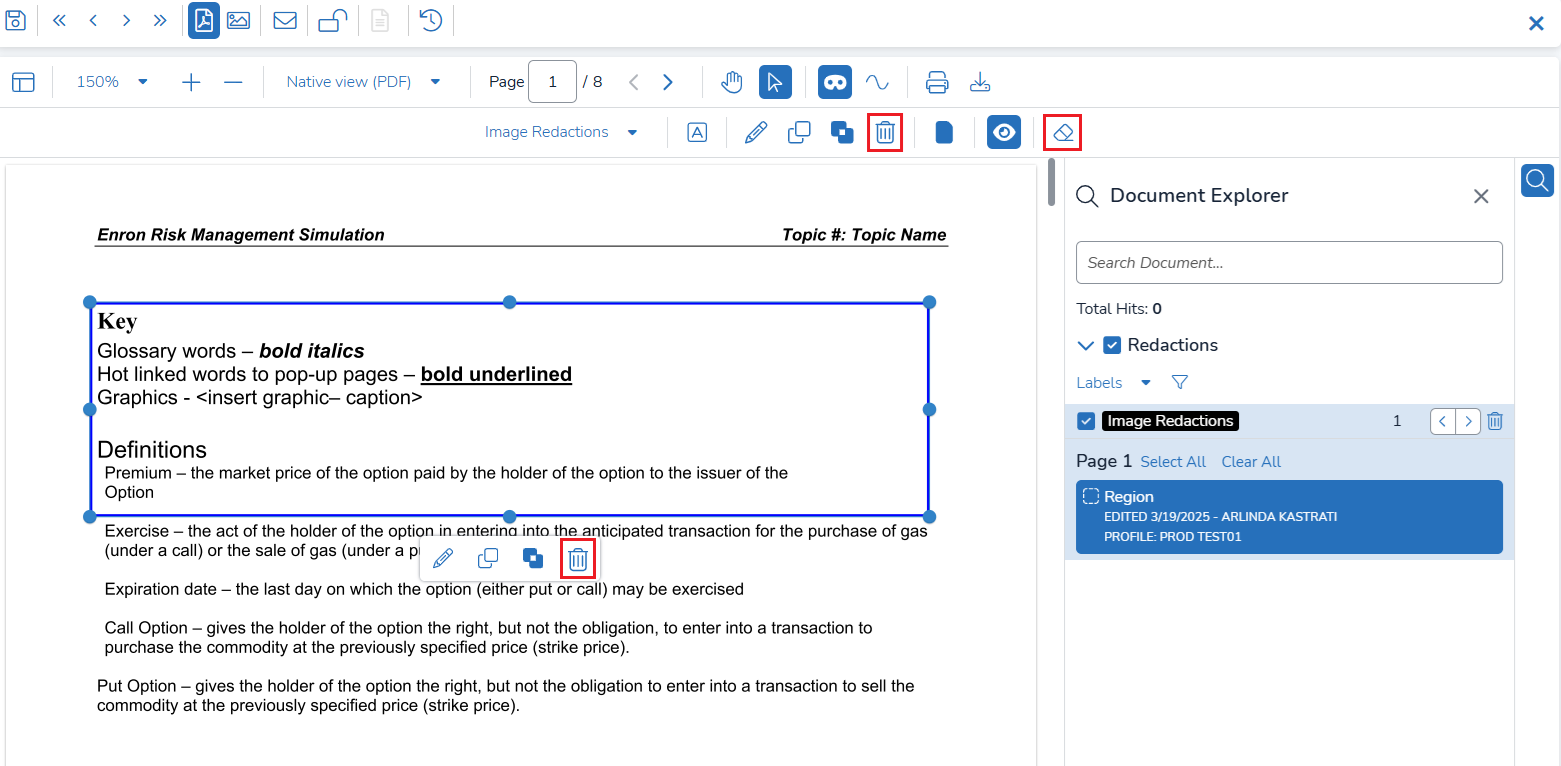
Delete or Erase Redactions: You can delete or erase redactions from the toolbar or by clicking on the redacted section for additional options.
Printing Redactions
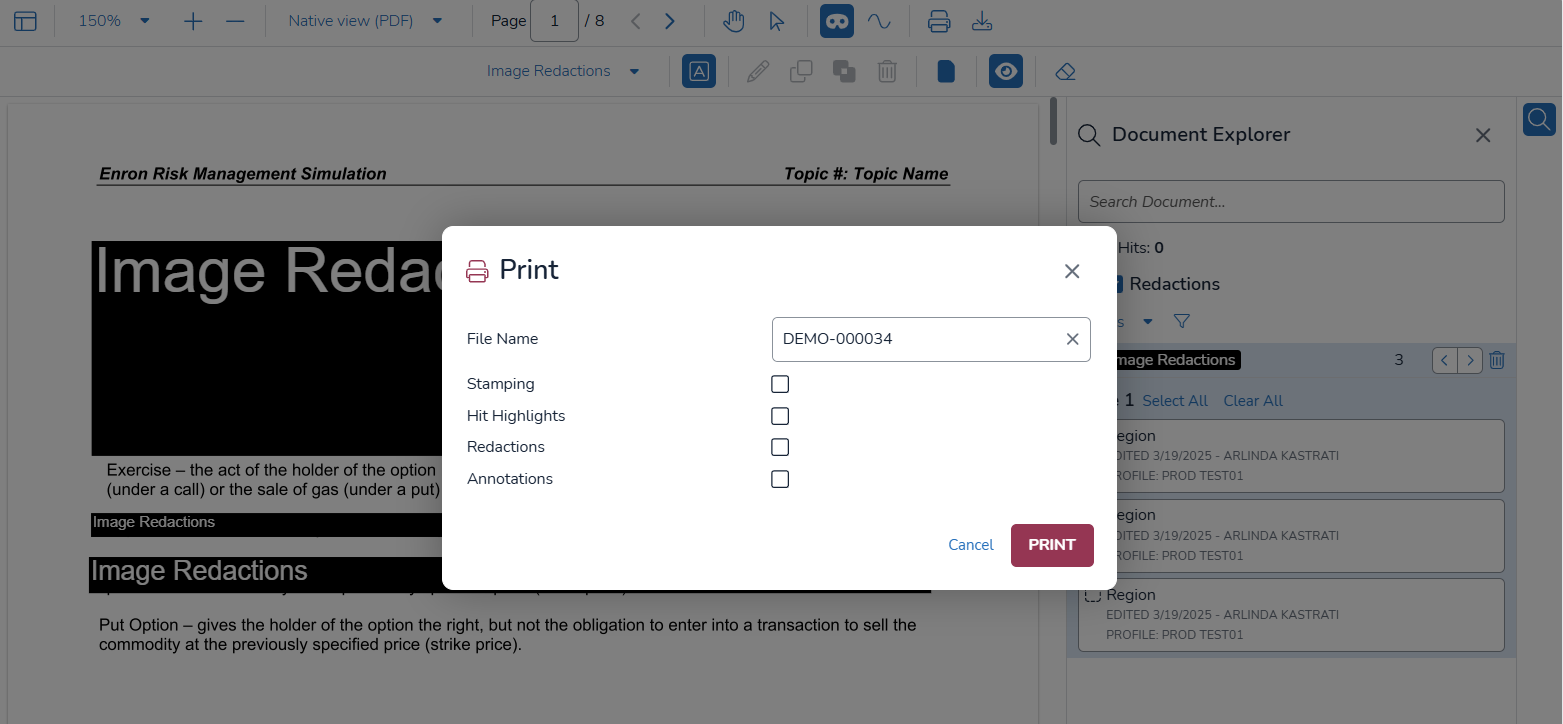
Printing Redactions through the Document Viewer: Redactions can be instantly printed directly from the Document Viewer. Users can select from multiple available options.

When printing a redaction, users must provide a Filename and select their preferences using checkboxes for Stamping, Hit Highlights, Redactions, and Annotations.
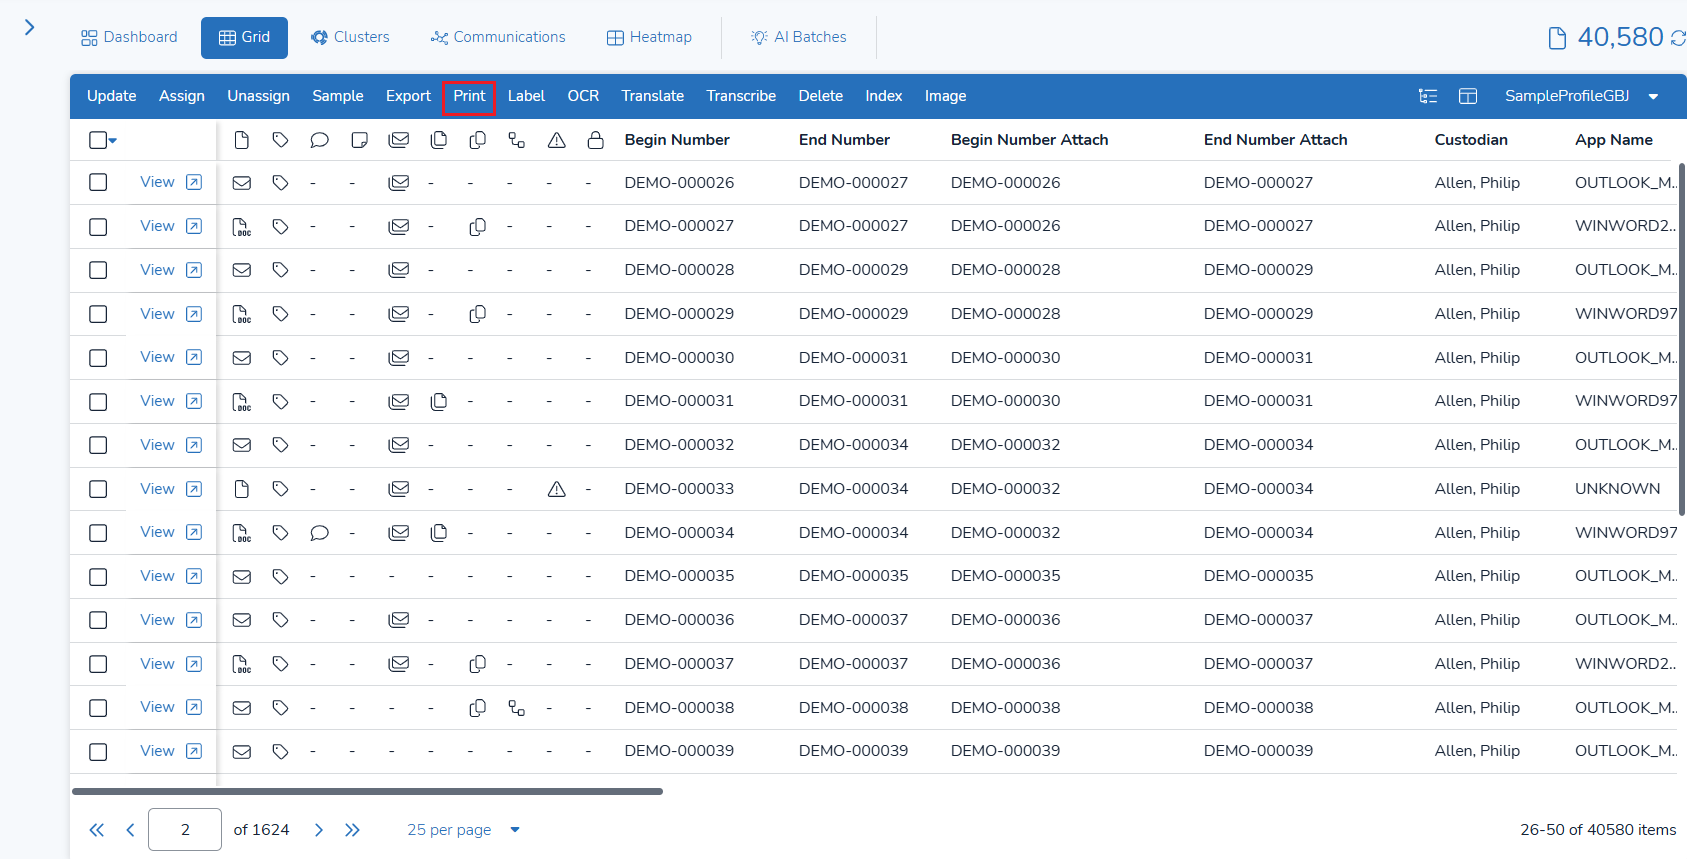
Printing Redactions through the Grid (Bulk Print): Bulk printing option will allow users to print redactions in batches, with PDF (Native View) as the source.
This can be configured through the Settings tab.

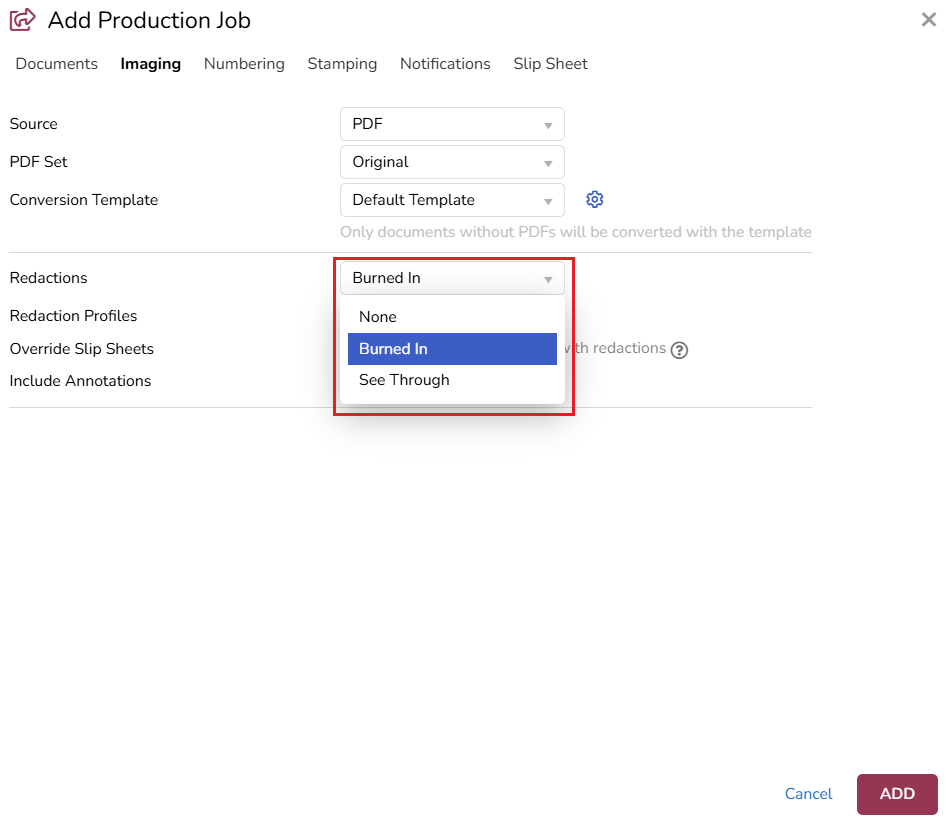
Printing Redactions through Productions: Redactions can also be applied through a production job. When selecting PDF as the source, a dedicated Redactions section will appear.
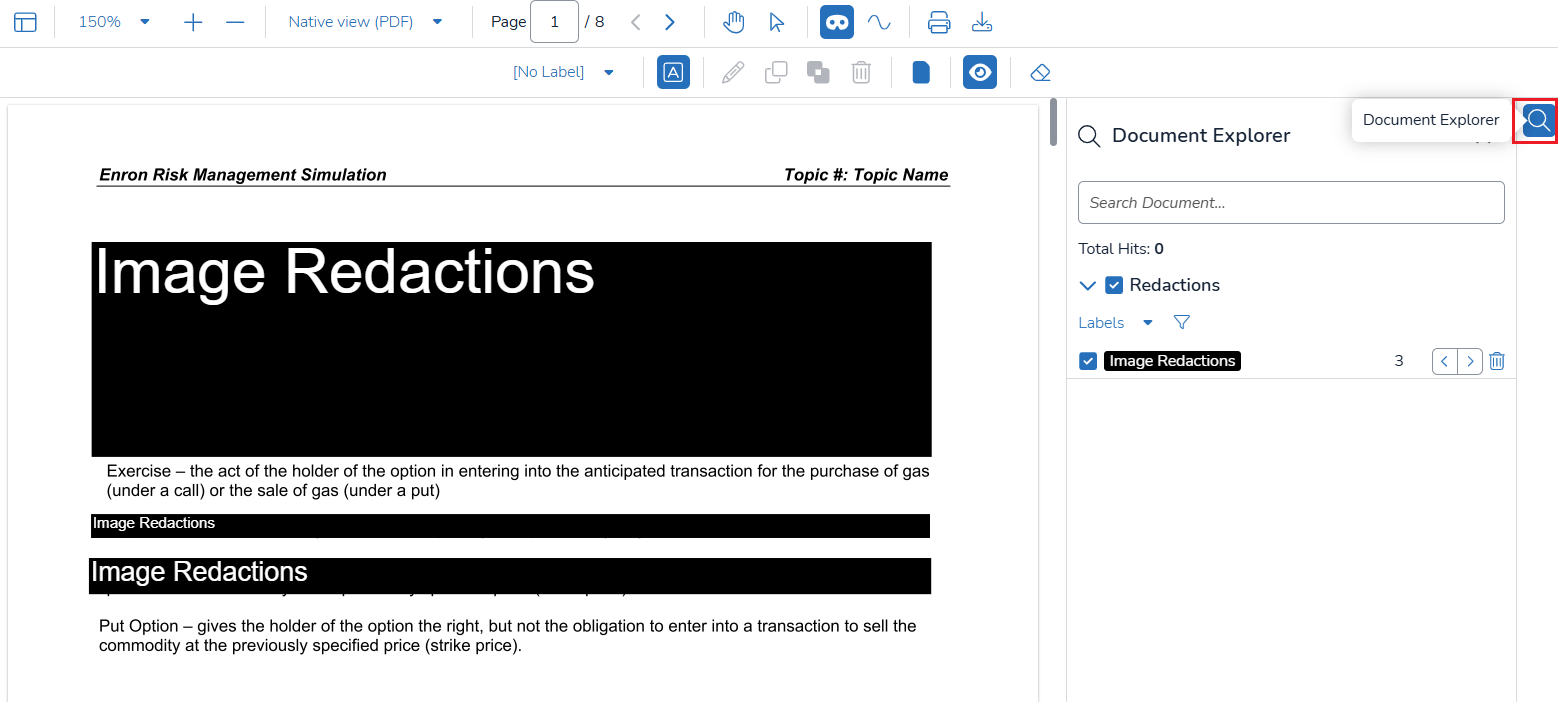
Document Explorer Controls
Through the Document Explorer, users can efficiently manage documents using Document Explorer Controls, apply Filtering to refine document selection for bulk printing or redaction, and utilize Navigating to browse and select specific files for redaction printing.