Produced documents are exported with associated load files using the Production Export function.
Note
See Blackout Redactions – Production Settings for instructions on how to produce spreadsheets redacted through Blackout.
Log in to Reveal as an Administrator or Client Administrator.
Open your project from the Project Hub.
Navigate to Project Admin > Production.
Create, preprocess, and run a Production Job.
Choose Production Export from the grey side menu.
Click the +Add button.
Set Up Your Production Export Job
I. Productions Tab
.png)
Job Name: Name your Production Export Job.
Selecting a Production Job from the grid will auto-populate this field with the Production Job name, but this name can still be changed.
Export Type: Choose either Public or Private (only visible to you).
In the grid, Select a Production Job to export. The Production Job must have a complete status (green checkmark) in the Production Jobs tab to appear in this list.
II. Files Tab
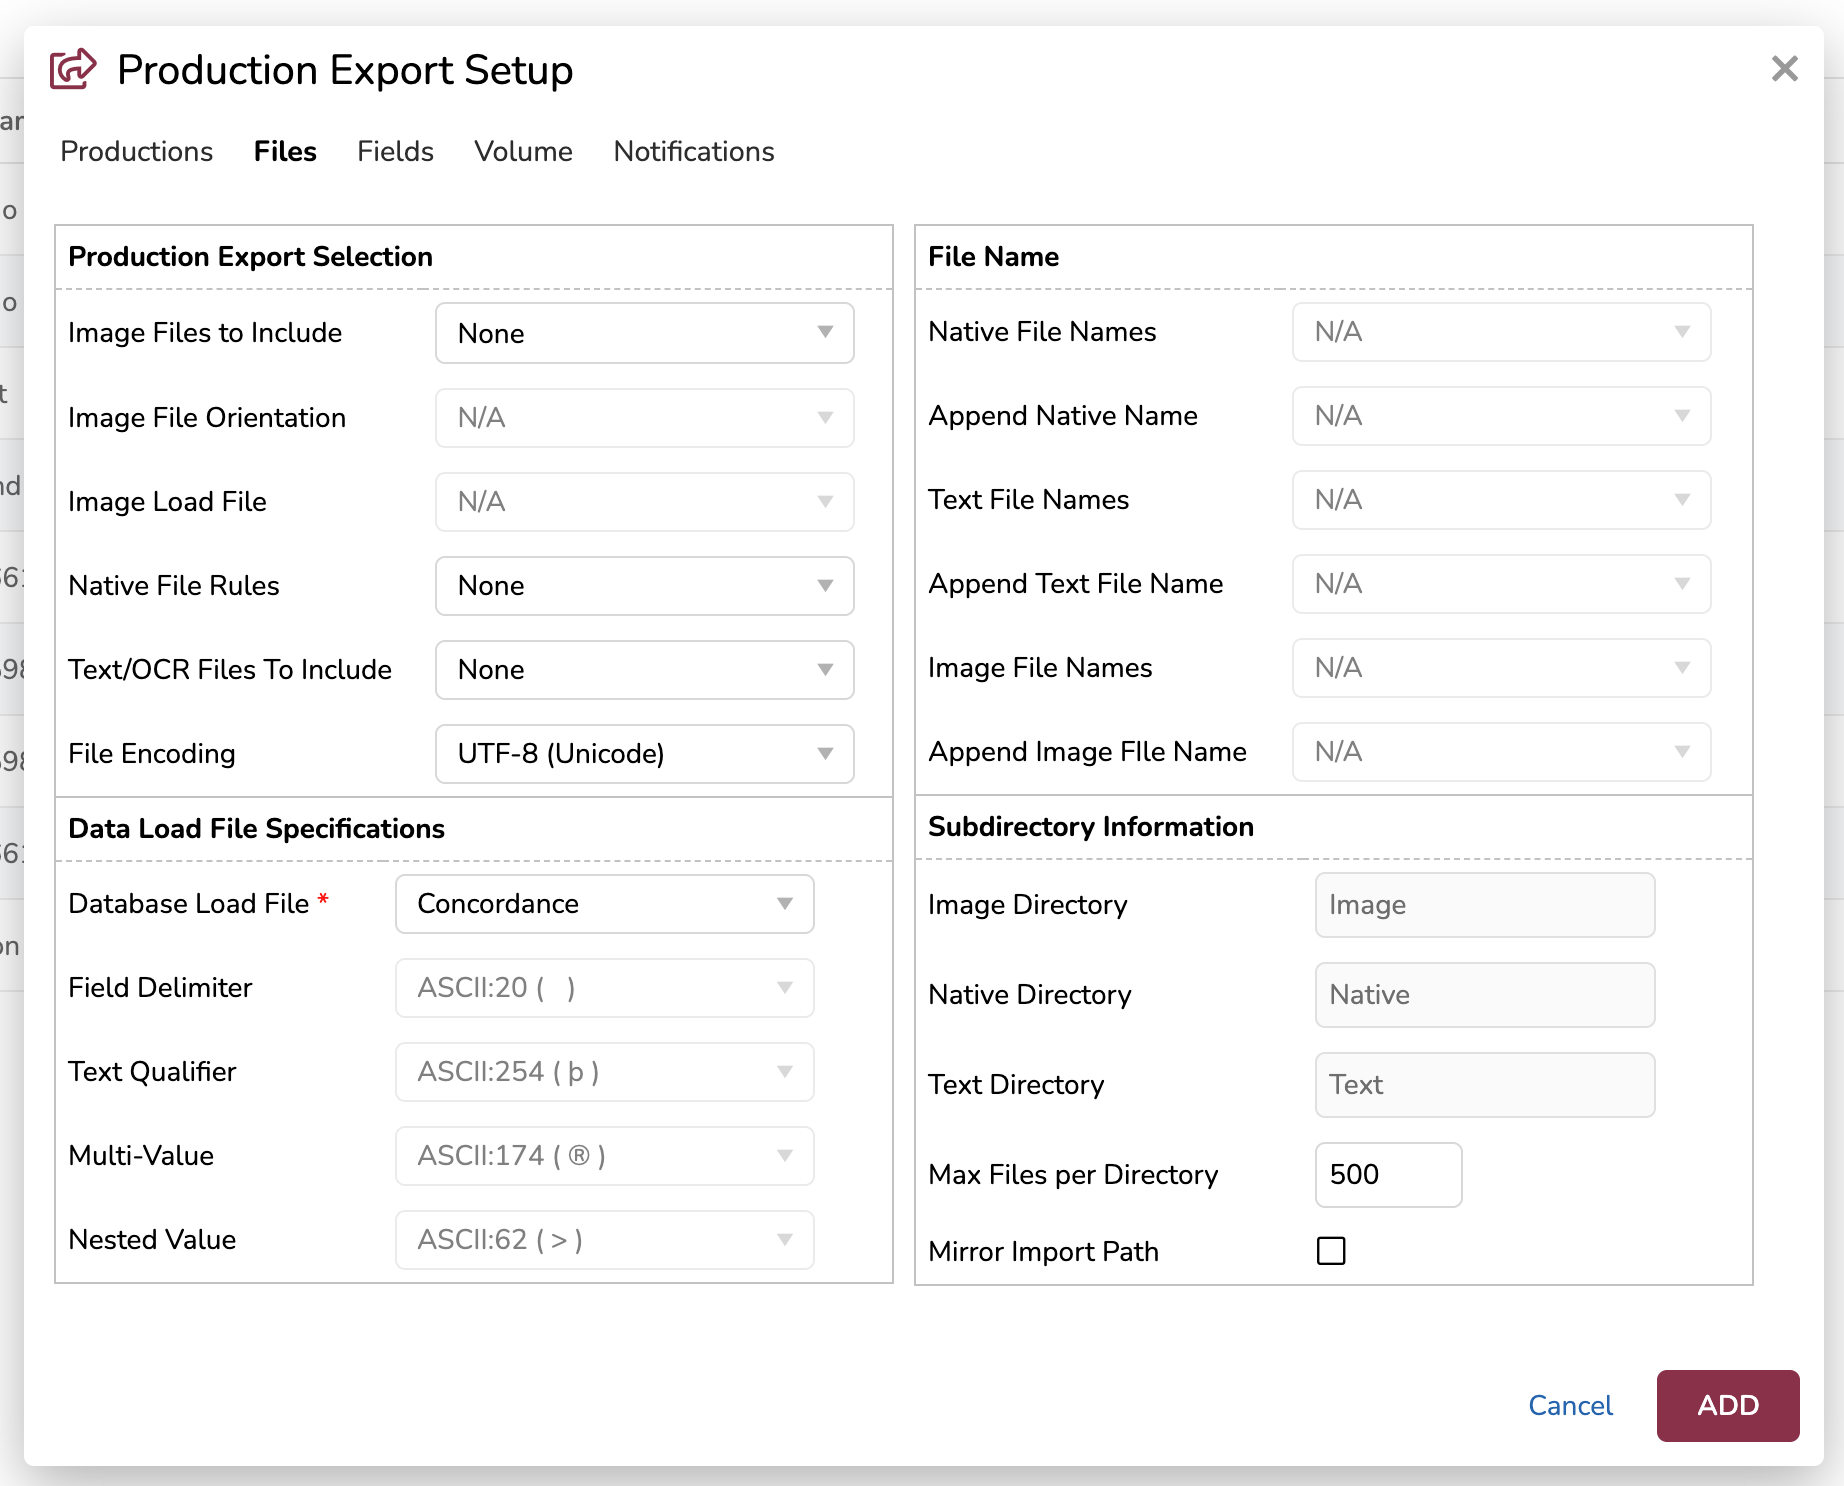
Production Export Selection
Choose which files to include in your production.
Image Files to Include: Choose a format for exported image files in your production job.
None: Only export native files, e.g. Word document (.docx) files.
Single Page: Export your image files as TIFFs, PNGs, and/or JPEGs.
Click the ellipses [ … ] to edit color settings. These settings are only available for jobs that were sourced from “PDF” in the Add Production Jobs modal. For “Existing” (image) sources, color settings are selected during the Create a production Job workflow.
For explanations about image file types, color modes, and compression types, see Color Detection and Luminance.
Multi-Page PDF - Non-Searchable: Export your images in a multi-page PDFs that don’t contain searchable text (i.e. will not be OCRed by Reveal).
This option is only available for jobs that were sourced from “Existing” (images) in the Add Production Jobs modal, and not possible for “PDF” sources.
Multi-Page PDF - Searchable: Export your images in a multi-page PDF, and images will be OCRed to include searchable text.
Image File Orientation: If you selected Multi-Page PDF for image files, choose the orientation of pages in your export.
Auto detect – Chooses between horizontal or vertical depending on the source files.
Portrait – Vertical.
Landscape – Horizontal.
Image Load File: Choose a reference file type for your image files.
None – Only produce the images themselves (TIFFs, JPEGs, PNGs).
Concordance Image (OPT) – Generate OPT files to accompany your image files. OPT is default for Single Page exports.
This option is not available for Multi-Page PDF exports.
IPRO (LFP) – Generate LFP files to accompany with your image files.
Native Files Rules: Choose which native files, if any, to include in your export.
None – No native files will be included.
All – All native files will be included.
Custom – Edit which native files will be included based on the category of the native file.
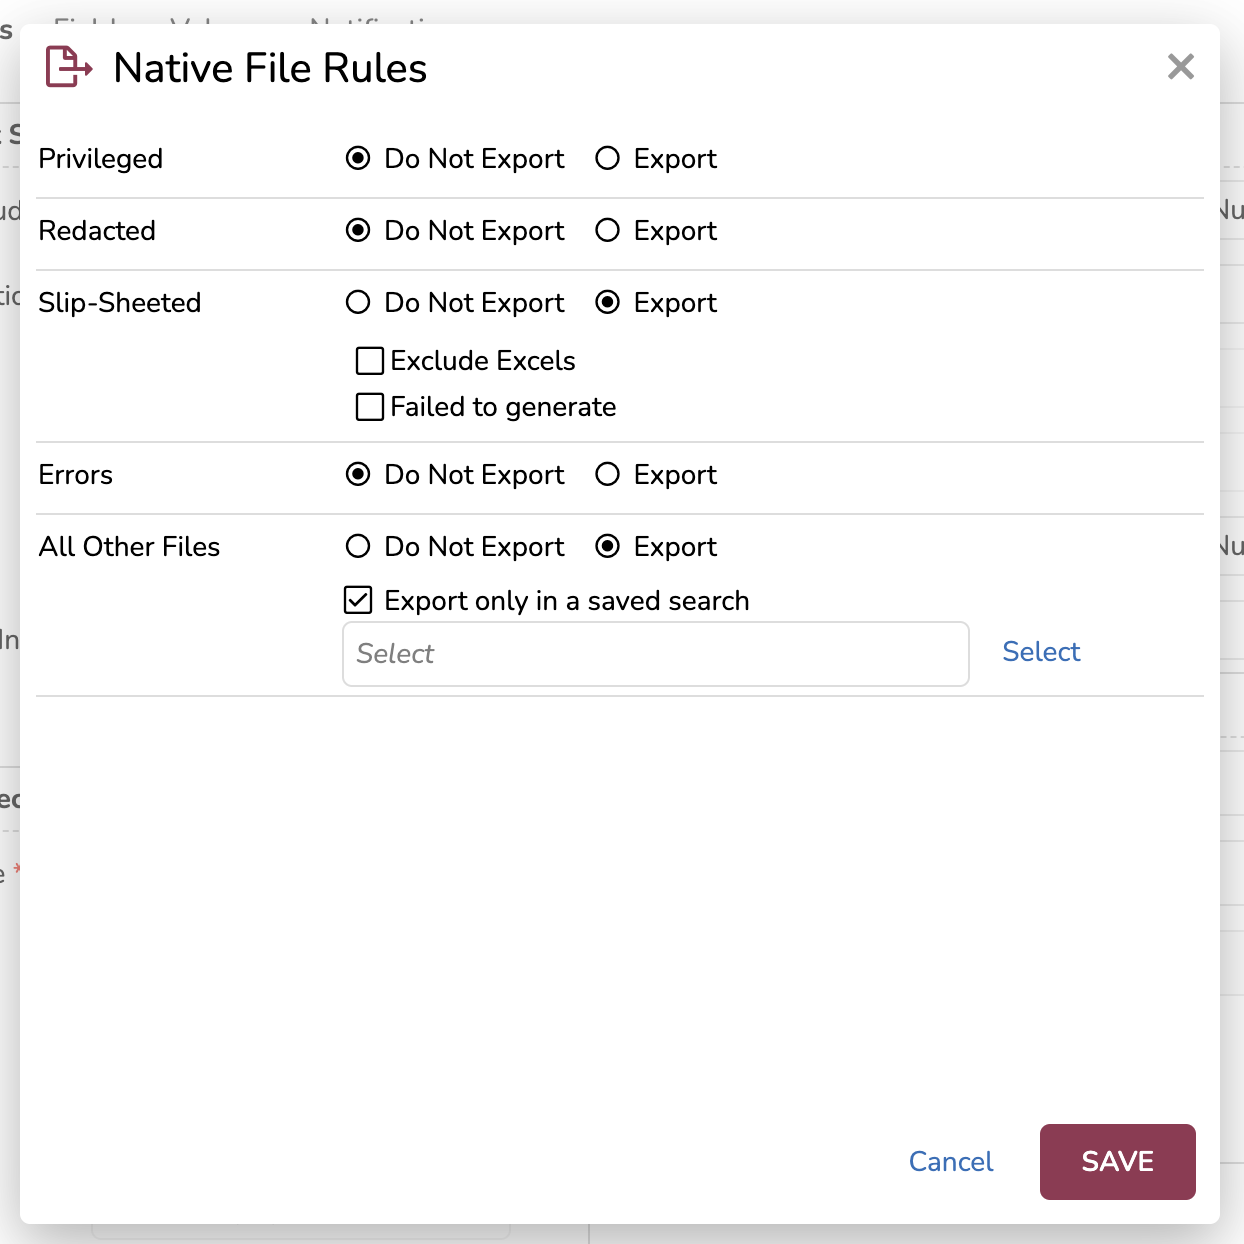
Select the ellipses [ … ] next to the dropdown (appears when choosing custom native file rules), to open the Native File Rules modal and control how certain document categories affect export. Categories are sorted top-down by most to least sensitive document information.
For each field, choose which categories Export the document, and which categories Do Not Export the document.
Privileged – Files that are privileged.
Redacted – Files with redactions.
Slip-Sheeted – Choose “Export” if you wish to selectively export native files that fall under one or more of your slip sheet template rules.
Note
Slip sheet rules will not automatically be selected when using a previously run Production Export job. Reveal does not assume that the exclusion rules present in one production job will also be present in another production job. Exclusion Rules categories are loaded dynamically each time the Production Export modal is displayed, and Reveal makes a call to retrieve the production job that is selected to populate the exclusion rules categories at that time.
Errors – Files where images could not be created.
All Other Files – Select to optionally specify inclusion of documents found in a selected Saved Search.
Important
In the Native File Rules modal, a Do Not Export category will always supersede any and all Export categories for any document. That is, if a document meets multiple categories, and at least one of those categories is marked Do Not Export, then the document will not export.
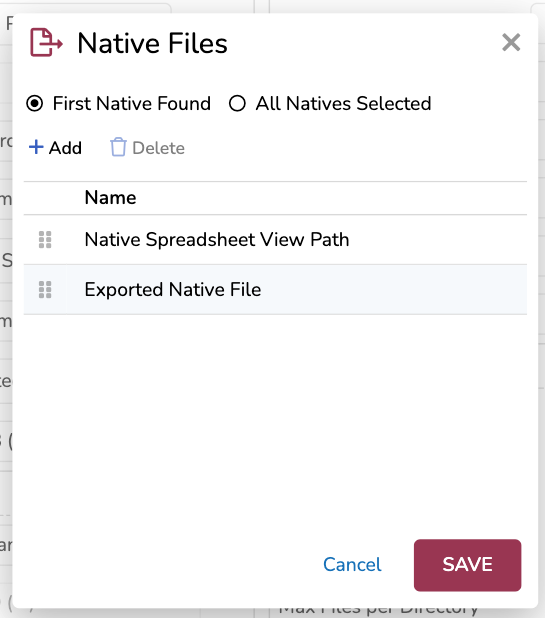
Native Files: Specify which native text sets export native files. This is particularly useful in Australian review, where redaction of generated PDF copy may be required.
Choose how many native files to export per document. Document natives can be added to this list with the +Add button, reorganized using the sliders [⋮⋮], or deleted using the Delete button.
First Native Found – Generate one native file per document, based on the first available document native in the list.
All Natives Selected – Generate multiple native files per document, as long as the document contains that native file from the list.
Text/OCR Files to Include: Choose to either always Export, or Never Export text/OCR files for the following categories:
Errors – Files where images could not be created.
Excluded – Text/OCR files that would otherwise be excluded by slip sheet template rules.
Redacted – Files with redactions.
Privileged – Files that are privileged.
Remaining – Select to optionally specify inclusion of documents found in a selected Saved Search.
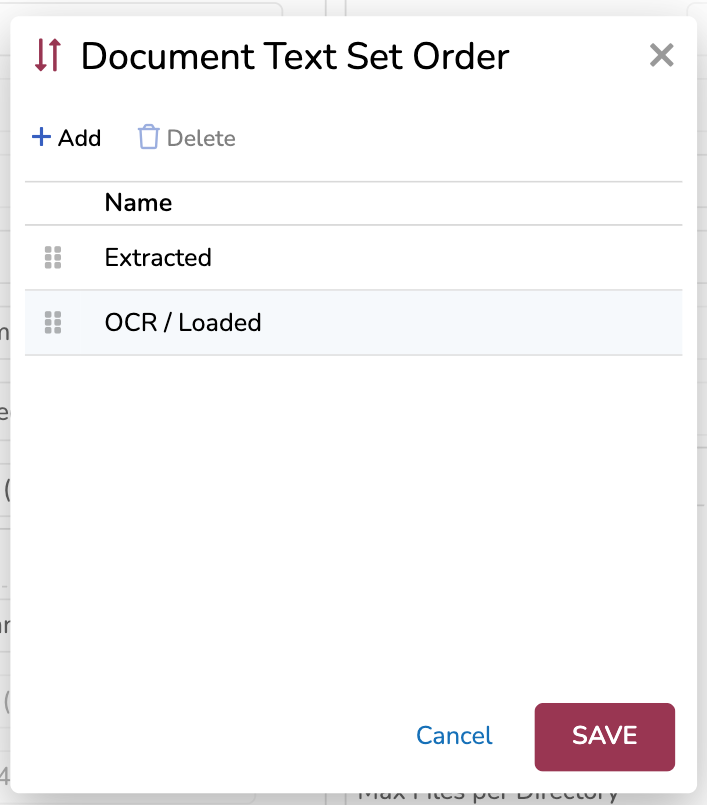
Document Text Set Order: Specify the order for which text set will export from your document based on the first available text set from the list. This field becomes visible if multiple text sets have been selected in the Production Export Selection section.
Text sets can be added to this list with the +Add button, reorganized using the sliders [⋮⋮], or deleted using the Delete button.
File Encoding: Choose how you want to encode your files, either UTF-8 (Unicode) and Western European (Windows). UTF-8 supports a broader range of character sets.
Database Load File Specifications
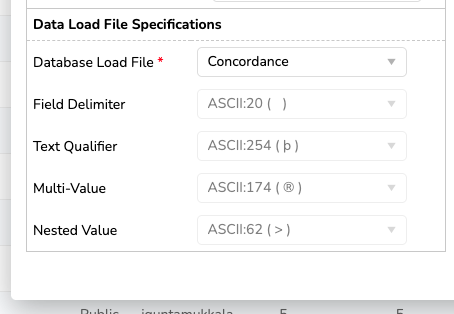
Data Load File: Choose load file format settings from a variety of presets.
Concordance – Used in DAT files.
Comma Separated – Used in CSV files.
Tab Delimited – Used in TXT files.
Concordance (AUS) – Used in DAT files to meet Australian eDiscovery requirements.
Custom – Choose your own ASCII values to use as delimiters.
Field Delimiter – Separates fields.
Text Qualifier – Separates individual field values.
Multi-Value – Used when a single field contains multiple values.
Nested Value – Used when a single field has parent-child value relationships.
File Name
.png)
If your production doesn’t contain native files, skip steps 10 and 11.
Native File Names: Choose a metadata source for your native file names.
Use Production Numbers – Use the production numbers generated in the Numbering tab when the production job was created.
Use Original Beg Doc Numbers – Sources from the document’s BEGDOC field, or the Bates number.
Use Begin Bates Numbers – Sources from the document’s BEGBATES field, or the beginning Bates number.
BEGBATES values are only populated if you run a database update job, or if you use a load file to populate the fields manually.
Use File Name – Sources from the document’s NAME field, or the original file name.
Append Native Name: Choose a field value (from the dropdown) to add as a suffix to the native file name.
If your production doesn’t contain text files, skip steps 12 and 13.
Text File Names: Choose a metadata source for your text file names.
Use Production Numbers
Use Original Beg Doc Numbers
Use Begin Bates Numbers
Use File Name
Append Text File Name: Choose a field value (from the dropdown) to add as a suffix to the native file name.
If your production doesn’t contain image files, skip steps 14 and 15.
Text File Names: Choose a metadata source for your text file names.
Use Production Numbers
Use Original Beg Doc Numbers
Use Begin Bates Numbers
Use File Name
Append Text File Name: Choose a field value (from the dropdown) to add as a suffix to the native file name.
Subdirectory Information
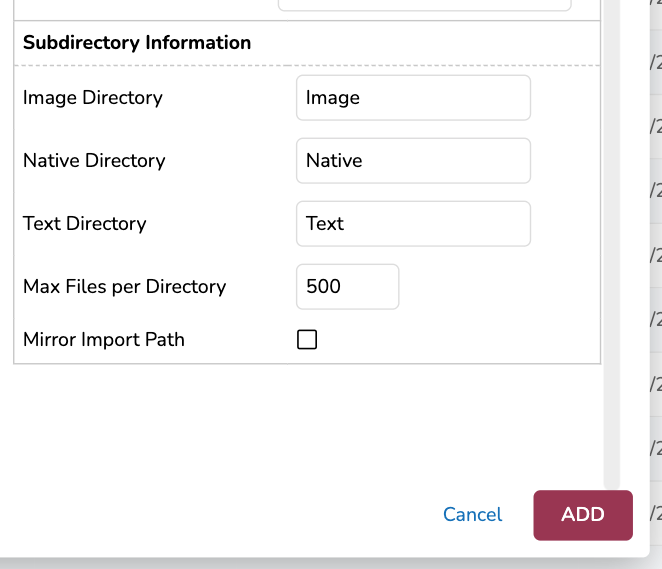
Choose a name for each of the Native, Image and Text directories in the production export, along with the maximum number of files per folder.
Image Directory: Type a name for your image file directory in the export.
Native Directory: Type a name for your native file directory in the export.
Text Directory: Type a name for your text file directory in the export.
Max Files per Directory: Type a maximum number of files per folder, up to 1,000,000.
Mirror Import Path: If checked, use the folder structure from your load file, or the import path generated when processing files in Discovery Manager.
III. Fields Tab
Select which metadata fields to include in your export load file, and choose their order.
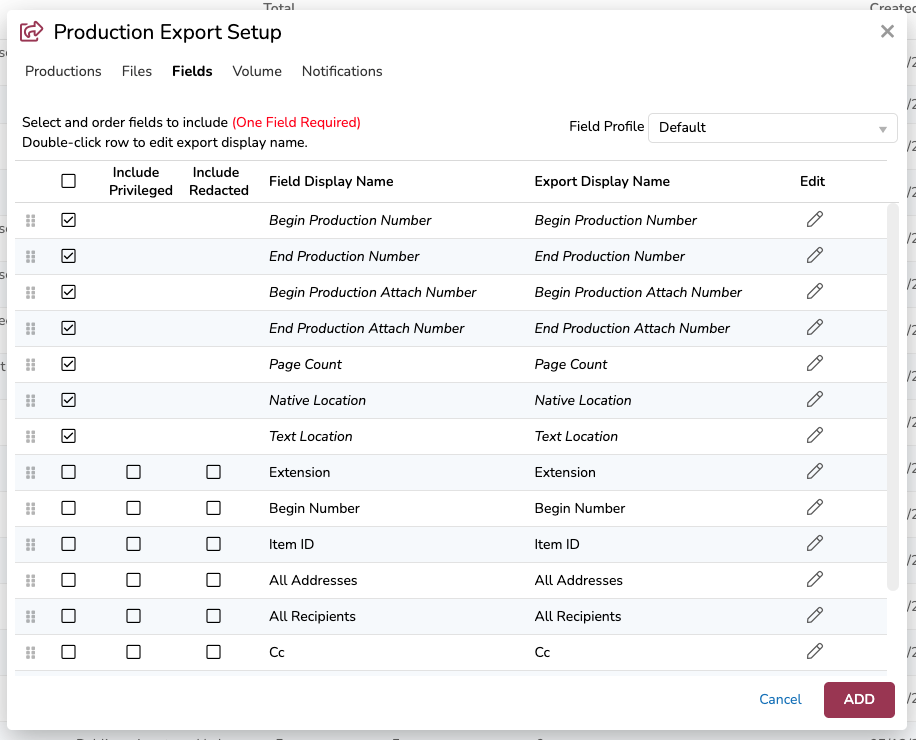
Select a Field Profile from the dropdown in the upper right, just above the table.
Select and order fields using the table.
Include a field in your export by checking the first box in each row.
Include privileged document metadata by checking the second box in each row.
Include redacted document metadata by checking the third box in each row.
Edit the Export Display Name by double tapping a row, or clicking the pencil icon.
Use the sliders [ ⋮⋮ ] to rearrange fields in the table.
IV. Volume Tab
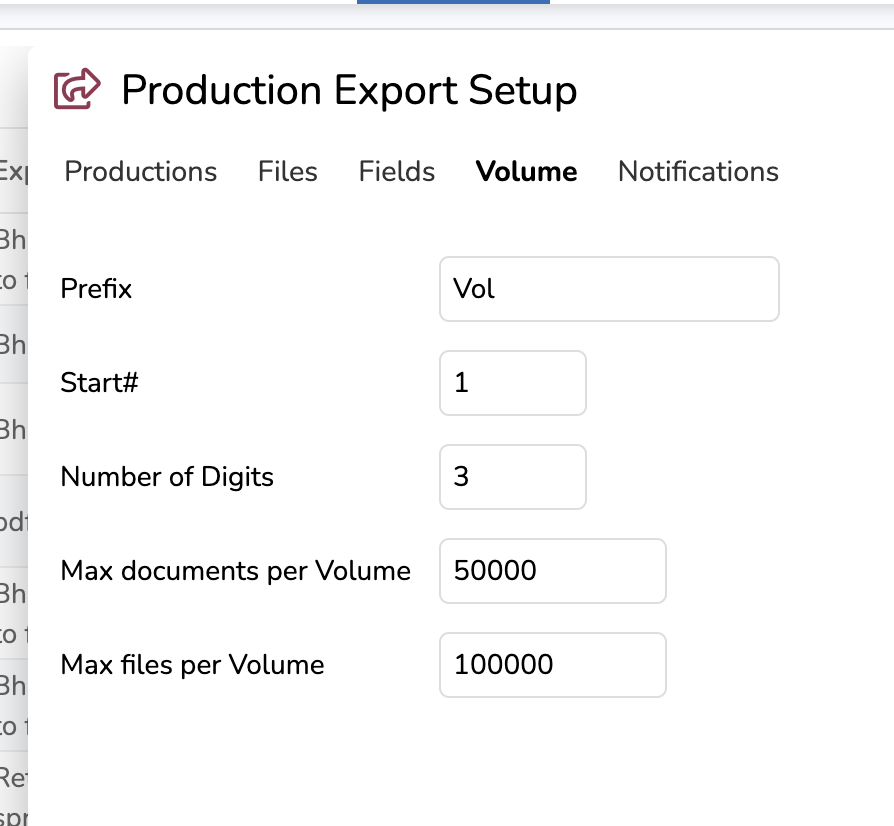
Prefix: Type a prefix to start each volume name.
Start#: Choose a starting number for your volume names.
Number of Digits: Choose a value for your numerical padding — numbers less than this digit quantity will pad with zeroes, e.g. “Vol001”.
Max documents per Volume: Choose a maximum document count per volume, up to 10,000,000.
Max files per Volume: Choose a maximum file count per volume, up to 10,000,000.
V. Notifications Tab
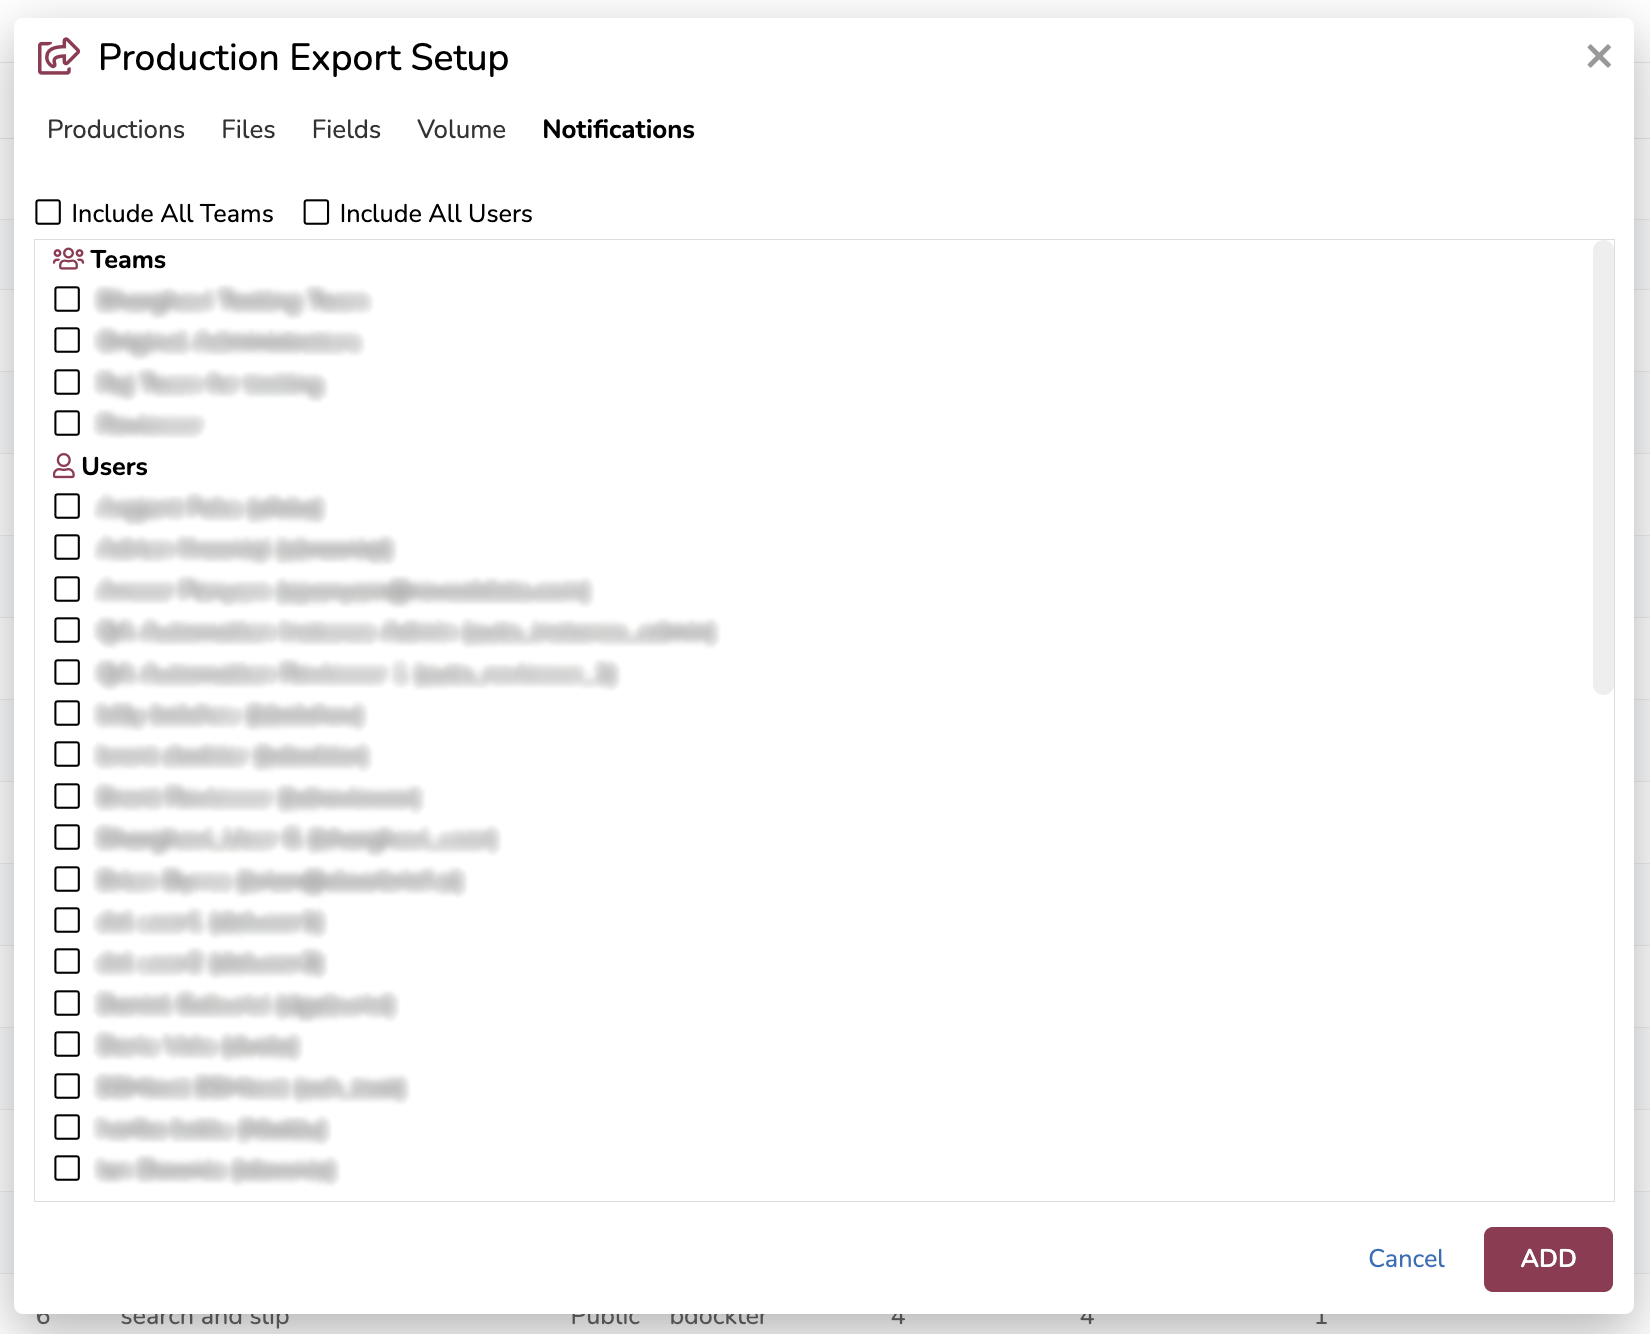
Select Users or Teams to notify when the Production Export Job completes.
Check Include All Teams to auto-check all teams.
Check Include All Users to auto-check all users.
Click Add to create your Production Export Job.