This section will walk through how to create a project, complete actions, and get started in the legal hold workflow of the application.
A new project can be created by the Legal User, Legal Admin, or Superuser from the Projects page. When a project is created by the Legal User, a Legal Admin is assigned by default.
In the Project Screen, click on +Project above the projects table. This opens a modal with the following fields. An asterisk (*) indicates that the field is required.
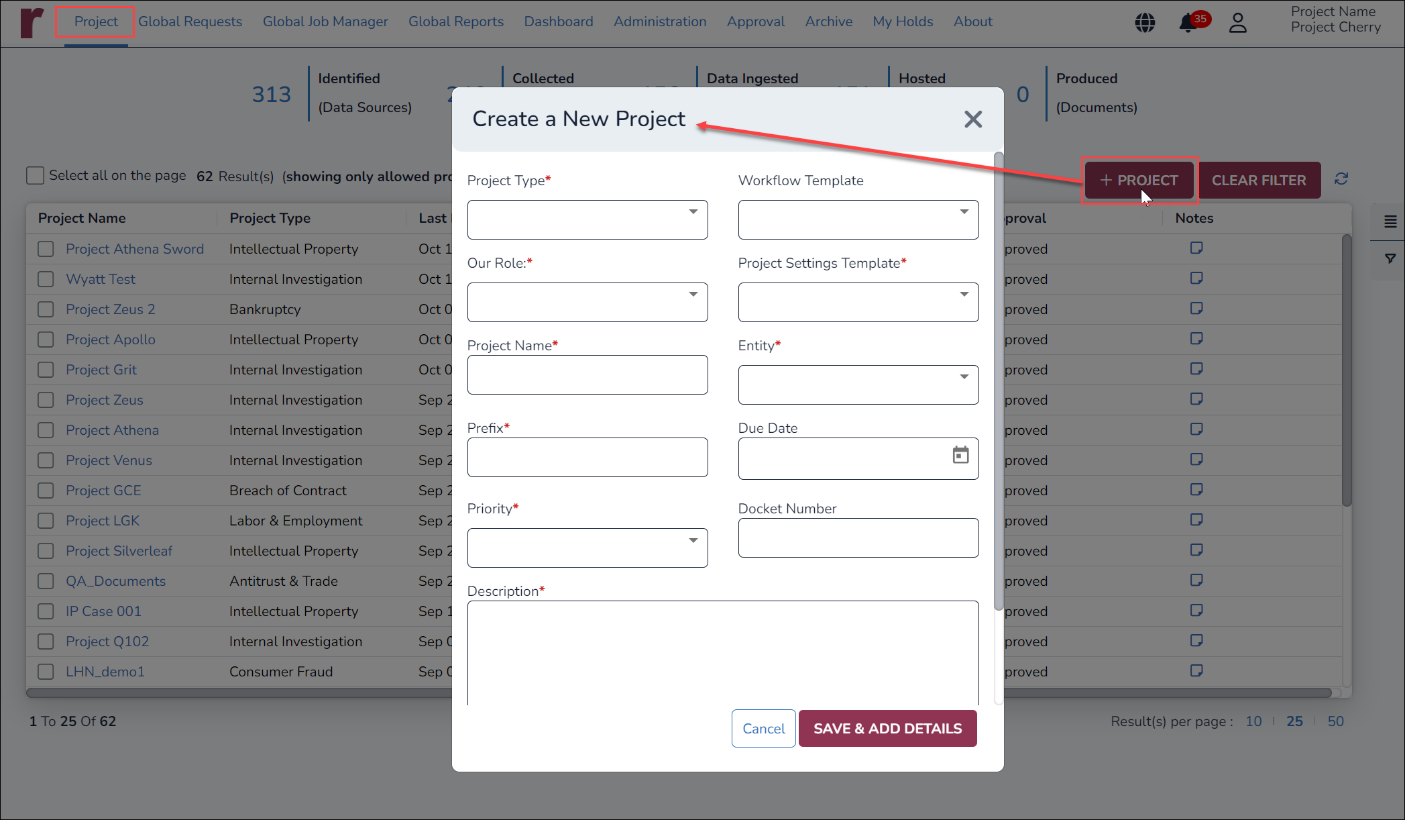
Project Type: A drop-down list that displays the names of defined project types (also referred to as Matter) such as Bankruptcy, Class Action, Construction Defect, Intellectual Property, Labor & Employment, and Consumer Fraud. The Project Types can be configured from the backend in the Project-only configuration. The Matter & Project configuration will display Matter in place of Project Type. This field is required.
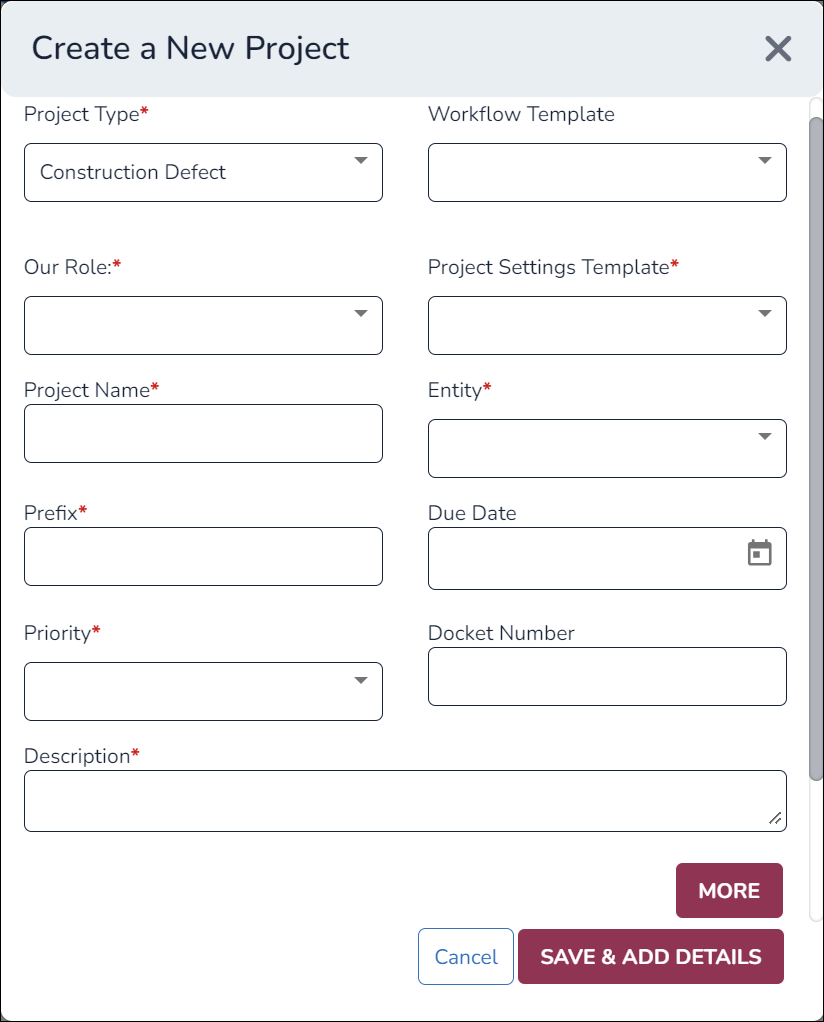
Our Role: A drop-down list that displays the list of roles to select the role of the organization that the user belongs to. The roles can be set as Defendant, Plaintiff, Expert Witness, or Internal Investigation. This field is required.
Project Name: A text field to provide a unique name for the project. This field should contain a minimum of six characters without spaces in between. Project name cannot contain Special Characters such as ! / @ # $ % ^ * and <period>. Project names can only include the special characters: _ - + ( ). This field is required.
Prefix: A text field containing the prefix of the project. This is an auto-generated four-digit alphanumeric that serves as a unique identifier for the project. This field is required.
Priority: A drop-down list of numbers from 1 to 5 which denotes the priority of the project, with “1” being the highest priority. This field is required.
Workflow Template: A drop-down list that contains workflow templates for processing the project: WFT-DataHold and WTF-Collection. When Automate button is selected in the Data Management section,
WFT-DataHold will complete the processing of all the files until data hold, where a lock is placed on the data after it is identified and before it is collected.
WFT-Collection will complete the processing of all the files till the files are collected.
Project Settings Template: A drop-down list of templates that will define the configuration for each of the processing steps such as exclusion, deduplication, and hosting. This field is required.
Note: This field is only available in Reveal Hold Automate and not available in Reveal Hold Project Management.Entity: A drop-down list of entities or divisions that are configured at the backend. Reveal Hold offers a provision to configure a Sub-entity or Location field at the time of deployment. If enabled, the field or fields will be visible right below Entity and will display in the Project Summary. Required.
Due Date: A calendar pop-up to select the due date for whatever actions may be required by the court or in the conduct of the legal hold process. This is an optional field.
Docket Number: This is a text field to enter the Docket Number of the project to link to the court in which the project is handled. This is for a future implementation to manage business integration and data received from the court.
Description: This is a text field where the user can enter any other relevant information for the project. This field requires some value to be entered.
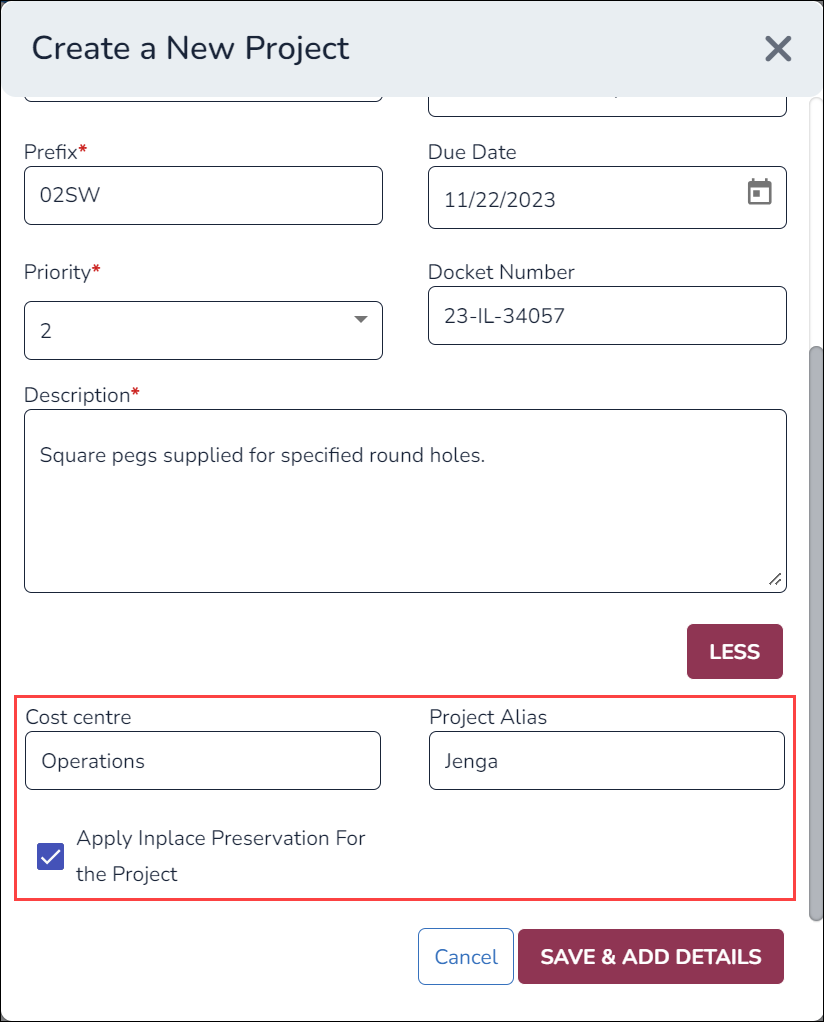
Clicking More expands the Pop-up Window to show any additional fields which can be filled in as free text or configured as dropdown lists.
Reveal Hold provides the option to add up to 40 additional fields at the time of deployment. These fields can be used to include data imported from the client’s legacy systems and are configured from the backend.
A standard item available here is the option to deselect Apply Inplace Preservation for the Project. This is enabled by default to prevent inadvertent modification or deletion of items specified for legal hold preservation.
To hide the additional fields, click on Less.
Choose either one of the following options after entering project details.
To save the details and go to the Projects page, click on Save. A message is displayed that the project is saved successfully, the Pop-up Window disappears and the newly created project appears in the Projects page.
To continue adding more details for the project, click on the Save & Add Details button. A message is displayed that the project is saved successfully, the Pop-up Window closes and the Summary page appears.
To close the Pop-up Window without saving the details, click on Cancel.
Once a project is created, it is by default accessible to the Legal User who created the project. Reveal Hold allows the configuration of user roles that should be given access to the project by default. The configured user roles would also have access to the project after the project is created. After the project is approved, additional users or user roles can be granted access rights to the project.